mww2
mww2
How to Easily Use QuickTime's Slow Motion: Step-by-Step Guide
QuickTime might not be the flashiest video tool out there, but it’s one of those built-in macOS apps that quietly does more than most people give it credit for. Many use it just to play videos or record their screen. But there’s a useful, often overlooked feature sitting inside: slow motion playback. Whether you’re trying to follow quick instructions, spot subtle details, or analyze footage frame by frame, this feature can make things a lot clearer—without needing extra apps or edits. Let’s find out more about it in this comprehensive guide.
Getting Started: Where to Find the Controls
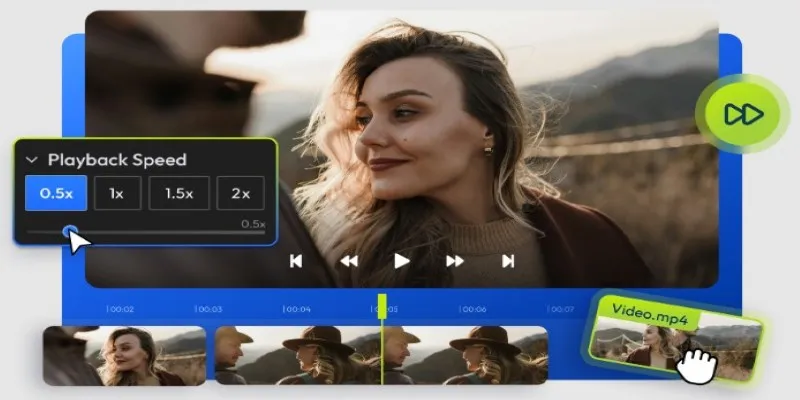
QuickTime’s interface keeps things clean and doesn’t crowd you with buttons or settings. To use slow motion playback, you just need a few quick steps:
- Open the video – Double-click your file. If QuickTime isn’t your default player, right-click the file, select “Open With,” and choose QuickTime Player.
- Start playback – Hit play like you normally would.
- Change playback speed – Hold down the Option key (⌥) and tap the right arrow (→) to slow the playback. You can keep tapping to reduce speed further. To rewind in slow motion, use the left arrow (←) the same way.
Each tap slows the speed by a step. There’s no visual marker or speed percentage—just watch the video and notice the difference. To get back to regular playback, stop and press play again.
Why You Might Use Slow Playback
This isn’t a flashy feature, but it’s surprisingly useful when you’re watching something where timing or tiny details matter. Here are a few situations where it really helps:
Step-by-Step Tutorials
When a video moves through software clicks or keyboard shortcuts too quickly, slowing it down gives your brain enough space to follow along without guessing what just happened.
Sports or Skill Footage
Whether it’s a golf swing, dance move, or skateboard trick, breaking down motion helps you see technique and timing in a way real-time can’t offer. And since QuickTime doesn’t edit the file, you can go back to full speed anytime.
App Demos or Screen Recordings
Need to see exactly when something appears on screen during a test? Slowing the playback can make animations, hover effects, or glitches much easier to spot—especially if you’re working with UI design or QA testing.
Motion Design or Animation Reviews
Designers and animators often need to study movement and transitions. While QuickTime isn’t a replacement for professional frame-by-frame tools, it offers a simple way to see how everything flows without jumping into editing software.
Limitations and What to Do About Them
QuickTime plays videos slower, but it doesn’t offer any editing tools to save that version. So, if you’re planning to create or share a slow motion video, you’ll need to move over to iMovie, Final Cut Pro, or another video editor that supports speed adjustments and export features.
Another thing to know: no labels or sliders are showing how much slower you’re going. It’s all based on feel. You tap, it slows. Tap again, it slows more. Once you’ve tried it a couple of times, the process becomes second nature.
For times when you want more control—like slowing down just one part of a video or syncing visuals with music—QuickTime’s basic tool won’t cut it. But if you just need a closer look without altering the original file, it’s an easy fix right out of the box.
Quick Tips to Make the Most of It
Use it with app tutorials – Whether you’re learning a new tool or watching someone navigate the software, slowing it down helps you stay in sync with every move.
Break down physical movements – From cooking videos to crafting, guitar lessons to yoga flows, you can better understand hand techniques, tool use, or body position.
Pair with language videos – Hearing a new word pronounced too fast? Slowing the video helps you catch the shape of each word and how it’s spoken—useful if you’re studying pronunciation or dialogue.
Analyze two similar clips – If you’re reviewing alternate takes or comparing performances, slow playback helps you focus on small shifts in tone, timing, or motion that you’d otherwise miss.
Catch small expressions – Watching interviews or feedback sessions? Slow playback makes subtle facial reactions and pauses more noticeable, which can give you extra insight.
Observe timing in-app animations – Great for developers and testers—slow down transitions, hover effects, or error messages that might only flash on the screen for a split second.
Note-taking with less pausing – For long recordings like classes, meetings, or webinars, watching slower can give you time to write or type without constantly hitting pause.
Debug screen recordings – If something flickers or crashes during a recorded session, playing it slower helps spot when and where it happens.
Practice video critique – If you’re learning editing, directing, or just giving feedback, slow playback lets you examine scene cuts, pacing, or awkward transitions more carefully.
Study timing and rhythm – For musicians, dancers, or content creators, watching how actions line up with audio or beats become clearer at a slower pace.
Final Thoughts
QuickTime doesn’t try to be everything—it sticks to the basics and does them well. And sometimes, that’s all you need. If you’re reviewing a clip that moves too fast, trying to understand a physical process, or just want a closer look without any extra setup, slow motion playback can help right away. No installs, no fancy tools, no complex menus. Just open the file, hold Option, tap the arrow, and pay attention. It’s one of those features that feels like it should be more talked about—because once you know it’s there, you’ll probably use it more often than you expected. Hope you find this information worth reading. Stay tuned for more interesting guides.
Related Articles
Popular Articles
Airtable vs. Google Sheets: Which Should You Use for Your Workflow
5 Simple Ways to Convert FLV Files to MOV Format on Windows
Best Way to Convert MKV to MP4 for Smooth Playback and Streaming

The 8 Best Content Marketing Tools in 2025 to Elevate Your Strategy

Top Software to Convert Videos to DPG at High Quality Standards

Master the Art of Importing and Editing MTS Files on Mac

The 7 Best Client Management Apps in 2025 for Smoother Workflows and Happier Clients
Best Free Tools for MPG to MOV Conversion on Mac
A Comprehensive Guide to Create Form Sections and Logic in Google Forms

Discover the Best Tools to Organize Your Music on Windows Today

Free PDF Form Creators for Windows: 10 Tools Worth Trying