mww2
mww2
Create a DVD Photo Slideshow Easily on Windows & Mac
There’s a unique charm in watching old memories unfold on a screen, surpassing the mere act of swiping through a photo gallery. A DVD photo slideshow adds a touch of formality to your images—it’s curated, intentional, and feels whole. Whether you’re assembling a presentation for a birthday, wedding, or simply organizing old photos, creating one isn’t difficult. All you need is a computer (Windows or Mac) and a clear vision of your story’s narrative. Let’s explore how you can achieve this using tools readily available on your system or easily accessible.
How to Create a DVD Photo Slideshow on Windows and Mac
Using Windows Photos App (Windows 10 and 11)
Windows comes with a built-in Photos app that is efficient for basic slideshows. While it doesn’t offer extensive features, it suffices if you’re looking for simple transitions, music, and text overlays. Begin by opening the app and selecting your favorite images. After selection, choose “New Video” and then “Automatic Video with Music.” You can rename the slideshow, arrange the images, pick a theme, or add background music. The process is streamlined, presented in a single window, making it user-friendly.
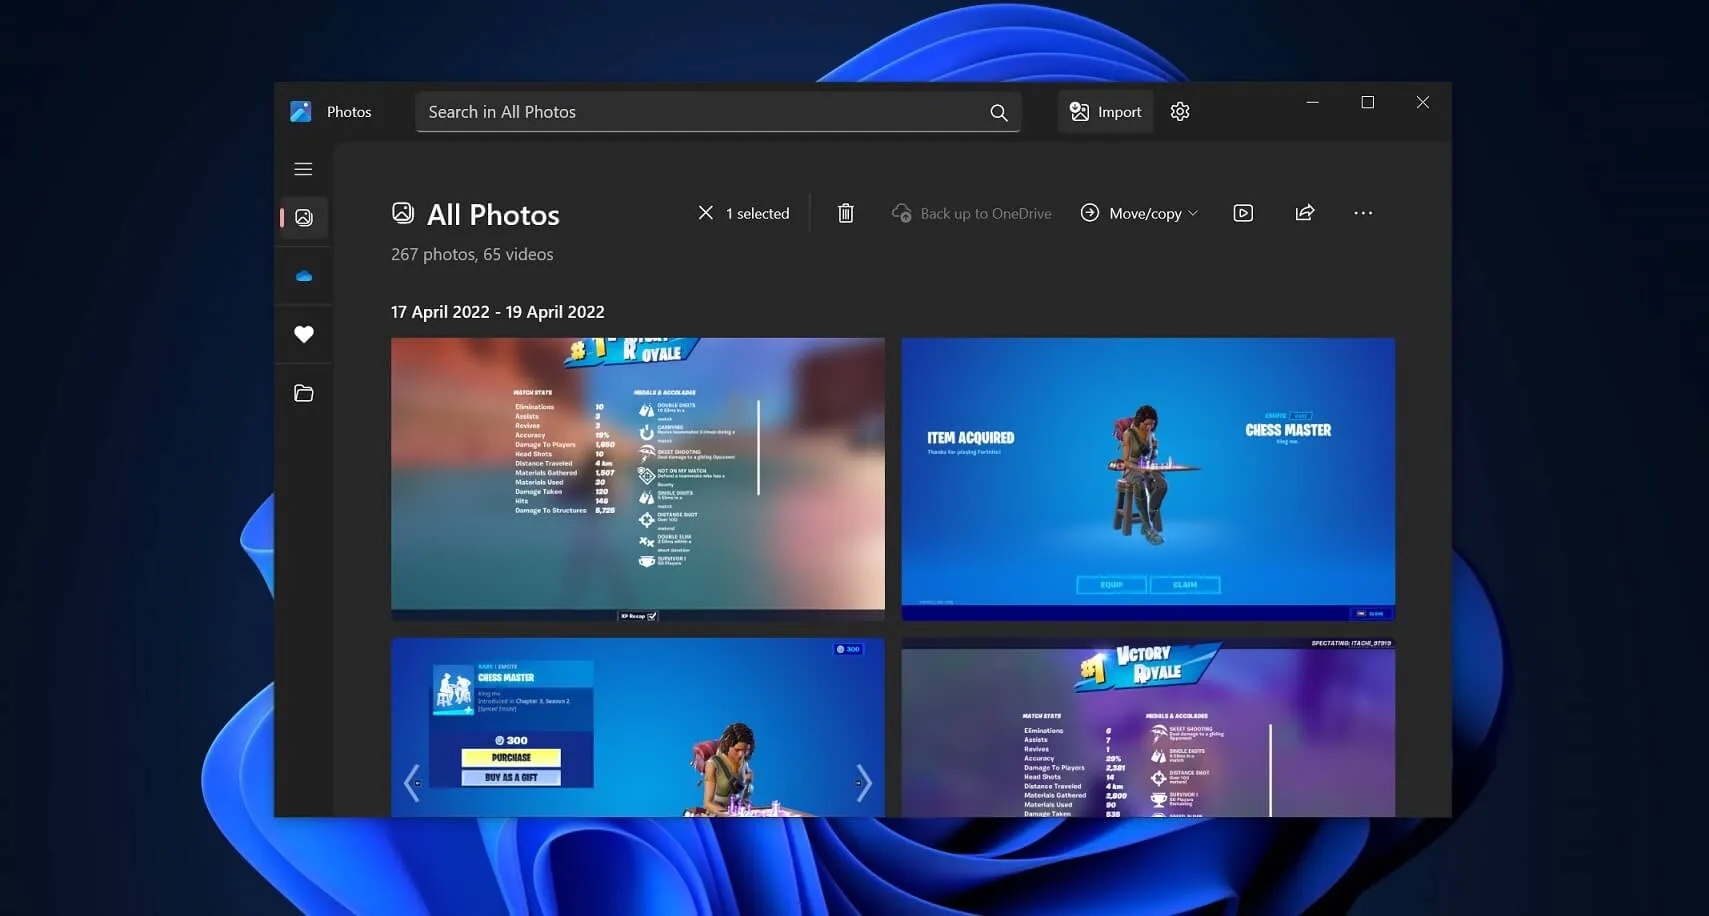
Once completed, export the video to a folder. It will be saved as an MP4 file, which you can burn to a DVD using Windows Media Player or any reliable burning tool. This straightforward option is ideal if you prefer not to invest much time in additional features.
Using iMovie with iDVD (macOS up to Mojave)
For those using older Mac versions with iDVD, pairing it with iMovie provides one of the most polished means to create a DVD slideshow. Start in iMovie by importing your photos and placing them on the timeline. You can add background music from iTunes, use the Ken Burns effect for subtle motion, and incorporate title screens as needed.
After your slideshow is ready, export the movie file and open iDVD. iDVD offers various themes and allows for basic menus—perfect for personal or event-based slideshows. Drag your iMovie export into the iDVD project and burn it directly to a disc. It’s an effortless process on Mac, though it requires Mojave or earlier to utilize iDVD.
Using Microsoft PowerPoint and DVD Burning Software (Windows and Mac)
Surprisingly, PowerPoint is effective if you’re familiar with creating presentations. On both platforms, you can insert images slide by slide, apply transitions, add background music across slides, and synchronize everything. Once complete, export the presentation as a video.
Next, use any DVD authoring software like Burn (Mac) or DVD Flick (Windows) to create a disc-ready version. The advantage here is control—PowerPoint provides precise control over timing, text, and layout, making it a great choice for commemorative slideshows or projects where pacing is crucial.
Using Photos App and Music App on Mac (macOS Ventura and above)
For newer Macs, the iPhoto/iDVD combination has been replaced, but options remain. Open the Photos app and create a new slideshow project. You can name it, choose a theme (like “Vintage,” “Magazine,” or “Origami”), and add music from your local files or Apple Music.
Transitions are automated but appear polished. After organizing your images and audio, export the slideshow to a video file. Finalize the process with a DVD authoring app like Burn. It may not offer deep customization, but its simplicity suits quick projects or when you desire a clean, balanced look with minimal effort.
Using Google Photos and Third-Party DVD Software (Both Platforms)
If your photos are backed up to Google Photos, you can create a movie directly from your account. Navigate to the “Utilities” section and create a new movie. While Google Photos offers limited templates, it’s fast and handles most tasks for you, including transitions and music syncing.

Export the video and import it into any DVD burning software. Although not as customizable as other methods, this approach is beneficial when working across devices or sharing albums with others before finalizing a disc.
Using SmartSHOW 3D (Windows Only)
SmartSHOW 3D caters to those seeking more than a simple slideshow. This downloadable app offers 3D transitions, layered effects, and voice narration. You can choose templates or start from scratch, adjusting every detail—the duration of each photo, animation between frames, fade-ins and fade-outs, and the soundtrack.
Once your slideshow is built, export it as a video and use the built-in DVD burning tool to complete the process in one go. The software leans toward the elaborate side, but if that’s your style, it allows creative freedom.
Using Photos Legacy and Windows DVD Maker (Windows 7/8)
Still using an older version of Windows? Photos Legacy and Windows DVD Maker are the classic pairing. Select your photos, create a video with transitions and music in Photos Legacy, then bring that into Windows DVD Maker, which allows for chapter titles and menu screens.
While dated, this combination remains effective for those who haven’t upgraded and prefer a solution without downloads or subscriptions.
Using Third-Party Apps Like DVD Styler or Wondershare DVD Creator
If you’re open to exploring software beyond what’s built into your computer, several reliable options are available on both Windows and Mac. DVD Styler, for instance, offers menu creation and complete control over image order and music syncing. Wondershare DVD Creator goes further with templates, drag-and- drop timelines, and support for HD output.
Both options allow you to import a set of photos or a pre-made video, add music, adjust image durations, and burn directly to disc. They’re ideal when you desire more customization without delving into technical complexities.
Final Thoughts
Creating a DVD photo slideshow might seem outdated in an era dominated by cloud albums and digital frames, yet it retains a unique charm. You’re not just showing photos—you’re presenting a collection. Whether you opt for built- in software or download something with more features, the result is a disc that feels permanent and complete.
Related Articles

How to Play a DVD on Your Laptop: 2 Simple Ways to Watch Your Movies

5 Best Mac Screen Recording Tools to Elevate Your Recording Game

A Beginner’s Guide to Wondershare DVD Slideshow Builder Deluxe
5 Best Xbox Converter Apps and Devices for Mac
Step-by-Step Guide to Recording HD Videos to DVD for Big Screen Viewing
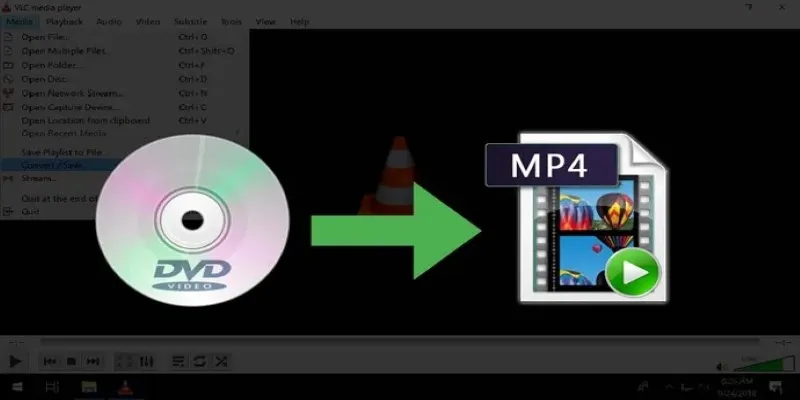
8 Easy DVD to MP4 Converters for Everyday Users

Top FTP Software for Mac Users: Free and Reliable Options

Which Are The 6 Best Email Clients for Mac: A Comprehensive Comparison

The 8 Best Free Photo Editors in 2025 That Rival Photoshop

How to Make a Flickr Slideshow with Music
Top Ways to Record Skype Video Calls on Windows and Mac

Top 10 Video Players for Windows and Mac in 2025
Popular Articles

Thunderbird Enhances Android App and Prepares iOS Launch for Late 2025
How to Use Free Tools Online to Convert EPUB Files to PDF Format

Different Tools and Techniques for Converting 2D Videos into VR
How to Automatically Organize and Save Client Files in Google Drive Folders

The 6 Best AI App Builders in 2025 for Fast, No-Code Development

Step-by-Step Guide: How to Add Social Media Icons in Your WordPress Sidebar
Archiving Backtrack Call Recordings Automatically

How to Develop a WordPress Plugin Using Best Practices

Top Connectors for Unloading Leads from Facebook Ads Easily

Best AI Video Dubbing Services to Localize Your Content

Excel or Smartsheet: Which is the Better Option for Project Management?