 mww2
mww2
Ultimate Guide to Recording Skype Video Calls on Windows and Mac
Recording a Skype video call used to be a tech challenge. Today, it’s almost too easy—but only if you know where to look. Whether you’re saving a work meeting, an online class, or a family chat, there are tools built into Skype and others that work even better. Some are free, while others offer more advanced features. Regardless of whether you use Windows or Mac, there is a solution that suits you. This guide takes you through all the quality options, beginning with the simplest ones.
How to Record Skype Video Calls on Windows or Mac?
Skype’s Built-In Call Recording Feature (Windows & Mac)
Skype comes with a native recording tool that doesn’t need any setup. It’s built into the app for both desktop and mobile.
- While on a call, click the “More options” (three dots) menu.
- Select “Start recording.”
- A banner shows up letting everyone know the call is being recorded.
- Once done, hit “Stop recording” from the same menu.
The video is recorded and saved inside the chat window. It will remain there for 30 days. You may download it later as an MP4 file. This method is straightforward, but it won’t offer many options for playing with resolution or quality.
OBS Studio (Windows & Mac)
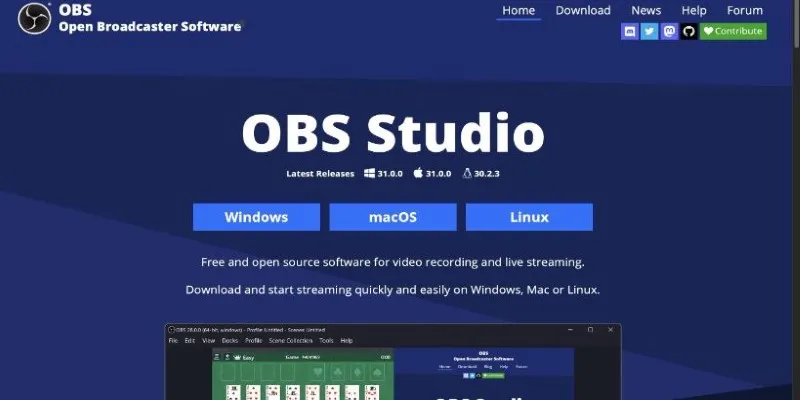
OBS is free and open-source, which is perfect if you want full control.
- Download it from obsproject.com and install.
- Launch OBS and go to Sources > + > Window Capture.
- Pick Skype from the dropdown.
- Go to Settings > Output and choose MP4 for recording format.
- Under Video, set resolution to match your screen (1080p works fine).
- Press Start Recording, then launch your Skype call.
- Hit Stop Recording when you’re done.
OBS doesn’t notify others on the call, so make sure you’re allowed to record. It works great for long meetings or detailed walkthroughs.
Xbox Game Bar (Windows Only)
For Windows 10 and 11, Xbox Game Bar is pre-installed and works well with Skype.
- Press Windows + G to open the overlay.
- Open the Capture widget.
- Hit the record button or press Windows + Alt + R.
- A small floating bar will show the recording status.
- Use the same shortcut to stop.
Files are saved in the Videos > Captures folder. This tool is lightweight and good for quick recordings, though you won’t get many advanced settings.
QuickTime Player (Mac Only)
QuickTime is built into macOS and can record your screen, making it a solid choice for Skype calls.
- Open QuickTime Player.
- Go to File > New Screen Recording.
- Click the arrow beside the red button to choose microphone input.
- Press the red record button, then select the part of the screen where Skype is running.
- Start your Skype call.
- After finishing, click the stop icon in the menu bar.
The recording opens in a new QuickTime window. Save it as an MOV file or export to another format. It’s simple and does the job, but it records everything on your screen.
Wondershare UniConverter (Windows & Mac)
Wondershare’s UniConverter is known for its wide feature set. It also includes a screen recorder with Skype compatibility.
- Download UniConverter and install it.
- Go to the Screen Recorder tab.
- Choose Screen Recorder, then select the Skype window or full screen.
- Pick resolution, frame rate, and audio input.
- Press REC to begin.
This tool gives you a good balance between quality and ease. It saves recordings in high definition and supports trimming, compressing, and converting them later.
ApowerREC (Windows & Mac)
ApowerREC is a well-known screen recorder with audio sync, scheduling, and annotation features.
- Download and open ApowerREC.
- Select Full Screen, Custom Area, or Application Window, then choose Skype.
- Make sure the sound and microphone on the system are turned on.
- Click the REC button.
You can annotate on screen during the recording or set it to stop automatically after a time. Files are saved in MP4 format by default. It’s smooth and user-friendly, especially for walkthroughs and tutorials.
Movavi Screen Recorder (Windows & Mac)
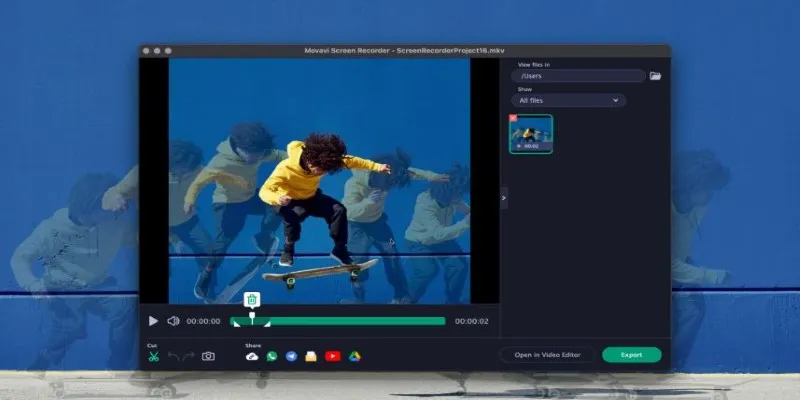
Movavi is another paid option that offers free trials. It’s easy to set up and can record in high resolution.
- Install and launch Movavi Screen Recorder.
- Click Screen Recording.
- Draw a box around your Skype window or select the app directly.
- Enable the microphone and system audio.
- Click REC.
You can also schedule recordings or trim them in the editor afterward. It saves videos in multiple formats, and the UI is easy for beginners.
Camtasia (Windows & Mac)
Camtasia is both a screen recorder and a video editor. It’s more suited for creating tutorials, but it works well for Skype calls too.
- Install Camtasia.
- Open it and click New Recording.
- Select your screen or Skype window.
- Turn on audio input from your mic and system.
- Hit Start Recording.
Once done, Camtasia sends the clip straight into its editor. You can trim, add titles, or blur parts. It’s great for training videos, interviews, or formal presentations.
Bandicam (Windows Only)
Bandicam is a lightweight screen recorder popular with gamers, but it handles video calls too.
- Download and open Bandicam.
- Choose Screen Recording Mode.
- Select the Skype window or screen region.
- Turn on both the system and the mic audio.
- Click REC to begin.
It’s fast, doesn’t slow down your system, and saves files in MP4 or AVI. Bandicam works well for long recordings if you want small file sizes.
Conclusion
Recording Skype video calls doesn’t need to be complicated. If you want a quick way to save a call, use Skype’s built-in recorder or Xbox Game Bar. For more control and better quality, OBS or UniConverter are solid picks. Mac users can fall back on QuickTime or use pro tools like Camtasia. Whether it’s a business meeting or a family chat, there’s a method that fits your setup—and none of them take more than a few clicks to start.
Related Articles

Top Live Video Mixing Software for Creators

9 Free Tools to Speed Up a Video Online (No Downloads Needed)

Magisto: The Simplified Approach to Video Editing for Quick and Effective Content

Effortless Steps to Convert and Upscale Video to 4K Resolution

LightCut 2025 Review: The Best Video Editor for Android and iPhone

Top 10 Video Players for Windows and Mac in 2025

Easy Ways to Record PowerPoint Slideshows as Videos with Narration

The Best Video Conferencing Software for Teams in 2025: A Comprehensive Guide

Simple Guide to Converting and Editing Videos for BlackBerry Phones
The Easiest Way to Convert Video to Apple TV: Free, Paid, and Online Options
How to Edit and Merge GoPro Videos on Your Windows PC

Best Free Video Splitters to Cut Your Clips Like a Pro
Popular Articles

Top 5 Ways to Automate Google Analytics for Better Efficiency

Top 6 Methods to Convert AVI to MP4 on Windows Easily
How to Convert JPG to SVG: The Best Methods for Beginners and Experts

Quick Guide: Change GIFs to MP4 for High Clarity and Speed
A Beginner’s Guide to Telecom Expense Management Software: All You Need to Know

Transform Your Photos with Free Aiarty Image Enhancer Software

Top 6 Media Converter Ultimate Tools for Quick File Conversion

Top Client Onboarding Tools for Online Businesses in 2025

Easy Ways to Convert Video on Windows and Mac for Free

How to Convert M3U8 to MP4 Using VLC and Other Tools

5 Simple Ways to Convert FLV Files to MOV Format on Windows
