mww2
mww2
Step-by-Step Guide to Making Smooth Slow-Motion Videos in Adobe Premiere
There’s an undeniable allure to slow-motion footage. It allows us to experience moments that might otherwise be missed—like a fleeting glance, a sudden gesture, or the delicate fall of rain. However, achieving the perfect slow-motion effect requires more than just pressing a button. If you’re using Adobe Premiere Pro, the process gives you comprehensive control over each frame. Whether you’re a beginner or a seasoned editor, here’s a simplified guide to mastering slow-motion without complicating things.
Understanding Your Footage: The First Step
Before diving into effects and keyframes, start with the fundamentals. Not all footage is suitable for slow motion. Clips shot at 24 or 30 frames per second (fps) can appear choppy when slowed down. The ideal frame rate is 60 fps or higher, which provides enough frames to extend time smoothly. Some creators even shoot at 120 fps or 240 fps for ultra-slow results, especially for fast- paced action scenes.
To check your footage settings in Premiere Pro, right-click your clip in the Project panel and select “Properties.” This will show you the frame rate. If your footage is 60 fps or more, you’re set. If not, you can still attempt to slow it down slightly, but avoid going too far to prevent a stuttering effect.
Step-by-Step Guide to Creating Slow-motion Videos in Adobe Premiere Pro
Setting Up Premiere Pro for Slow Motion
Let’s move on to the editing process. Adobe Premiere Pro offers several methods to apply slow motion, but one of the simplest is using the “Interpret Footage” feature.
Here’s how to use it:
- Import your high-frame-rate clip into your project.
- Right-click the clip in the Project panel.
- Select Modify > Interpret Footage.
- Under “Frame Rate,” check the box labeled “Assume this frame rate” and enter your sequence’s frame rate (typically 24 or 30 fps).
- Click OK.
This method tells Premiere to treat your 60 fps footage as if it were shot at 24 or 30 fps, automatically slowing it down without dropping frames. It’s an efficient technique, ideal for creating cinematic scenes or maintaining a seamless edit.
Manual Speed Adjustment for Greater Control
If you want precise control over how slow your footage becomes, Premiere Pro provides a manual adjustment option.
To manually adjust speed:
- Drag your clip into the timeline.
- Right-click the clip and choose Speed/Duration.
- In the dialog box, set the speed to a lower percentage. For instance, 50% speed will reduce the speed by half.
- Check the “Ripple Edit” box if you want subsequent clips to adjust automatically.
- Click OK.
This offers flexibility, allowing you to set a subtle slow motion at 80% speed or a more dramatic effect at 20%. Just remember: the slower you go, the more frames you need from your original footage. For lower fps clips, maintain a modest slowdown to avoid jittery playback.
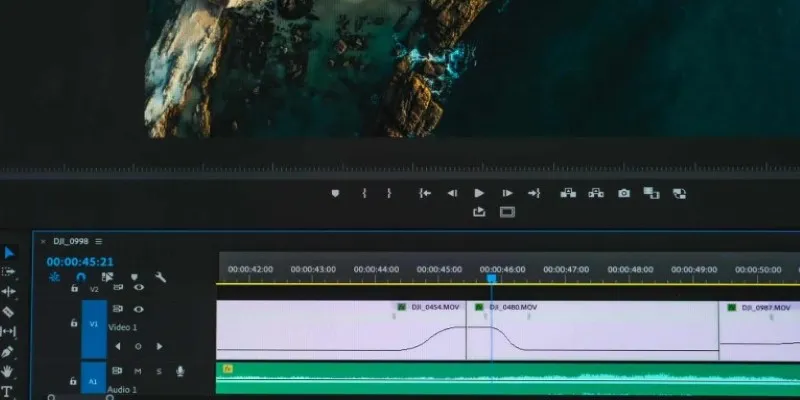
Using Time Remapping for Smooth Transitions
Time remapping is useful for varying speeds within a single clip, such as starting in real-time, slowing down mid-action, and then returning to normal speed. It’s commonly used in action sports, dance, or music videos.
To apply time remapping:
- Right-click your clip in the timeline and select Show Clip Keyframes > Time Remapping > Speed.
- Expand the track height to clearly see the white speed line on your clip.
- Hold down Ctrl (or Cmd on Mac) and click the line to set a keyframe.
- Set additional keyframes where you want speed changes.
- Drag the line between keyframes down to slow it down.
- For a smooth transition, drag the gray handles on either side of the keyframe to create a gradual curve.
While it may require some experimentation, time remapping is a powerful tool for controlling clip pacing beyond just slowing it down.
Enhancing Slow Motion with Optical Flow
Even with high-frame-rate footage, sometimes the slow-motion effect isn’t as smooth as desired. This is when Optical Flow becomes useful.
Optical Flow is a frame-blending technique that Premiere Pro uses to create more natural slow motion. It estimates what should occur between frames and fills gaps accordingly. Although it may struggle with fast movements or complex backgrounds, it often produces excellent results.
To apply Optical Flow:
- Right-click your slowed-down clip.
- Select Time Interpolation > Optical Flow.
- Render the clip by pressing the Enter key to view a smooth preview.
Test it out to see the smoother visuals, especially if your footage wasn’t initially high fps.
Final Thoughts
Slow-motion editing is a simple yet powerful tool that can significantly impact the feel of your footage. Adobe Premiere Pro simplifies the process with options like interpreting footage, manual speed settings, and time remapping. Each method offers different levels of control, and your choice depends on the story you’re telling.
Begin with high-quality, high-frame-rate footage, experiment with your preferred methods, and trust your instincts. If it looks smooth and intentional, you’ve nailed it.
Related Articles

SkedPal vs. Motion: A Detailed Comparison to Find Your Perfect Scheduling App

Step-by-Step Guide to Using Snapchat Filters on Your TikTok Videos Without Losing Quality

Looping Clips in Adobe Premiere: A Straightforward Guide
Adobe Premiere Rush on Desktop: Where Simple Editing Meets Smart Design

Discover the Best PDF Editor Apps in 2025 for Seamless Document Control

The Best 5 PDF Editing Tools Compared for Fast and Easy File Changes
Compress PDF Files Under 1MB While Maintaining High Visual Quality

Fast and Free AI-Powered Tools to Cleanly Cut Photo Backgrounds
OCR Magic: Instantly Convert Scanned PDFs into Editable Text Online

Best Free Alternatives to Adobe for Creatives and Professionals
The 7 Best PDF Editor Apps in 2025 for Clean, Hassle-Free Document Control
Fast and Free AI-Powered Tools to Cleanly Cut Photo Backgrounds
Popular Articles

Merging iPhoto Libraries on Mac: Easy Methods to Keep Your Photos Safe

The Simple Guide to Creating a Photo Slideshow with Picasa

Elevating Speech Pacing Across All ElevenLabs Platforms

Simple Ways to Transfer Files Between Phone and PC
The Simple Way to Get iMovie on Mac—and What to Use on Windows
Effortless Image Conversion: 5 Best TIFF to JPG Converters
An In-Depth Review of Microsoft Clipchamp and Its Practical Applications
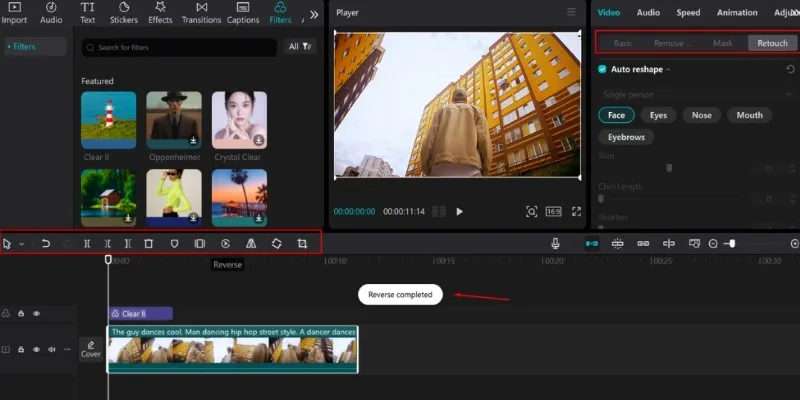
5 Effective Ways to Play a Video in Reverse with Ease

Upgrade Your Email Experience: The 7 Best Email Clients for Windows

Invoice Automation Explained: A Game-Changer for Accounts Payable Teams

KineMaster Video Editing App Review: A Mobile-Friendly Powerhouse