mww2
mww2
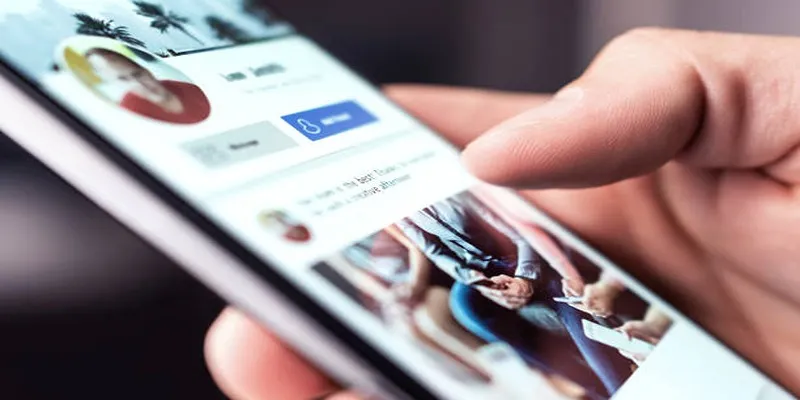
How to Set Up Email Alerts for New Facebook Messenger Messages
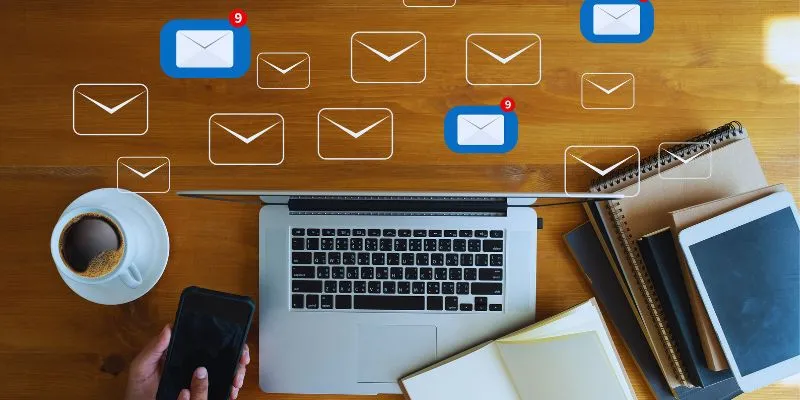
Are you missing Facebook Messenger messages when you’re not using the app? You’re not alone. Many people find email alerts useful to stay informed and never miss important communications. These alerts notify you of new messages, which is especially helpful if you manage a business page or frequently engage in chats. You don’t need to rely on a specific app for this feature.
It’s easy and quick to adjust your Facebook account settings to enable email alerts. This guide will walk you through each step to activate and manage your email alerts, ensuring you only receive the notifications you want. Email alerts keep you updated on any device—whether it’s a computer or a phone—so you never miss a crucial message again.

How to Enable Facebook Messenger Email Alerts in 9 Easy Steps
Step 1: Log Into Your Facebook Account
Start by entering your email and password to sign in to Facebook. Ensure this is the account linked to Messenger. After logging in, navigate to your main homepage. This can be done via your phone, computer, or browser. Using a browser is recommended for easier access to all settings, as the Facebook app might display different options. Avoid Facebook Lite, as it doesn’t show all settings needed for email alerts.
Step 2: Access Notification Settings
Click the small arrow or your profile picture at the top right of your Facebook homepage. From the menu, choose Settings & Privacy, then select Settings. On the left side, click Notifications to open notification settings. Here, you’ll find alerts for comments, tags, messages, and more. Scroll down to the Email section and click the arrow next to it for more options. Now, adjust how Facebook sends email alerts to your inbox.
Step 3: Enable Email Alerts for Messages
In the email settings, you’ll see several options controlling which alerts you receive. Look for a section labeled What You’ll Receive. Options might include:
- All notifications except the ones you turn off
- Important notifications about you or your activity
- Only account, security, and privacy notifications
To receive Messenger email alerts, select All notifications except the ones you turn off. This ensures you get updates and new messages via email.
Step 4: Filter Notifications for Messenger Only
Return to the Notifications settings and find the Messenger section. Click it to open your alert options. Decide if and when you want to receive notifications for new messages. Options include push alerts, SMS, and email. Ensure the Email option is turned On to receive message alerts by email. You can also choose alerts for group chats or message requests, and disable alerts for unwanted contacts or spam to manage your email volume effectively.

Step 5: Verify Your Email Address
With email alerts enabled, ensure your email address is correct. Navigate to Settings & Privacy, click Settings, select Account Settings, and choose Contact Information or General Account Settings. If your email is incorrect, click Edit to update it. You can add a new email if needed. Facebook will send a confirmation email, so follow the link to verify it. This step is crucial because alerts only go to verified emails.
Step 6: Monitor Your Email Alerts
After setup, check your email inbox for new Messenger alerts. Each email will display the sender’s name and a message preview. To reply, use the Messenger app instead of email. If alerts appear in spam or trash, add Facebook’s email address to your contacts list to prevent this. You can always return to notification settings to adjust alerts as needed.
Step 7: Manage Alerts with Email Filters
Use your email’s filter feature to manage multiple alerts. Create a “Facebook Alerts” folder to organize your emails. Set filters or rules to automatically move Facebook alert emails to this folder, keeping your inbox tidy and ensuring you don’t miss important messages. For example, in Gmail, click the gear icon and go to Filters and Blocked Addresses to create a filter. Outlook and Yahoo offer similar options.
Step 8: Utilize Messenger’s Notification Controls
Messenger’s Notification Controls keep you informed. Open Messenger and click your profile icon. Scroll down to select Notifications & Sounds. Here, choose how to receive alerts via phone or email. Ensure Email Notifications are turned On. Settings might vary by device, so adjust them accordingly.
Step 9: Disable Alerts When Needed
You can disable email alerts anytime for a break. Visit Facebook’s Notification Settings to do this. In the Email section, opt for only important notifications to reduce unnecessary emails. You can also disable Messenger email alerts separately or pause them temporarily. Regularly review your notification settings to ensure they align with your current Facebook usage.
Conclusion
Setting up email notifications for new Facebook Messenger messages is straightforward and practical. These alerts keep you informed even when you’re not using the app. By following these nine easy steps, you can set up and manage alerts that suit your needs. You can also turn off alerts when necessary to reduce clutter. This way, you’ll never miss crucial communications, whether for business or personal conversations. Maintaining effective operation depends on keeping your email updated and regularly checking settings. Start connecting and staying informed with email notifications today.
Related Articles

How Can You Automatically Capture Leads from Facebook Lead Ads in RD Station?

How to Add Login with Facebook in WordPress: A Step-by-Step Guide
Elevate Your Facebook Presence with These Cover Photo and Video Tips

The 10 Best Mailchimp Alternatives in 2025: Top Picks for Your Email Marketing

7 Easy Steps to Use Your Customer List for Creating Custom Audiences on Facebook
Streamline Your Email Campaigns: The 7 Best Cold Email Software Options

Your Guide to Facebook Automation: Save Time & Boost Engagement

The 10 Best Email Apps for iPhone: Streamline Your Inbox Today

Thunderbird Enhances Android App and Prepares iOS Launch for Late 2025
Best Tools to Record Facebook Messenger Calls on Any Device
HubSpot vs. Mailchimp: Which Marketing Tool Will Benefit Your Business in 2025
10 Reasons Why MailerLite Stands Out in 2025 for Email Marketers
Popular Articles
6 Reliable Solutions to Get Windows Media Player Working Again

How to Scale Content Creation Using AI and Automation Tools: A Step-by-Step Guide
All ChatGPT Users Can Now Access the 'Work with Apps' Feature

Upgrade Your Videos: 7 Smart AI Enhancers

Boost Your Writing: 5 AI Tools to Improve Your Content
Top 5 Deployment Automation Tools Developers Rely On
Best Video Management Tools to Organize Your Library

Monitor Social Campaigns Across Channels with T2M URL Shortener

Top Ways to Record Gameplay on Nintendo Switch Without a Capture Card

12 Essential Software Solutions for Efficient Issue Tracking
What Are the Best Methods to Integrate Square into Your Business Apps?