mww2
mww2
How to Move the Dock on Your Mac to a Second Monitor
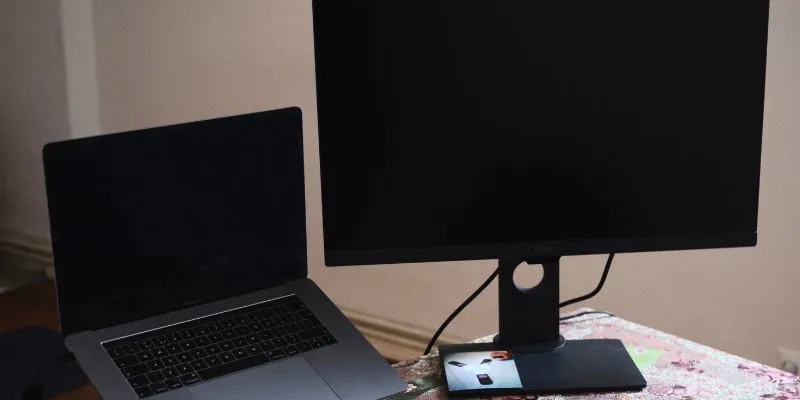
The Dock on a Mac is a convenient hub for accessing apps, data, and system utilities. If you’re using multiple monitors, relocating the Dock to another screen can enhance your workflow. Although some may find it challenging, macOS allows users to adjust the Dock’s location between displays. Correctly moving the Dock can boost productivity and streamline multitasking.
There are straightforward methods to change the Dock’s placement , whether you prefer using a mouse trick or adjusting system settings. Some users may encounter issues with the Dock shifting back or not appearing on the desired display. This guide outlines the quickest ways to relocate the Dock, modify the main display, and troubleshoot any issues.
Can the Dock Be Displayed on All Screens?
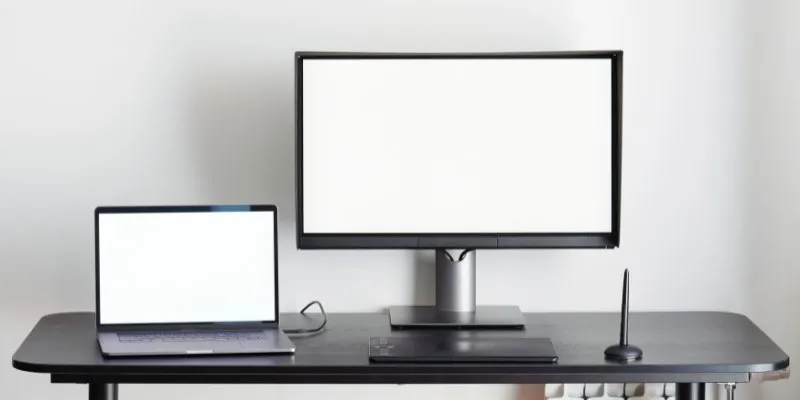
By default, the Dock does not show on all screens simultaneously. However, macOS allows it to move between monitors based on cursor movement. The Dock will appear on a display when the cursor is moved to the bottom of the screen and held there momentarily. To enable easier Dock access on multiple screens, go to “System Settings,” then “Displays,” and ensure “Displays have separate Spaces” is activated under “Mission Control.”
This setup allows each monitor to operate independently, facilitating Dock access from multiple screens. Setting a main display using “Display Arrangement” can help users who prefer the Dock to stay on one screen without switching. Unfortunately, macOS does not offer a way to keep the Dock visible on all monitors at once.
How to Move the Dock Using the Mouse
Using your mouse can help you move the Dock quickly. Follow these simple steps:
- Move your cursor to the bottom of the second display and hold it there momentarily. The Dock moves slowly, so be patient.
- Wait for the Dock to move to the second screen, which may take a second or two. If it doesn’t appear immediately, try moving the cursor up and down again.
- If the Dock still doesn’t move, repeat the process several times. macOS may take a moment to recognize the change, especially if multiple screens are connected.
- If this method doesn’t work, you might need to adjust the display settings manually.
How to Move the Dock Using System Settings
If the Dock does not move using the mouse method, try adjusting the system options:
- Click on the Apple menu at the top-left corner of your screen. A drop-down menu will appear with several options.
- Choose “System Settings” if you are using the latest macOS version. If you have an older version, select “System Preferences.” This will open the system settings window.
- In the left sidebar, scroll down and click “Displays.” This section lets you manage your connected screens.
- Look for the “Arrangement” tab, which visually displays your monitors. Each display is represented by a box.
- Find the white bar at the top of one of the displays. This white bar indicates which screen is currently the main display.
- Click and drag the white bar to the second monitor where you want the Dock to appear. This will make your chosen monitor your main display.
How to Set a New Main Display
The main display is where the dock and menu bar are shown by default. Use these instructions to modify it:
- Select the Apple menu in the top-left corner of the screen and choose “System Settings.” If you have an older macOS version, select “System Preferences.”
- Click “Displays” in the left sidebar. Then, click the “Arrangement” tab to see a graphical arrangement of your connected displays.
- Look for the white bar at the top of one of the displays. This bar indicates the current main display. Click and drag it to another display to change it.
- Once moved, the new display will become the main one, and the Dock and menu bar will move to it. Close the settings window to save the changes.
- If the Dock does not move immediately, try restarting your Mac. This method applies to both built-in and external monitors. Setting the main display helps tailor your workspace for maximum efficiency.
Fixing Dock Movement Problems
Sometimes, the Dock may not move as expected, which can be frustrating. Here are common issues and practical solutions:
- The Dock Does Not Move to the Second Monitor: If the Dock isn’t appearing on the second screen, check the display layout in “System Settings.” Ensure that macOS recognizes and connects to the second monitor. If the issue persists, restart your Mac and try moving the Dock again using the mouse or system settings.
- The Dock Appears on the Wrong Monitor: If the Dock shows up on the wrong screen, adjust the display settings. Open “Displays” under “System Settings,” then go to the “Arrangement” page. Drag the white bar to the desired monitor to set it as the main display. If needed, use the mouse trick by holding the cursor at the bottom of the appropriate screen.
- The Dock Keeps Switching Back: If the Dock reverts on its own, the “Displays have separate Spaces” setting might be the cause. Go to System Settings, open “Mission Control,” and disable this option. Reconnect your displays and restart your Mac to apply the changes.
Conclusion
Moving the Dock to a second monitor can simplify multitasking and boost efficiency. The mouse technique allows for quick movement, while adjusting system settings provides a more permanent solution. Setting a main display helps keep the Dock in place and prevents unwanted switching. If the Dock does not move as expected, checking display settings or restarting the Mac can help resolve common issues. While macOS does not allow the Dock to be on all screens at once, cursor-triggered movement makes access easy. Following these guidelines will help you create a better multi-monitor experience on your Mac and personalize your setup.
Related Articles
Popular Articles

Enhance Your Customer Support with These 6 Automation Strategies

Streamline Your Workflow: Focus on Project Execution with awork

How to Create Instagram Reels: A Step-by-Step Guide

CapCut: The No-Nonsense Video Editor That Speeds Up Your Content Game

Steps to Download Movie Maker Free and Start Creating
Step-by-Step Guide: How to Put Videos on Your PSP with a PSP Video Converter

How to Easily Convert MTS to MP4, WMV, or AVI on Any Device

Step-by-Step Guide to Recording TeamViewer Meetings

5 Best Tools to Make Instagram Slideshow Videos Effortlessly

Master Google Tasks: Organize Your Day Step-by-Step

LumaFusion: Pro-Level Video Editing from the Palm of Your Hand