 mww2
mww2
Enhance Your Workflow: Master Splitting Clips in Final Cut Pro
Are you interested in mastering one of the most essential video editing skills in Final Cut Pro? Learning how to split a clip is a foundational skill for any video editor. Whether you’re aiming to remove extra scenes, make precise cuts, or add transitions, the clip-splitting process can help you create a professional video. This guide will walk you through the process step-by-step, making it easy even for newcomers to video editing.
Why Splitting Clips in Final Cut Pro is Essential

Here are a few situations where splitting clips is crucial:
- Trimming Footage: Remove unwanted sections of your video to make it more concise and engaging.
- Adding Transitions: Split your clip to seamlessly insert transitions like fades or cuts between scenes.
- Fine-Tuning Edits: Make precise adjustments to specific sections of your footage.
- Creative Effects: Split clips to apply individual effects or edits to specific parts of your video for creative storytelling.
Whether you’re crafting a cinematic masterpiece or editing for social media, splitting clips gives you greater control over your content.
Setting Up Your Project in Final Cut Pro
Step 1: Import Your Media Files
To start, you’ll need to bring your video files into Final Cut Pro:
- Open Final Cut Pro and create a new project by selecting File > New Project from the menu bar.
- Go to the Library section, click on the File Menu, and select Import Media.
- Choose your video files from your computer or external drive. Once selected, click Import Selected to make them available for editing.
Your imported media will now appear in the Media Browser within Final Cut Pro.
Step 2: Drag Clips to the Timeline
Once your files are imported:
- Select the clip you want to edit from the Media Browser.
- Drag and drop the clip onto the Timeline, which serves as your editing workspace.
Now you’re ready to make your first split!
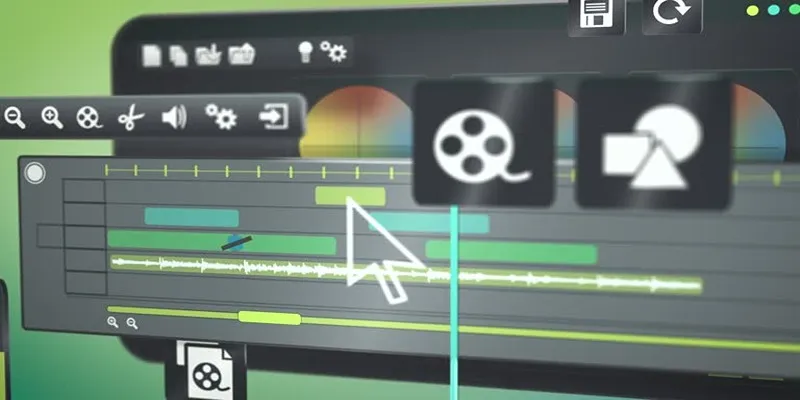
How to Split a Clip in Final Cut Pro
Step 1: Select the Blade Tool
Final Cut Pro has a Blade Tool specifically designed for splitting clips:
- Look at the toolbar at the top of your Timeline workspace.
- Choose the Blade Tool by pressing the B key on your keyboard or navigating to Tools > Blade.
The cursor will change into a blade icon, confirming that the tool is active.
Step 2: Position the Playhead
Next, pinpoint the exact moment in the clip where you want to make the cut:
- Drag the Playhead (the vertical white line on the Timeline) to the frame you want to split. You can also scrub through the clip by hovering over the Timeline and dragging.
- Use the playback controls to pause at the desired moment for precision.
Step 3: Make the Cut
Once the playhead is in place and the Blade Tool is activated:
- Click directly on the clip at the position of the playhead. This will create a split at that exact spot.
- Repeat as needed to split your clip into additional segments.
Tip: Switch back to the Selection Tool by pressing the A key when you’re done splitting. This allows you to move, trim, or delete individual segments.
Advanced Techniques for Splitting Clips
1. Splitting Multiple Clips Simultaneously
If you have layered tracks in your Timeline, you can split all of them at once:
- Hold down the Shift key while the Blade Tool is active and click at the desired point. This will cut through all layers of video and audio.
2. Using Shortcuts for Faster Editing
Speed up your workflow with these handy shortcuts:
- Press Command + B to split a clip immediately at the playhead’s position without activating the Blade Tool.
3. Precision Editing with Snap-to-Cuts
Enable “Snap-to” by pressing N on your keyboard. This ensures your playhead automatically snaps to clip edges, markers, or other important positions when moving across the Timeline.
Common Troubleshooting Tips
Audio/Video Out of Sync? Right-click on the clip and select “Synchronize” to realign audio with video.
- Missing Video or Audio Files? Locate them in the Project panel, right-click, and select “Link Media.” Choose the correct file from your computer.
- Playback Issues? Close other programs, clear cache files in your editing software, or try rendering out a low-resolution proxy version for smoother playback.
- Export Errors? Check that all layers are visible and rendered before exporting. If using complex effects, consider pre-rendering certain layers.
What to Do After Splitting Clips
Splitting is just the beginning of your editing process. Once your clips are divided, here are a few things you can do:
- Rearrange the Order of Clips: If you realize that the order of your clips needs to be changed, simply click and drag them to rearrange their sequence.
- Add Transitions Between Clips: To make your video flow seamlessly, add transitions between each clip. This can include fades, wipes, or other effects that smoothly transition from one clip to another.
- Adjust Audio Levels: Splitting a clip may also affect its audio track. Make sure to adjust the volume levels accordingly for a balanced sound mix.
- Apply Color Correction and Grading: If you want your video to have a consistent look, apply color corrections and grading on individual clips or across all of them. This can enhance the overall visual appeal of your video.
- Add Music and Sound Effects: Music and sound effects play a crucial role in setting the mood and tone of your video. You can add background music or sound effects to specific clips or throughout the entire video.
Final Thoughts
Splitting clips in Final Cut Pro is an essential skill for any aspiring video editor. By following the steps outlined in this guide, you’re well on your way to creating cleaner, more engaging edits. Remember, mastering the basics lays the foundation for tackling more advanced editing techniques as you grow. So keep practicing, stay creative, and have fun! Happy editing!
Related Articles

Explore the 10 Best Video Editing Software for Creators

5 Hassle-Free Ways to Edit MTS Videos Using Final Cut Pro
Prep Camcorder MTS/M2TS Footage for Smooth Final Cut Pro Editing

PowerPoint Image Compression: Reduce File Size Without Sacrificing Clarity

Top 5 Audio Editing Software and Apps for Mac and Windows in 2025

Top Desktop Apps for Smooth Slow and Fast Motion Effects

LightCut 2025 Review: The Best Video Editor for Android and iPhone

The Best 7 Movie Makers for Mac Users in 2025

A Comprehensive Tutorial on Creating an AMV Using Your iPhone, iPad, or Android Device
A Guide to Putting Two Videos Side by Side in Adobe Premiere Pro

Top Sony Vegas Plugins to Enhance Your Video Editing Experience

Final Cut Pro vs DaVinci Resolve: Which Fits Your Editing Style?
Popular Articles

Top Backup Solutions for Google Workspace You Can Rely On

Best iPad Video Converter for Mac: Top 5 Tools for Smooth Playback

The Best Free Tools to Convert DAT Files into WMV Format

Top FTP Software for Mac Users: Free and Reliable Options

Solving Grammarly Issues in Google Docs: Quick and Simple Fixes

How to Use Postman for API Testing: A Complete Getting Started Guide
5 Effective Ways to Play a Video in Reverse with Ease

What Are the 5 Best Calendar Apps to Use in 2025?

Mastering Gameplay Recording: A Beginner’s Guide to Using LoiLo Game Recorder

6 Effective Ways to Fix Encoding Overloaded in OBS Studio

How to Easily Create Smooth Slow-Motion Videos in Adobe Premiere
