mww2
mww2
How to Make a Stunning Stop Motion Film Using Windows Movie Maker
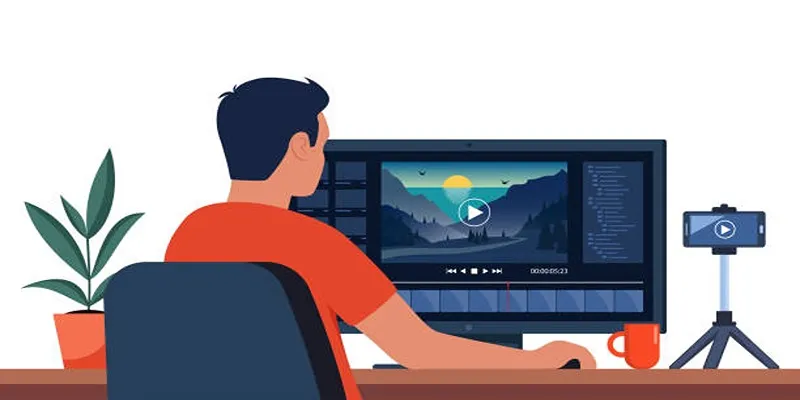
Stop motion videos might seem like a job for professionals, but they’re easier and more affordable than you think! With Windows Movie Maker, you can create eye-catching animations using just a few simple tools, patience, and creativity. This guide will show you how to make stop motion videos step-by-step, whether for short films, social media, or just a fun new hobby. Let’s get started!
What Is Stop Motion Animation?

Stop motion is a filmmaking technique where objects are photographed repeatedly with slight movements in between each shot. When these images are played back in sequence, they create the illusion of movement. You’ve likely seen examples of stop motion in classics like The Nightmare Before Christmas or Wallace and Gromit.
You don’t need a fancy recording studio to try this out. With basic tools like Windows Movie Maker and a little creativity, you can turn everyday objects into animated stories.
Why Use Windows Movie Maker for Stop Motion?
Windows Movie Maker has long been a favorite among beginner video editors, and for good reason:
- User-Friendly Interface: Its straightforward layout makes it perfect for creators with little to no editing experience.
- Budget-Friendly: It’s completely free! That means there’s no financial barrier to experimenting with stop motion.
- Versatile Features: Add effects, transitions, and music to your animation without needing additional software.
While it may lack the advanced features of professional editing tools, Windows Movie Maker offers all the essentials to make high-quality stop motion animations.
Tools You’ll Need to Get Started
Before jumping into the world of stop motion, here’s a quick checklist of what you’ll need:
- A Camera or Smartphone:
- A DSLR camera works best if you want high-quality images.
- Smartphones or a simple digital camera also work well for beginners.
- A Tripod or Sturdy Surface: Consistent framing is key to smooth stop motion. A tripod helps you maintain the same camera angle for each shot.
- Objects to Animate: This can be anything from clay models and Lego figures to office supplies or household objects.
- Good Lighting: Avoid flickering or uneven lighting by using desk lamps or natural light sources. Consistency is crucial.
- Windows Movie Maker Installed on Your Computer: If you don’t already have it, download and install Windows Movie Maker.
- A Little Time and Patience: Stop motion can be time-intensive since it requires careful attention to detail. But the results are worth it!
Step-by-Step Guide to Making Stop Motion with Windows Movie Maker
Step 1: Plan Your Storyboard
Before photographing anything, spend some time planning your animation:
- Write down the key scenes in your story.
- Sketch a quick storyboard to visualize the sequence of movements.
- Keep it simple if you’re a beginner!
Aim for at least 10-12 images per second of video to achieve smooth motion. For example, a 10-second clip will need a minimum of 120 photos.
Step 2: Set Up Your Workspace
Prepare your filming space to ensure consistency:
- Secure your camera on a tripod or stable platform.
- Arrange your objects in the starting position.
- Adjust your lighting to minimize shadows.
Take a few practice shots to check your framing and focus before proceeding.
Step 3: Capture the Frames
Now comes the fun part:
- Take a photo of your objects in their starting position.
- Make a small movement (e.g., adjust a character’s arm or move them slightly forward).
- Take another photo.
- Repeat this process until you’ve captured all the movements in your storyboard.
Pro-tip: Consistent spacing between movements creates smoother animation, while irregular movements can look choppy. Experiment to find the style you prefer.
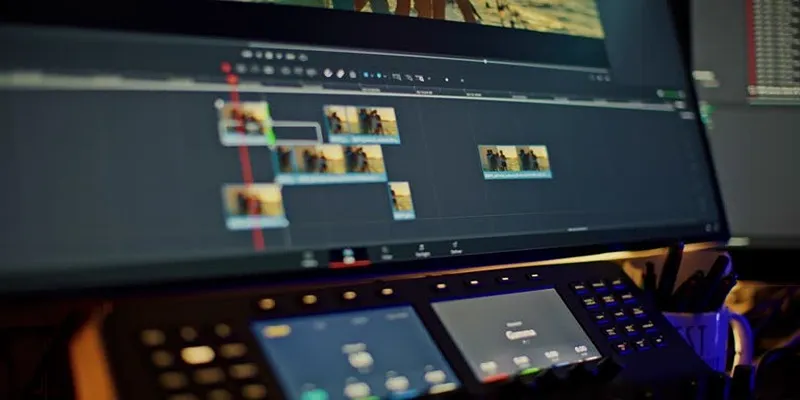
Step 4: Import Your Photos into Windows Movie Maker
Once you’ve captured your frames, it’s time to bring them into Windows Movie Maker:
- Open Windows Movie Maker.
- Click Add Videos and Photos to import your images.
- Arrange the photos in the correct sequence on the timeline.
Step 5: Adjust the Timing
By default, each photo might display for several seconds. For stop motion, you’ll want to speed this up:
- Select all your photos in the timeline.
- Click on the Edit tab.
- Adjust the duration for each photo. A setting of 0.1 to 0.2 seconds per image works well for smooth animation.
Play back your sequence to test the flow. Fine-tune the timing or rearrange frames if necessary.
Step 6: Enhance with Effects and Music
Bring your animation to life with additional elements:
- Add background music or sound effects using the Add Music option.
- Experiment with transitions and visual effects under the Animations tab.
- Include text or titles to introduce your video.
Remember, simplicity works best. Too many effects can distract from your animation.
Step 7: Save and Export
When you’re happy with your stop motion animation, it’s time to export:
- Click on Save Movie and choose the desired resolution (e.g., for YouTube or social media).
- Name your file and select where to save it.
- Share your masterpiece with the world!
Tips for Perfecting Your Stop Motion Animation

- Be Patient: Animation is time-intensive, but don’t rush the process. Consistency is key to great results.
- Experiment with Props and Materials: Explore different objects and textures to add variety and creativity to your projects.
- Keep Learning: Seek inspiration from online tutorials and stop motion communities. Platforms like YouTube are full of helpful guides.
- Practice Makes Perfect: Your first animation doesn’t need to be perfect. The more you practice, the better you’ll get.
Final Thoughts
While stop motion requires patience and attention to detail, the results are incredibly rewarding. This creative process not only allows you to tell unique stories but also teaches valuable skills like planning, photography, and editing. Windows Movie Maker is an excellent tool to get started, offering a budget-friendly and user-friendly introduction to the world of stop motion. With practice, you can create animations that captivate audiences and showcase your creativity.
Related Articles
Master the Art of Stop Motion in iMovie Step by Step
5 Best Free Stop Motion Apps for Beginners and Pros
Best Animation Software for Creative Work in 2025

Fix the Windows Movie Maker Black Screen Problem
How to Create an Amazing AMV Using Windows Movie Maker
How to Easily Edit Videos for Free Using Windows Movie Maker

Easy Steps to Convert MP4 for Use in Windows Movie Maker

Discover TikTok’s New Accessibility Features: What You Need to Know

8 Must-Have Productivity Tools Every Software Engineering Manager Needs

The 8 Best Live Chat Apps for Customer Support in 2025

The 8 Best To-Do List Apps for Android in 2025

Top 5 Mobile Scanning and OCR Software to Use in 2025
Popular Articles

The 8 Best ChatGPT Alternatives for Businesses and Content Creators

about sub

Simple Steps to Show Estimated Reading Time in WordPress Posts

Simple Methods to Convert VOB to WMV for Beginners

How to Convert OGV to MP4: 3 Fast and Easy Methods

Explore the Best Project Management Software for Construction Professionals in 2025

How to Change Your Zoom Profile Picture on Desktop and Mobile

20+ Best Digital Marketing Tools

How to Effortlessly Combine MP4 Videos on Your Desktop

10 Free eCommerce Tools to Help You Launch Your Online Store with Ease

6 Best Game Capture Tools for Smooth and Easy Recording