mww2
mww2
Best Video Presentation Makers to Try Instead of PowerPoint
PowerPoint is reliable, yes, but it’s also predictable. If you’re looking to shake off the same old slide format and bring some movement and spark into your presentations, video presentation makers are the way to go. They offer a more dynamic way to share ideas, explain concepts, or even pitch a product. What’s more, you don’t need to be a designer or video editor to get started.
Let’s go over seven tools that can help you create video presentations that look professional, hold attention, and do the talking for you.
Top 7 Video Presentation Makers to Design Presentations without PowerPoint
Visme
Visme walks the line between customization and convenience. While you can fine-tune nearly every detail of your design, it also offers a solid set of ready-made templates and animations to speed things up. There’s room to experiment without the learning curve dragging you down. You can add voiceovers, background music, and even interactive elements. It’s especially handy for business reports, pitch decks, or educational content that needs structure but not stiffness.
Animoto
Animoto simplifies the video-making process with its drag-and-drop builder. You start with a storyboard template, and then just slot in your own photos, clips, and text. It’s designed with speed in mind, and it suits marketers, teachers, and small teams looking to push out content fast. Its strength lies in how quickly you can turn raw assets into something that feels polished.
Canva
Most people know Canva for posters and social posts, but its video editor is surprisingly capable. You can make presentation videos using thousands of templates, and there are animation effects for text and objects. It also has a built-in library of stock music, videos, and icons. The simple layout and collaborative tools make it a favorite for teams working together in real- time.
Prezi Video
Prezi doesn’t just throw slides on a screen—it places your content next to you while you talk. That makes it ideal for virtual meetings, tutorials, or classes where face-to-face engagement is still needed. The layout is smooth, and the transitions between topics are more fluid than the blocky switch from slide to slide. It feels more like a story unfolding than a list of points.
Powtoon
Powtoon is built for animation-style videos. If you want a cartoon explainer vibe or need something less formal but still informative, this is the tool. You can mix characters, voiceovers, and motion graphics, all inside a timeline-based editor. It’s especially popular in education and internal team training, where clarity and lightness both matter.
Biteable
Biteable keeps it minimal. It offers a library of pre-made video scenes, so even if you don’t have any footage or images of your own, you can still build a clean-looking video. It’s best for short-form content—think quick explainers, announcements, or product intros. Everything feels stripped-down in a good way, helping you focus more on the message than the flash.
Vyond
If your presentation needs animated characters and scenes, Vyond is the go-to. It lets you create fully animated videos with lip-syncing, movements, and storyboards. You can set characters in different backgrounds and even build branching scenarios. It’s often used for corporate training and HR because it lets you build situations and guide viewers through them.
Synthesia
Synthesia stands out by letting you create video presentations with AI- generated avatars that speak your script. You type the content, choose a presenter, and the platform turns it into a spoken video. It’s especially helpful if you need a human touch but don’t want to film yourself. The avatars look natural, and you can choose from a range of voices and accents. It’s often used for training videos, internal communication, or tutorials where face-to-face clarity matters but time or budget is limited.

How to Use Visme to Make a Video Presentation (Without Using PowerPoint)
While each tool brings something useful to the table, Visme stands out if your goal is to create videos that look intentional without feeling overproduced. It’s approachable for beginners but doesn’t hold back those who want to tweak and refine more carefully. That makes it a solid choice whether you’re preparing a tutorial, proposal, or explainer. So, we’ll look into how to use Visme to create a presentation video that feels polished and professional.
Start by signing in to Visme and creating a new project. Select “Presentations” from the menu, but instead of picking a static slide format, choose a “Video Presentation” template. Visme will give you several pre- designed formats where slides transition smoothly and subtle animations are already built in. Now, choose a style that suits the tone of your message—whether it’s corporate, educational, or more casual. After that, begin by inserting your content. Type directly onto the slides, then customize fonts and colors to match your brand or preference. You can swap any element—text, icons, photos—just by clicking and selecting from the sidebar.
Next, move to audio. You can either upload a voiceover or record one directly in the tool. Each slide can have its own voice segment, making it easier to sync content with narration. Add background music from the built-in library if needed, but make sure it’s not too loud or distracting. Once your audio is in place, preview each transition. If anything feels too fast or too slow, use the animation timing settings to make adjustments. Once you’re satisfied with how everything flows, export the final file as a video. You can also share it directly with a link if you don’t want to download it.
Conclusion
If you’re tired of presentations that just sit there with bullet points, these video tools offer a more dynamic alternative. Whether you want animated scenes, screen-sharing with face-cam, or just a more engaging way to show ideas, there’s an option for each need. Visme, in particular, offers a sweet spot between simplicity and control, good for anyone who wants results without getting stuck learning new software. The best part? None of these tools requires a design degree to get started. Just pick one that fits your project and go from there.
Related Articles
10 Best Free Video Editing Tools to Make Social Media Videos Stand Out

Top Live Video Mixing Software for Creators
How to Use Kizoa Online Video Maker: A Complete Beginner's Guide
Top Video Editing Tools with a Wide Range of Free Sound Effects
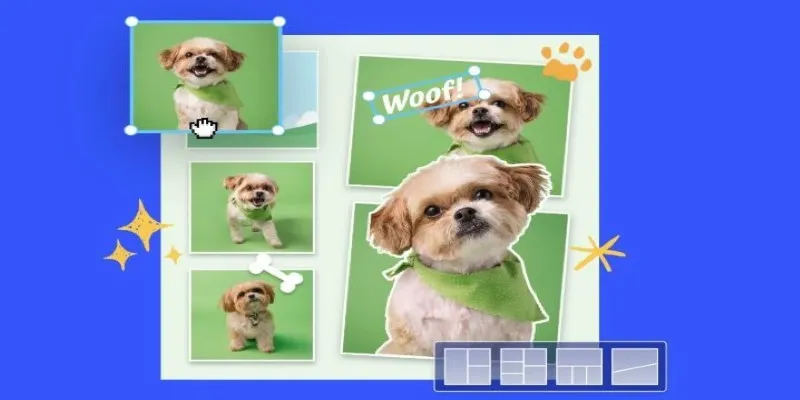
7 Best Online Tools to Create Picture and Video Collages

9 Free Tools to Speed Up a Video Online (No Downloads Needed)
Magisto: The Simplified Approach to Video Editing for Quick and Effective Content

Top 5 Free Video Enhancers to Instantly Boost Video Quality

LightCut 2025 Review: The Best Video Editor for Android and iPhone

Easy Ways to Record PowerPoint Slideshows as Videos with Narration

Best Free Video Splitters to Cut Your Clips Like a Pro
How to Easily Upload 4K Videos Recorded on Your Sony PMW
Popular Articles
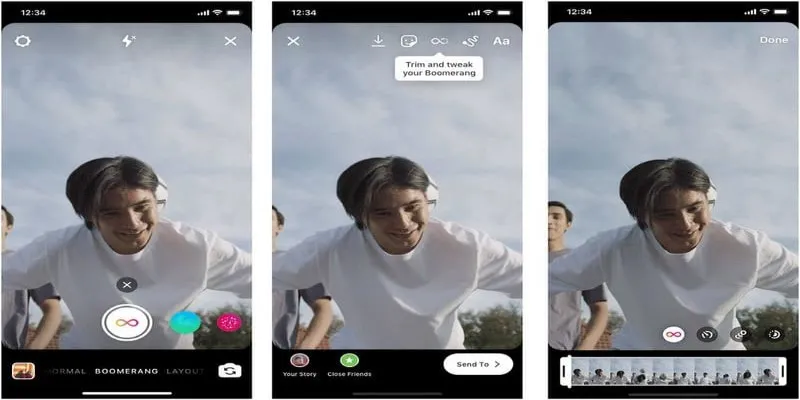
How to Loop a Video on Instagram Without Extra Hassle
Unlock Efficiency: 7 Hidden Calendly Settings to Streamline Your Schedule
Affordable eCommerce Software: Top 6 Solutions for Your Online Store
Convert MKV to MOV with These 2025 Online Tools

Streamline Your Workflow with the 9 Best AI Meeting Assistants in 2025

Top Transcription Tools in 2025 That Get the Job Done
How to Use Windows 10 Secret Screen Recorder: A Complete Guide

Asana vs. Jira: Which Offers Better Project Management?
Best Code Editor Apps in 2025 for Fast, Clean Coding

How to Use Variables in Google Docs for Smarter Document Automation: A Guide
Troubleshooting Video Editing Glitches: Tips and Fixes That Work