mww2
mww2
Free Video Splitters You Need for Seamless Video Editing
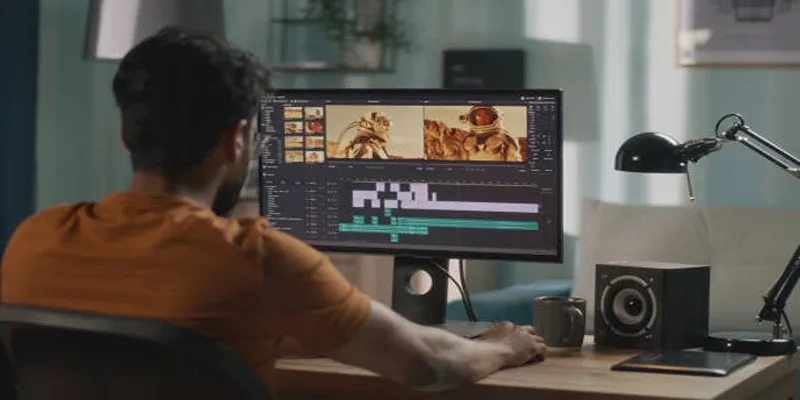
Editing video content can elevate your work from amateur to professional status, often starting with the simple task of splitting your clips. A reliable video splitter is crucial for any content creator, enabling you to trim footage, edit out unnecessary scenes, and produce a refined final product. Whether you’re an aspiring YouTuber, preparing presentations, or just cutting personal videos, finding the right tool is essential.
The Best Free Video Splitters in 2024

1. iMovie (Mac Only)
If you’re a Mac user, iMovie is readily available. It’s a robust video editing tool with built-in splitting capabilities, and best of all, it’s free for all macOS users.
How to Use iMovie to Split a Video:
- Import Your Video : Launch iMovie, click Create New Project, then choose Import Media to upload the video you wish to edit.
- Drag to Timeline : Move the imported video from the media library to the timeline at the bottom of the screen.
- Locate the Split Point : Position the playhead (the vertical white line) at the point in the video where you want to make the split.
- Split the Clip : Right-click on the timeline and select Split Clip , or use the shortcut Command + B for a quick split.
- Make Edits or Adjustments : Once split, you can trim, delete, or rearrange the individual sections as needed.
- Export Your Video : When satisfied with the edits, click on the Export button, choose the desired format, and save your video.
2. OpenShot
OpenShot is a free, cross-platform video editor perfect for cutting clips. Although it’s open-source, it boasts a professional suite of features.
How to Use OpenShot to Split a Video Clip:
- Import Your Video : Open OpenShot and drag your video file into the project files section.
- Add to Timeline : Drag the video from the project files section onto the timeline.
- Split the Clip : Move the playhead to the point where you want to split the clip, right-click on the video, and select Slice. Choose either “Keep Both Sides” or “Keep One Side” based on your needs.
- Save Your Project : After splitting, save your project and proceed with further edits or export your video.
3. Shotcut
Shotcut is another free solution providing extensive video-editing tools. It runs on all devices and offers high customization beyond just splitting.
How to Use Shotcut for Splitting Videos:
- Import Your Video : Open Shotcut and drag your video file into the timeline.
- Navigate to the Split Point : Use the playhead to find the exact frame where you want to split the video.
- Use the Split Button : Click the “Split at Playhead” button (scissors icon) to divide the video into separate segments.
4. Avidemux
Avidemux is ideal if you seek a lightweight program specializing in simplicity. It excels in basic functions like splitting and cutting without any unnecessary frills.
How to Use Avidemux:
- Install and Open Avidemux : Download Avidemux from the official website and install it on your device. Once installed, launch the program.
- Import the Video File : Click on the “File” menu and select “Open” to load the video you want to edit. You can also drag and drop the video file directly into the program.
- Set the Markers : Use the navigation bar to find the start point where you want to split the video. Set the ‘A’ marker at this point. Then, move to the endpoint and set the ‘B’ marker.
- Choose the Output Format : Select an appropriate output format from the dropdown menu on the left-hand side. Make sure it matches the desired file type for the edited video.
- Save the Edited File : After making your adjustments, click on “File” and select “Save.” Name your new file and ensure it saves in the chosen format.
5. VLC Media Player
VLC isn’t just a media player; it can also split videos quickly and effortlessly. While it’s not a full-fledged editing tool, its built-in “record” feature serves as an easy splitting option.
How to Use VLC to Split Videos:
- Open the Video in VLC : Launch VLC Media Player and open the video you want to split by clicking on “Media” and selecting “Open File.”
- Navigate to the Starting Point : Use the timeline to find the exact point where you want your clip to start.
- Enable Recording Mode : Go to “View” in the top menu and ensure “Advanced Controls” is enabled. This will display extra buttons above the playback controls, including the red “Record” button.
- Start Recording : Click the “Record” button, then press “Play.” VLC will begin recording from the selected time.
- Stop Recording : When you reach the desired endpoint, click the “Record” button again to stop recording.
- Locate the Saved Clip : VLC saves the clipped segment automatically in your system’s default video folder (e.g., “Videos” on Windows).
6. Kapwing (Online)
Kapwing is a free online tool ideal for splitting clips without needing to download software. It’s great for quick edits when you’re short on time.
How to Use Kapwing to Split Clips:
- Access Kapwing : Open your web browser and go to Kapwing’s website. No account is necessary, though creating one allows you to save your projects.
- Upload Your Video : Click on “Upload” to add the video you want to edit. You can also paste a video URL if the video is hosted online.
- Trim or Split : Use the timeline editor to drag the playhead to the points where you’d like to split the video. Click on the “Split” tool to divide the video into separate clips.
- Preview Your Work : Play the edited video to ensure the splits are accurate and adjust as needed.
- Export and Download : Once satisfied, click “Export” to process the video. After processing, download the file or share it directly to social media platforms like TikTok, Instagram, or YouTube.
7. Clideo Video Cutter (Online)
Clideo is a sleek online tool designed exclusively for cutting and splitting videos. Simply upload your footage, trim it to your liking, and download the result.
How to Use Clideo:
- Upload your video file using the “Choose file” button.
- Drag the sliders to select the desired section of the video.
- Click “Cut” to process your selection.
- Download the trimmed video or save it to cloud storage options like Google Drive or Dropbox.
8. DaVinci Resolve (Advanced Users)

For those ready to take their editing to the next level, DaVinci Resolve is a powerhouse. While it’s slightly more complex to learn, its capabilities are unmatched.
How to Use DaVinci Resolve for Splitting Videos:
- Import your video into the Media Pool.
- Drag the video onto the timeline.
- Use the Blade tool (shortcut ‘B’) to make precise cuts where needed.
- Switch back to the Selection tool (shortcut ‘A’) to move or delete segments.
- Export the final edited video via the Deliver tab, selecting your desired settings.
Conclusion
Whether you’re creating videos for social media, personal projects, or professional presentations, the right video splitter can transform your work. These free tools help you cut distractions and spotlight key moments with ease. Explore options like iMovie, DaVinci Resolve, or VLC, suited for all skill levels. Experiment with features and find what complements your editing style. Take your video content to the next level with these powerful, user- friendly tools.
Related Articles

LightCut 2025 Review: The Best Video Editor for Android and iPhone

Free Video Editing Software for Mac OS X: 10 Excellent Choices

Top Video Editing Tools with a Wide Range of Free Sound Effects

CapCut, WeVideo & More: Tools That Simplify Video Editing
10 Best Free Video Editing Tools to Make Social Media Videos Stand Out

What is HitFilm Express? A Beginner's Guide for Mac Users

Top Video Editors for Android – Best Alternatives to iMovie

How to Effortlessly Create a Video Collage on Your iPhone

9 Free Tools to Speed Up a Video Online (No Downloads Needed)

Magisto: The Simplified Approach to Video Editing for Quick and Effective Content

Top 4 Vertical Video Editors to Edit Vertical Videos Quickly

Top 5 Free Video Enhancers to Instantly Boost Video Quality
Popular Articles

The Best Webinar Software for Marketers in 2025 to Grow Your Audience and ROI
What Is AMV: A Beginner's Guide to Anime Music Videos
6 Best Accounting Apps for Android to Simplify Your Finances
Top 5 Video Joiners for Combining SWF Files Effortlessly

High-Quality Music Video Editing: Best 5 Desktop Software Picks
6 Document Management Mobile Apps Users Love For Seamless Organization
How to Create and Customize Airtable Views for Better Organization

How CoverDoc Uses AI to Revolutionize Cover Letter Writing for Job Seekers

5 Best Apps for Schedule Management That You Can't Ignore in 2025

The Best WebM Players for iPhone, Android, Windows, and Mac
Top 5 Split Screen Video Editors for Windows 10 and Mac Users