How to Add a Restaurant Reservation System in WordPress
Managing a restaurant involves more than just serving delicious meals. You need a streamlined restaurant reservation system, especially since many customers prefer booking online rather than calling. A WordPress booking system is an invaluable tool for simplifying the reservation process, allowing customers to select their group size, date, and time effortlessly. You don’t need any technical knowledge to set it up—WordPress and its plugins handle the heavy lifting.
Why Use a Restaurant Reservation System?
A good plugin not only saves you time but also helps prevent booking errors, enhancing the customer experience. This guide will walk you through the steps to integrate a restaurant reservation system into your WordPress site, regardless of its age. Let’s make booking easier and improve your restaurant’s operations.
How to Easily Add a Restaurant Reservation System in WordPress
Integrating a reservation system into WordPress helps manage bookings, minimize misunderstandings, and offer customers a seamless experience.
Step 1: Choose the Right Plugin
Your first step is selecting a reliable WordPress booking plugin. Here are some popular options:
- WP Restaurant Booking
- Restaurant Reservations by Theme of the Crop
- OpenTable Widget
- Bookly
Each plugin offers unique features like calendar syncing, email confirmations, online payments, table booking, and SMS alerts.

Step 2: Install and Activate the Plugin
Once you’ve selected a plugin, it’s time to install it. Follow these steps in your WordPress admin dashboard:
- Navigate to Plugins > Add New
- Search for your chosen plugin
- Click Install Now next to the correct plugin
- Activate the plugin after installation
Most plugins provide a settings menu in your dashboard. For premium plugins, use Plugins > Add New > Upload Plugin.

Step 3: Configure Basic Settings
Configure the plugin using the setup wizard or instructions provided. Common settings include:
- Opening hours
- Reservation time slots
- Number of guests per table
- Email notification settings
- Buffer time between reservations
Enter your restaurant’s working hours and block off specific dates like holidays. Ensure you enter your email to receive reservation alerts.
Step 4: Add the Reservation Form to Your Website
With settings ready, it’s time to add the form. Most plugins use shortcodes like [restaurant-reservation] to embed an online booking form on your website. Create a page titled “Book a Table” or “Make a Reservation” and insert the shortcode.
- Go to Pages > Add New
- Title your page
- Paste the shortcode in the content area
- Click Publish
Preview the page to ensure the form functions well and looks appealing. Some plugins offer Gutenberg widgets or blocks for placing forms on your homepage or sidebar.
Step 5: Customize the Reservation Experience
Ensure the form aligns with your restaurant’s design and branding. Most plugins offer customization options for fonts, button colors, and background colors. You can also customize confirmation messages, like “We appreciate your booking. We look forward to seeing you.”
Consider adding custom fields such as:
- Special requests
- High chair needed
- Occasion type (birthday, anniversary, etc.)
Step 6: Test the Reservation System
Before going live, test the system as if you’re a customer. Make a test reservation and check for:
- Fast loading of the form
- Receipt of confirmation emails
- Correct time slot availability
- Working guest limits
Test on mobile devices too, as many users book via smartphones. If issues arise, adjust plugin settings until everything functions smoothly.
Step 7: Enable Notifications and Reminders
Notifications keep you updated on bookings. Most plugins allow SMS or email notifications for:
- Booking confirmations for guests
- Booking alerts for staff
- Reminder emails a day before the reservation
These features help reduce no-show rates and build client confidence. Some plugins sync with Google Calendar, allowing you to view reservations directly in your calendar.
Step 8: Monitor and Manage Bookings
Once live, manage bookings from your WordPress dashboard using the Bookings tab. Here you can:
- View upcoming reservations
- Approve or reject bookings
- Edit or cancel bookings
- Filter by date, guest name, or status
Export booking lists if needed to guide inventory and staffing plans. Analyze customer behavior to inform your business strategy.
Step 9: Keep the Plugin Updated
Regularly update your plugin for security and performance enhancements. To update:
- Go to Dashboard > Updates
- Find the plugin in the list
- Click Update Now
An outdated plugin may cause bugs or security issues. Set a monthly reminder to check for updates. If using a premium plugin, ensure your license is active for new features and support.
Conclusion
Incorporating a restaurant reservation system in WordPress is a strategic move to streamline your booking process. It saves time, improves customer satisfaction, and reduces no-shows. The right plugin makes setup easy and user-friendly, without requiring coding skills. From custom time slots to mobile optimization, WordPress plugins provide all you need. Test thoroughly and keep everything up-to-date for optimal performance. Once your system is up, promote it to boost customer engagement and visibility. Start today and simplify table bookings for your business and patrons with a more efficient approach.
Related Articles

What is the Hello Dolly WordPress Plugin: A Guide for Beginners

A Comprehensive Guide to Creating a Sticky Floating Sidebar Widget in WordPress

Top Reasons to Add a Floating Share Box to Your WordPress Site

Discover the Top 5 Tools for Effortless AVI Video Conversion
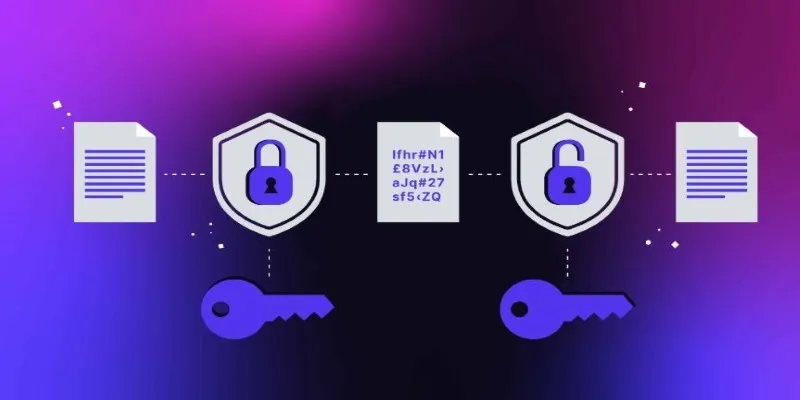
What Encryption Really Does in Modern Online Tools

The Power of Online Tools: Definition, Purpose, and Impact

Compress PDF Files Under 1MB While Maintaining High Visual Quality

The 10 Best Online Form Builder Apps You Need to Try in 2025
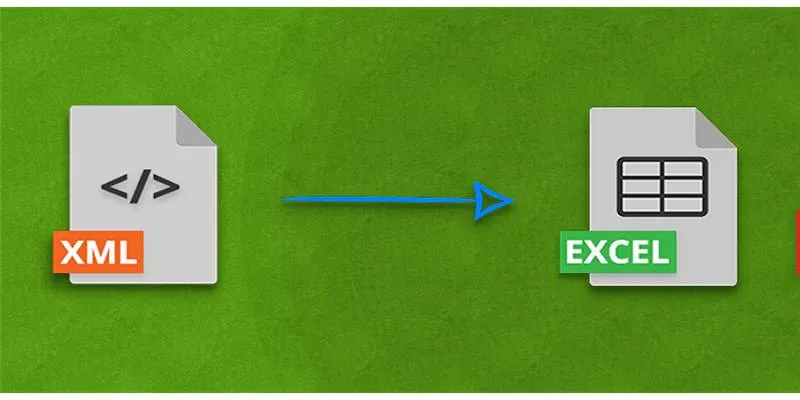
Convert XML to Excel Online – Easy & Quick Method (No Coding Required)
10 Best Issue and Bug Tracking Apps to Streamline Your Workflow

Exploring the Top 5 WordPress Business Directory Plugins for 2025: Free & Premium Choices

Master the Art of Custom Notifications for Emails and Form Submissions
Popular Articles

Understanding YouTube Demonetization Rules in 2025

Best ERP Software Solutions for Businesses in 2025

Best Free Tools to Convert MKV to MP4 Online and Offline

Invoice Automation Explained: A Game-Changer for Accounts Payable Teams

Quick and Easy Ways to Put Videos on Your iPod

Step-by-Step Guide to Reversing Videos on Android Easily

The Best Email Drip Campaign Software: Top Picks for Seamless Automation

5 Highly-Rated Transactional Email Platforms for Seamless Messaging

Simplify Your iPhone Experience: Safely Remove These Preinstalled Apps

How to Use Tags and Labels to Organize Your Files: A Step-by-Step Guide

Which Are The 7 Best URL Shorteners: Simplify Your Links in 2025
 mww2
mww2