mww2
mww2
Simple Tips for Recording Videos with Audio on Chromebooks
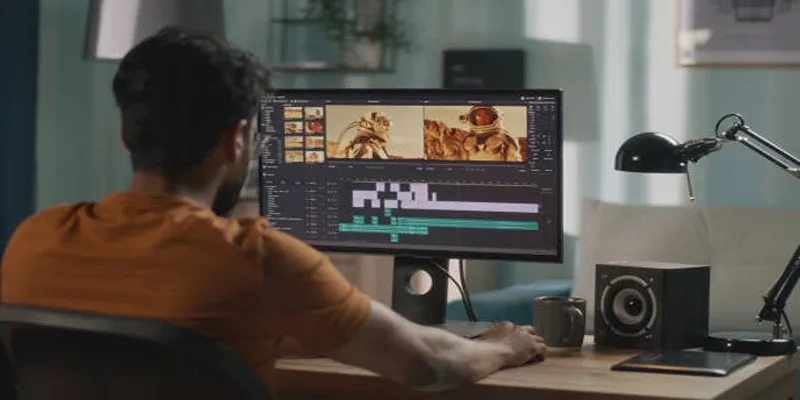
Work and educational institutions, along with casual users, benefit from using Chromebooks as their essential computing device. Their simplicity truly shines through their video and audio recording functions. Chromebooks include user- friendly tools to handle video recording tasks, covering everything from lectures to social media content creation and basic voice recording needs. This guide explains step-by-step methods to record high-quality video and audio using your Chromebook.
Why Record Video and Audio on a Chromebook?
Chromebooks are designed for simplicity, portability, and versatility. When it comes to recording video or audio, here are some compelling reasons to use them:
- Built-in tools for seamless recording (no extra downloads required).
- Lightweight setup, perfect for on-the-go creators or students.
- Integration with cloud storage like Google Drive, so you can back up recordings instantly.
- Compatibility with third-party extensions and apps for advanced editing.
Whether you need to record a virtual meeting, a tutorial, or creative content, your Chromebook is more than up to the task.
How to Capture Video on Your Chromebook

Recording video is easier than you might think, thanks to built-in functionality and third-party tools. Here are the top methods to get started:
1. Use the Built-In Camera App
Your Chromebook comes with an integrated Camera app that allows you to record videos right out of the box.
Steps:
- Open the Launcher (circular icon in the bottom-left corner).
- Type “Camera” in the search bar and click the app to open it.
- Switch to video recording mode by selecting the Video icon on the right-hand side.
- Press the red Record button to start recording.
- Press the button again to stop the recording, and your video will be automatically saved in the Files app under “Camera.”
Ensure your lighting is adequate, and adjust your Chromebook’s angle for the best video framing.
2. Use Screen Capture for Recording On-Screen Activities
If you need to record what’s happening on your screen—for example, during an online class or to create software tutorials—Chromebooks have a native Screen Capture feature.
Steps:
- Press Ctrl + Shift + Show Windows (the button with the rectangle and lines on your keyboard).
- Select the Camera icon from the menu at the bottom of your screen.
- Choose between recording the full screen, a specific window, or part of your screen.
- Click Record , and Chromebooks will start capturing both video and, if needed, audio.
- Press Stop in the bottom-right corner when you’re done. The video will be saved in the Downloads folder.
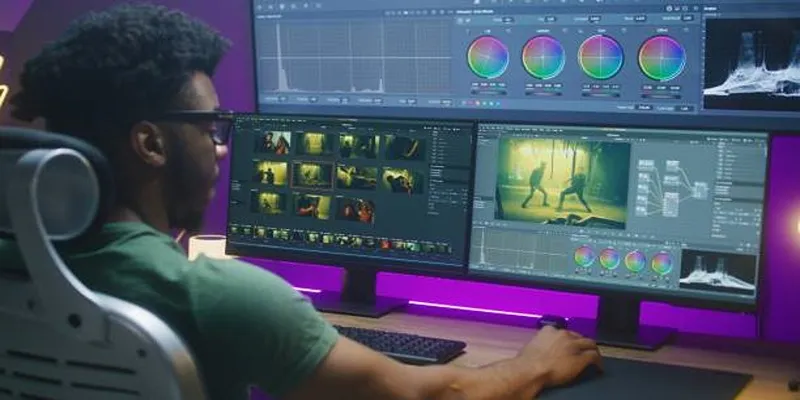
3. Leverage Extensions and Apps for Advanced Controls
Looking for more advanced features like effects, filters, or HD quality? Third-party apps and Chrome extensions can take your recordings to the next level.
How to Use Loom for Recording
- Install the Loom Chrome extension from the Chrome Web Store.
- Log in or create a free Loom account.
- Click the Loom icon in your browser to open the recording options.
- Choose your recording preferences, such as screen, webcam, or both.
- Press Start Recording to begin and follow any on-screen prompts.
- Once finished, hit Stop Recording ; your video will automatically upload to Loom.
- Access, edit, and share the recording directly from your Loom account.
How to Use WeVideo for Recording
- Sign up for a WeVideo account or log in if you already have one.
- Select Create New Project and choose the type of video you want to record.
- Click on the Record option to start capturing your screen, webcam, or both.
- Follow the setup prompts to configure your recording settings.
- Press the Start Recording button and begin your recording.
- When finished, click Stop Recording and save your video to the project.
How to Record Audio on Your Chromebook
Whether it’s a podcast, an interview, or a quick voice memo, recording audio is just as straightforward as video.
1. Use Online Voice Recorder Tools
Chromebooks don’t come with a dedicated voice recorder app, but there are free online tools that work perfectly.
Steps with an Online Recorder:
- Visit reputable platforms like Online Voice Recorder or Vocaroo.
- Grant microphone access when prompted.
- Click Record to start your session. Speak clearly into your Chromebook’s microphone.
- Click Stop and download the file directly in formats like MP3.
For best results, use a pair of external headphones with a built-in mic. This reduces background noise and improves sound clarity.
2. Download a Dedicated Audio Recording App

For offline recording or more specific needs, apps like Audio Recorder from the Chrome Web Store offer great functionality.
How to Use Audio Recorder
- Open the Audio Recorder app on your Chromebook.
- Adjust the app settings, such as file format and audio quality, according to your preferences.
- Click the Record button to begin recording your audio. Speak clearly for the best results.
- Press Stop when finished, and save your recording to your desired location.
3. Record with Note-Taking Apps
Certain note-taking apps such as Notion and Evernote include built-in voice recording tools. These are excellent for multitasking scenarios like recording a meeting while taking notes.
How to Use Notion for Voice Recording
- Open a page in Notion where you want to record audio.
- Click the + button or type /audio to insert the audio recording block.
- Press the Record button to start recording your voice.
- Once finished, save the recording, and it will be embedded directly into your page.
How to Use Evernote for Voice Recording
- Open the Evernote app and select the note where you want to add the recording.
- Tap the microphone icon in the toolbar at the bottom of the note editor.
- Press Record to begin capturing audio.
- Once you’re done, tap Stop to end the recording.
- The audio file will be automatically saved within the note, allowing you to access it anytime.
Conclusion
Recording video and audio on a Chromebook doesn’t require technical expertise or expensive tools. With built-in apps like the Camera and Screen Capture features, along with powerful third-party extensions, capturing high-quality content has never been simpler. Whether you’re working from home, attending online classes, or exploring content creation, your Chromebook is the perfect device to bring your ideas to life. Start experimenting with these tools and find the method that works best for you.
Related Articles

7 Best Online Tools to Create Picture and Video Collages
Top 5 Split Screen Video Editors for Windows 10 and Mac Users
How to Edit and Merge GoPro Videos on Your Windows PC
Top Free Software to Convert MKV to AVI for Windows Users

Master the Green Screen Feature in iMovie 11: A Step-by-Step Guide
Snagit vs Camtasia: Choosing the Right Tool for Your Screen Capture and Video Editing Needs

Top Methods to Combine Multiple Videos into One Screen on Android
A Step-by-Step Guide to Creating a Split Screen Video with Movavi
Step-by-Step Guide: 4 Ways to Put Two Videos Side by Side

9 Free Tools to Speed Up a Video Online (No Downloads Needed)

Magisto: The Simplified Approach to Video Editing for Quick and Effective Content

Elevate Your Strategy with the Best Content Marketing Tools of 2025
Popular Articles

Effortless Ways to Enjoy iPod Videos on Your Television

The Best Methods for Adding Videos to Your BlackBerry Device

AMR to MP3 Made Easy: 8 Straightforward Ways to Do It
Top Methods to Convert and Crop Your Videos to GIFs

RAW vs. JPEG: The Photographer’s Guide to Choosing the Right File Format

Top Free Online Tools to Convert WEBP Images to JPG Format Easily

Top Sites for Learning Go Programming Online
The 6 Best Airtable Alternatives in 2025 to Organize, Track, and Collaborate Better

How to Use Canva AI Tools to Enhance Your Designs
Best AI Video Watermark Removers Online: Top 4 Tools for Seamless Editing

The 10 Best Online Form Builder Apps You Need to Try in 2025