mww2
mww2
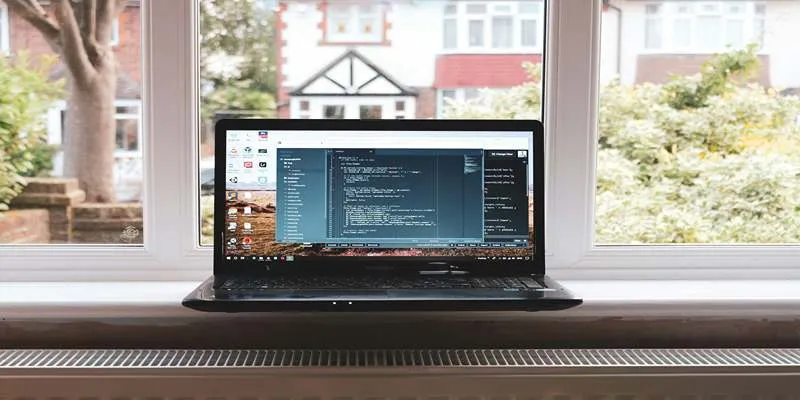
The Best Way to Join GoPro Videos Together Using Windows
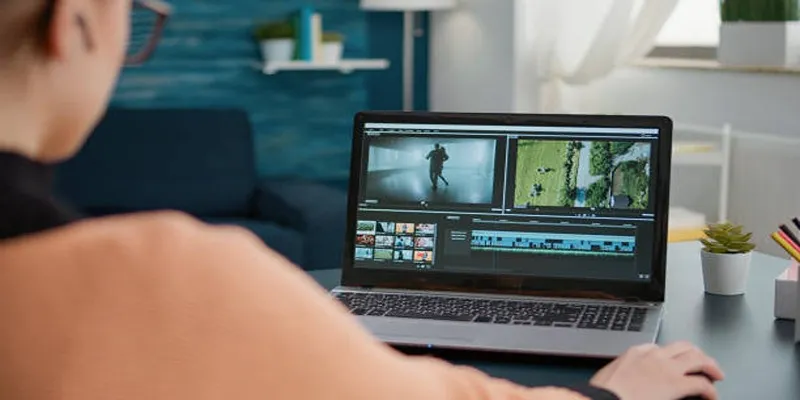
GoPro cameras are perfect for capturing high-action moments, from epic snowboarding runs to underwater adventures. But what happens after you’ve recorded hours of raw footage? To truly showcase your skills, you need to edit and merge clips into a seamless, polished video. If you’re working on a Windows PC and wondering how to get started, this guide is for you. Here, we’ll walk you through the process of editing and merging GoPro videos using simple, effective tools.
Getting Started with GoPro Editing on Windows

Before diving into the technical steps, it’s essential to set yourself up for a smooth editing process. Start by checking these prerequisites:
- Transfer Your Footage: Connect your GoPro to your Windows PC using a USB cable or an SD card reader. Move your video files to a convenient folder for editing.
- Choose the Right Editing Software: Windows offers multiple video editing tools. Beginners will benefit from specific tools tailored for their needs. Read on to find out the best options for you.
- Ensure Recommended Specs: Your PC should have at least 8GB of RAM and a multi-core processor to edit large GoPro videos successfully, along with sufficient storage capacity.
Best Video Editing Tools for GoPro on Windows
Here are three user-friendly tools that make editing and merging GoPro videos on Windows a breeze:
1. GoPro Quik for Desktop
A perfect initial software solution for beginners is GoPro’s official software, Quik. It offers an easy-to-use lightweight interface with essential features.
How to Use GoPro Quik for Desktop
- Download and install GoPro Quik for Desktop from the official GoPro website.
- Connect your GoPro camera or insert the SD card into your computer.
- Launch the software and import your video files by clicking on the “+” icon.
- Use the editing tools to trim, merge, or add music to your videos.
- Export your final video in the desired resolution and format.
2. Adobe Premiere Pro
Adobe Premiere Pro is the industry standard for video editing and is ideal for professionals or those seeking advanced features.
How to Use Adobe Premiere Pro
- Open Adobe Premiere Pro and create a new project.
- Import your video files by selecting “File” > “Import” or drag them directly into the project window.
- Arrange your video clips on the timeline in the desired order.
- Use the editing tools to cut, trim, and adjust your clips as needed.
- Add transitions, effects, and audio enhancements to refine your video.
- Preview your work and make any final adjustments.
- Export your video by selecting “File” > “Export” > “Media” and choose the preferred format and resolution.
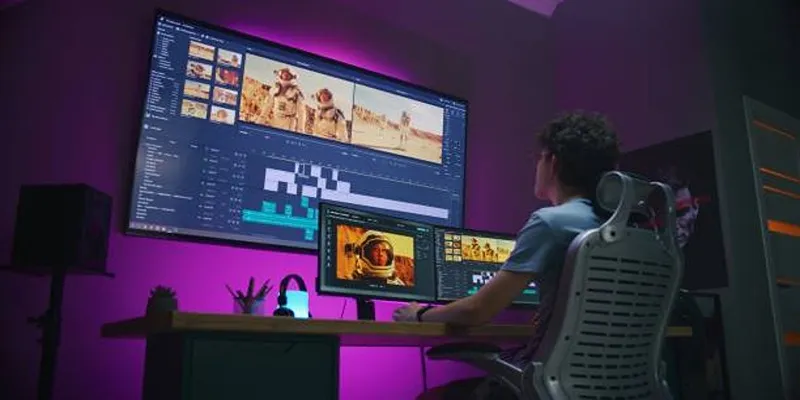
3. DaVinci Resolve
DaVinci Resolve is a powerful video editing tool that offers many professional-grade features for free. It’s great for editing GoPro footage, especially if you’re on a budget.
How to Use DaVinci Resolve
- Import your GoPro footage by selecting “File” > “Import Media.”
- Drag your video clips into the timeline to begin editing.
- Use the “Cut” page to trim or splice your clips as needed.
- Adjust color and enhance footage using the color grading tools in the “Color” page.
- Add transitions and effects to smooth out your edits.
- Once finalized, export your video by navigating to the “Deliver” page and choosing your desired settings.
Editing GoPro Videos in 4 Simple Steps
Once you’ve chosen your editing software, follow these steps to refine your clips:
1. Trim Unnecessary Footage
No one wants to watch hours of redundant content. Identify the key moments in your footage and remove unnecessary parts. All editing software, including Quik and Premiere Pro, allows you to split and cut your clips.
2. Apply Color Correction and Filters
GoPros sometimes capture footage that’s too dark, too bright, or lacking vibrant colors. Adjust the brightness, contrast, and saturation to make your video visually appealing. If your software supports it, apply a LUT (look-up table) for a professional-grade filter transformation.
3. Stabilize Shaky Footage
One challenge with GoPro footage is motion shakiness. Most tools, even beginner-friendly ones like Quik, offer stabilization features to reduce this issue, giving your video a smoother, polished look.
4. Add Music and Sound Effects
A great soundtrack can elevate your video! Choose royalty-free music that matches the vibe of your content. Don’t forget to adjust the audio levels to balance dialogue, ambient sounds, and background tracks.
Merging GoPro Clips Seamlessly
Once your clips are edited, it’s time to combine them into a single cohesive video. Here’s how to do it effectively:
- Order your clips in a logical sequence (chronological or thematic).
- Use transitions sparingly to maintain flow between clips.
- Review your timeline and ensure there’s no abrupt jumping between clips.
- Export your final video in a resolution that matches your original footage (e.g., 1080p or 4K).
Most editing tools also include preset export options optimized for platforms like YouTube, Instagram, or Vimeo.
Additional Tips for Stunning GoPro Edits

- Record in Protune Mode: While filming, use GoPro’s Protune mode for higher-quality footage. This gives you more control over settings like white balance and ISO.
- Organize Your Clips: Before editing, sort your clips into folders based on activity or location to speed up the editing process.
- Use Slow Motion Sparingly: GoPro features high frame rates for slow-motion effects. Use them to highlight action-packed moments, but avoid overusing them, as it can make videos drag.
- Preview Before Exporting: Play your timeline multiple times to catch small errors or areas needing adjustment.
Conclusion
Editing and merging GoPro videos on a Windows PC can feel overwhelming at first, but with the right tools and approach, it becomes a fun and rewarding process. Whether you’re creating travel vlogs or action-packed highlights, this guide has everything you need to get started. Remember, practice makes perfect. The more you edit, the better you’ll become at telling your story through video. Grab your footage, fire up your editing software, and start creating today!
Related Articles

LightCut 2025 Review: The Best Video Editor for Android and iPhone

Magisto: The Simplified Approach to Video Editing for Quick and Effective Content

KineMaster Video Editing App Review: A Mobile-Friendly Powerhouse

PowerDirector: A Fast and Accessible Video Editing Tool for Everyone

Effortless Ways to Place Videos Side by Side on Your Computer

Top Methods to Combine Multiple Videos into One Screen on Android

9 Free Tools to Speed Up a Video Online (No Downloads Needed)

CapCut, WeVideo & More: Tools That Simplify Video Editing

Top Tools and Tips for Making Multi-Screen Videos on Windows and Mac
A Step-by-Step Guide to Creating a Split Screen Video with Movavi
Step-by-Step Guide: 4 Ways to Put Two Videos Side by Side

WeVideo: A Browser-Based Video Editor That Actually Makes Life Easier
Popular Articles
Compress PDF Files Under 1MB While Maintaining High Visual Quality
Best Free Tools to Convert MKV to MP4 Online and Offline

Easy Ways to Change 4K MTS Footage into MPEG Formats
Top Tools for Playing Windows Games on Linux 2025
Free Prezi Slideshow Creation Made Simple: Start to Finish Tutorial

Best Tools for 1920x1080 Image Conversion: Comprehensive Analysis
Top 2 Free Methods to Create Stunning Picture-in-Picture Videos

The Tool Debate: Browser-Based or Installed
Top AVI Converters for Mac: 7 Popular Tools to Try in 2025

Step-by-Step Guide to Adding Media in WordPress Comments with oEmbed
Top 5 4K Monitors You’ll Love for Gaming, Work, and Beyond