mww2
mww2
Top Techniques for Split Screen Videos: 4 Practical Methods
Creating side-by-side videos offers a dynamic way to compare scenes, present alternative viewpoints, and explore creative possibilities. This technique is easier than it appears and is useful for both professional projects and social media posts. Regardless of your skill level, you can seamlessly combine videos using the right methods and tools. This guide provides step-by-step instructions for four accessible approaches to accomplish this task.
Why Use Side-by-Side Videos?
Here’s why side-by-side videos are beneficial:
- Visual storytelling : Displaying multiple perspectives at once captivates audiences and enhances message delivery.
- Comparisons : Ideal for showcasing product differences, before-and-after results, or simultaneous events.
- Reactions : Popular for live commentary or reaction clips, providing engaging content.
- Social media engagement : Eye-catching split-screen videos are perfect for platforms like TikTok, Instagram, or YouTube to capture viewer attention.
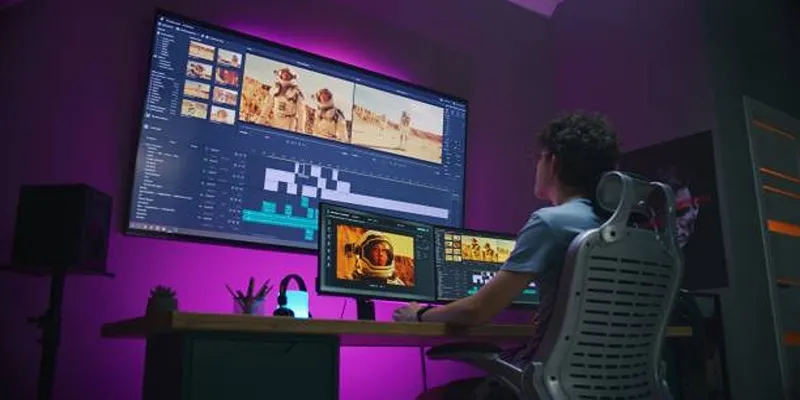
Method 1: Use Video Editing Software
Starting with full-featured video editing software is the easiest and most flexible approach to creating side-by-side videos.
Tools to Use:
- iMovie (Mac)
- CapCut (Mobile/Windows)
- DaVinci Resolve (Mac/PC)
Steps:
- Import Your Videos: Open the software and upload the two videos you wish to combine.
- Drag Videos to the Timeline: Place each clip on separate video layers using the timeline feature.
- Resize and Adjust: Resize each video frame to occupy half of the screen, aligning them horizontally or vertically.
- Add Borders and Edits: Enhance visuals by adjusting borders or adding text and separator lines for clarity.
- Export Your Video: Save your project and export it in your desired resolution, like 1080p for HD quality.
Tools like iMovie or CapCut make this method beginner-friendly, fast, and typically free!
Method 2: Try Online Video Editors
Online editors provide a quick and straightforward way to create side-by-side videos, with many platforms offering browser-based, drag-and-drop interfaces.
Tools to Use:
- Kapwing
- Canva Pro
- Clideo
Steps:
- Go to the Online Editor: Visit the editor’s website (e.g., Kapwing.com) and upload your video clips.
- Choose a Split-Screen Layout: Select a pre-designed layout that fits your vision.
- Edit and Sync (Optional): Make adjustments like background colors, subtitles, or transitions. Synchronize the videos if necessary.
- Export and Download: Export the finished video and download it directly to your device.
This method is great for creators on the move or those using devices with limited storage. Note that some platforms may require a subscription for additional features like watermark removal and higher resolution exports.
Method 3: Use Mobile Apps for Quick Edits
For mobile users, apps provide a quick and convenient way to create side-by- side videos, especially for social media content.
Tools to Use:
- CapCut (iOS/Android)
- Video Collage Maker
- Video Leap (Pro features available)
Steps:
- Download a Video Editing App: Install a reliable app from your app store. CapCut is a recommended free option.
- Select a Collage Option: Use the app’s “collage” or “split-screen” feature to line up the videos side by side.
- Edit as Needed: Enhance your video with text, stickers, or music. Choose a consistent color theme for aesthetics.
- Export to Social Media: Share directly to platforms like Instagram or TikTok from the app.
Mobile apps are perfect for short-form content and quick edits, ideal for creators primarily using social platforms.
Method 4: Use Advanced Software for Professional Results
For superior quality, professional video editing software offers extensive options for precision, customization, and creative flexibility. While these tools may have a learning curve, they are worthwhile for commercial or high- quality projects.
Tools to Use:
- Adobe Premiere Pro
- Final Cut Pro
- Sony Vegas Pro
Steps:
- Import Videos to Your Workspace: Load your video files into the software’s media bin.
- Align the Clips on the Timeline: Use cropping and resizing tools to position clips side by side.
- Add Effects & Details: Enhance your videos with professional tools for transitions, colors, audio, and alignment.
- Export with High-Quality Settings: Use software like Premiere Pro and Final Cut Pro to export in formats optimized for web or broadcast.
Tips for the Best Split-Screen Results

Here are some tips to enhance your split-screen videos:
- Pay Attention to Aspect Ratios: Ensure the final video is suitable for its platform, like 1:1 for Instagram or 16:9 for YouTube.
- Add Subtitles and Labels: Use labels to clarify each side when comparing products or narrating stories.
- Test and Sync Audio: Ensure clear and synchronized audio for professional results.
- Preview Your Work on Final Platforms: Check your video on various devices to confirm quality across screens.
Conclusion
Side-by-side videos offer endless possibilities for content creators, digital marketers, and small business owners. Whether showcasing a product’s features or sharing a personal transformation, the split-screen format is versatile and effective. Follow these methods to create captivating side-by-side videos with ease, incorporating engaging visuals, clear audio, and professional touches to make your videos stand out.
Related Articles

Magisto: The Simplified Approach to Video Editing for Quick and Effective Content

LightCut 2025 Review: The Best Video Editor for Android and iPhone

9 Free Tools to Speed Up a Video Online (No Downloads Needed)

KineMaster Video Editing App Review: A Mobile-Friendly Powerhouse

WeVideo: A Browser-Based Video Editor That Actually Makes Life Easier

VideoShow Review: A Mobile Editor for Quick, Casual Projects

PowerDirector: A Fast and Accessible Video Editing Tool for Everyone

Top Tips for Designing Eye-Catching Video Presentations on Any Device

Top 5 Free Video Enhancers to Instantly Boost Video Quality

What is HitFilm Express? A Beginner's Guide for Mac Users

Simple Tutorial: How to Convert H.265 to H.264 Easily

CapCut, WeVideo & More: Tools That Simplify Video Editing
Popular Articles

Free and Powerful: 8 AI Image Enhancers to Boost Photo Quality
Choosing the Right 4K Video Upscaler: Top Five Picks

How to Set Custom Avatars for Users in WordPress Without Gravatar: A Guide

Struggling to Upload Videos to Instagram? Try These 5 Quick Fixes
Is Wondershare DemoCreator Worth It? A Full Performance Review

3 Essential Accessibility Tech Tools to Make Work More Manageable

How to Fix Khan Academy Buffering and Stream Videos Smoothly

Tools in the Cloud: The Future of Work Made Simple

Restoring Your WordPress Database to Default State

Outlook vs. Gmail: Which Email Platform Wins in 2025?

The Best 5 PDF Editing Tools Compared for Fast and Easy File Changes