 mww2
mww2
How to Make Stunning Videos with the Green Screen Tool in iMovie 11
High-quality video production can be achieved through iMovie 11 without costly programs or extensive video editing skills. Users who work with iMovie 11 can find the green screen feature serves as their main tool for video project enhancement. Learning how to apply iMovie 11’s green screen feature requires this guide demonstrates the entire color key process from shooting to post- production enhancement.
What is the Green Screen Feature in iMovie 11?
The green screen feature, also known as chroma key, allows video editors to replace a solid-colored background (usually green or blue) behind a subject with another chosen video or image. It’s a widely used technique in Hollywood, but it’s also a practical tool for creators making YouTube videos, presentations, or teaching materials.
Users who are new to video editing will find easy access to green screen effects using the streamlined version found in iMovie 11. The green screen function enables users to access unlimited creative opportunities when making vlogs or social media content.
Why Use Green Screen in Your Projects?
Some reasons to use the green screen feature in iMovie 11 for your video projects are:
- Greater creativity : Transport your viewers anywhere, from a beach to outer space, with a simple background swap.
- Cost-effective filmmaking : No need for expensive location shoots when you can recreate the look digitally.
- Professional aesthetic : Make your projects look professional and polished while keeping editing simple.
- Ease of use : iMovie 11 simplifies green screen edits, so you can get stunning results without professional-level expertise.
Step 1: Gather Your Green Screen Equipment
Before you open iMovie 11, make sure you have the right tools and footage ready. Here’s what you’ll need:
- Green Screen Backdrop: Invest in a solid green backdrop (or blue, depending on your subject’s clothing). You can use a fabric screen, green poster board, or even paint a wall green.
- Lighting: Essential for any green screen setup. Ensure even lighting to avoid shadows or wrinkles that could make keying difficult. Use softbox lights or LED panels to illuminate both your green screen and your subject.
- Camera and Tripod: Use a steady camera setup to avoid unnecessary motion in your footage. An iPhone or DSLR camera with a tripod will work perfectly for most amateur projects.
- Footage and Background: Record your subject in front of the green screen, keeping at least a few feet of distance between them and the backdrop. Also, have the video or image you want as your replacement background readily available.
Once your footage and tools are ready, you’re all set to start editing in iMovie 11!
Step 2: Import Your Footage into iMovie 11
- Open iMovie 11: Launch the application on your Mac and start a new project.
- Import the Videos: Click on File > Import > Movies and select your green screen footage and your replacement background file. Both files will appear in your Event Library.
- Add the Background to the Timeline: Drag the background video or image file onto the timeline. This will serve as the base layer for your green screen effect.
Step 3: Add Green Screen Footage
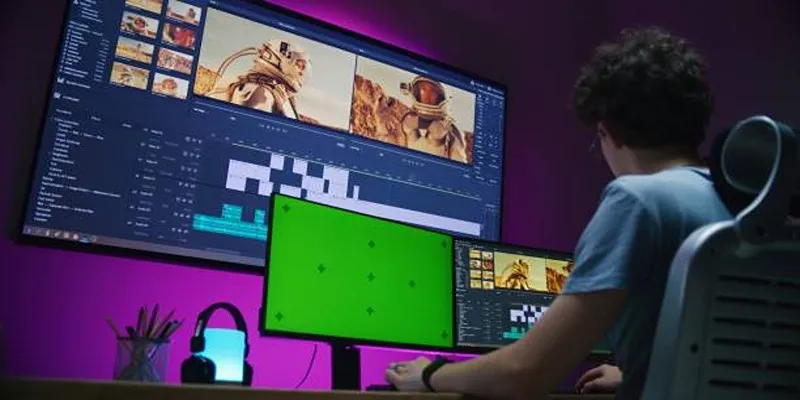
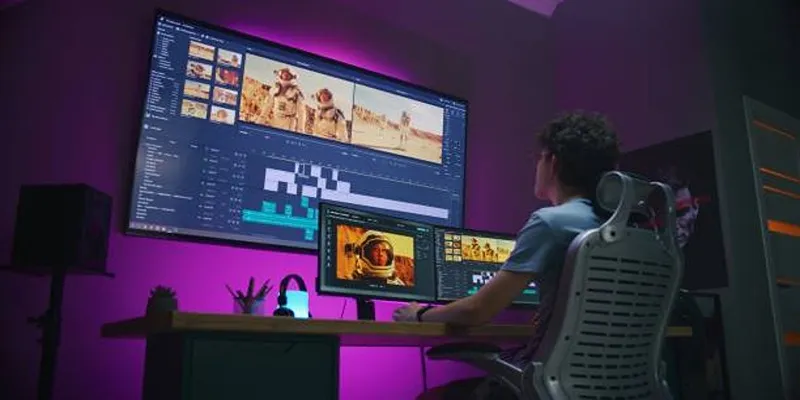
- Place Your Green Screen Footage: Now, take your green screen footage from the Event Library and drag it directly above the background layer in the project timeline.
- Select Green Screen Option: A popup menu will appear. Choose Green Screen from the drop-down options.
iMovie 11 will automatically detect the green background and remove it, leaving only your subject visible.
Step 4: Adjust and Fine-Tune the Green Screen Effect
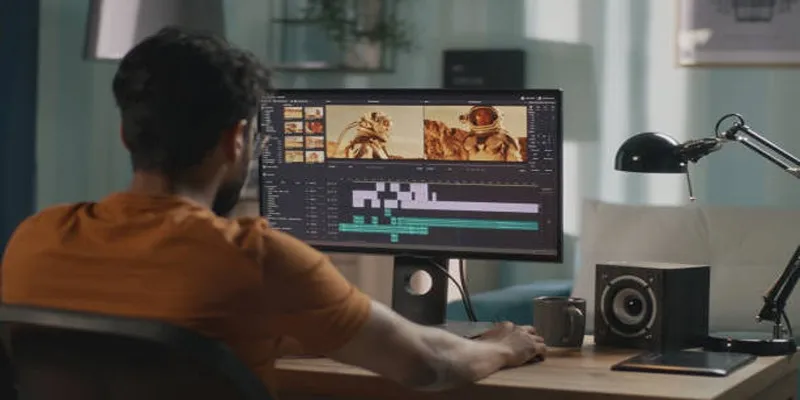
- Perfect the Keying: Sometimes the automatic chroma keying won’t be perfect. If parts of the green screen are still visible, you can adjust the effect manually. Simply double-click the green screen clip in the timeline, then use the Adjust menu to tweak settings like softness and edge cleanup.
- Crop the Footage: If your green screen backdrop doesn’t fill the entire frame or has some edges visible, use the crop tool to eliminate these distractions.
- Color Match: Ensure your subject and background have consistent lighting and saturation. You can adjust brightness and color settings under the Video Adjustments tab to make the composition look seamless.
Step 5: Add Transitions and Effects
To make your video even more polished, consider adding transitions and text effects. Use cross-dissolve or fade-ins to create smooth scene changes. For instructional videos or vlogs, overlay descriptive text to guide your audience.
Step 6: Export Your Video
- Save Your Project: Before exporting, make sure to save your project by going to File > Save Project.
- Export the Final Video: Click Share at the top menu, choose your preferred output option (YouTube, .mp4, etc.), and set the resolution to match your needs. iMovie 11 makes it simple to export high-quality videos ready to share online or with clients.
Tips for Best Results with iMovie 11
- Keep It Simple: Don’t overdo the background changes. Keep your edits relevant to the theme of your video.
- Plan Ahead: Record your green screen footage with the end result in mind. A strong concept will help tie the foreground and background together seamlessly.
- Practice! Like any skill, mastering the green screen feature takes practice. Experiment with different settings to see what works best for your project.
Final Thoughts
Using the green screen feature in iMovie 11 opens up endless possibilities for creativity. With just a few simple tools and a bit of practice, you can produce videos that look professional, captivate your audience, and help you stand out from the crowd. Whether it’s for YouTube, teaching materials, or personal projects, don’t hesitate to experiment with this feature and watch your creative ideas come to life.
On this page
What is the Green Screen Feature in iMovie 11? Why Use Green Screen in Your Projects? Step 1: Gather Your Green Screen Equipment Step 2: Import Your Footage into iMovie 11 Step 3: Add Green Screen Footage Step 4: Adjust and Fine-Tune the Green Screen Effect Step 5: Add Transitions and Effects Step 6: Export Your Video Tips for Best Results with iMovie 11 Final ThoughtsRelated Articles

Top 5 Split Screen Video Editors for Windows 10 and Mac Users
A Step-by-Step Guide to Quickly Combine Video Clips in iMovie

PowerPoint Image Compression: Reduce File Size Without Sacrificing Clarity

LightCut 2025 Review: The Best Video Editor for Android and iPhone
A Step-by-Step Guide to Creating a Split Screen Video with Movavi
Mastering iMovie: Quick, Clean Video Editing for Every Apple Device

Effortless Steps to Convert and Upscale Video to 4K Resolution
How to Easily Edit and Trim Videos on Your Android Devices

How to Quickly Convert 4K UHD to 1080p HD Without Losing Quality

CapCut, WeVideo & More: Tools That Simplify Video Editing

Effortless Ways to Place Videos Side by Side on Your Computer

Top Methods to Combine Multiple Videos into One Screen on Android
Popular Articles

Fix the Windows Movie Maker Black Screen Problem
LightCut 2025 Review: The Best Video Editor for Android and iPhone
Quick Guide: How to Convert MPG Files into VOB Format

Secure Your WordPress Site Against Password Sharing

The 6 Best Construction Management Software Options to Streamline Your Projects

Simple Ways to Record a Teams Meeting: Built-in and Other Options

How to Use Tags and Labels to Organize Your Files: A Step-by-Step Guide

Best Software Download Sites You Can Trust in 2025

Elevate Your E-commerce Game with 32 Top WooCommerce Plugins (Majority are FREE)
Streamlining MXF to Apple ProRes Conversion

Which Are The Best Database-Powered App Builders for Seamless Development?
