 mww2
mww2
How to Create Stunning Stop Motion Videos Using iMovie
Stop motion is a fascinating animation technique that brings static objects to life through carefully stitched frames. It’s a delightful option for anyone interested in filmmaking, whether you are a beginner or an experienced storyteller. If you’ve always wanted to explore stop motion but felt overwhelmed by the technicalities, don’t worry. With iMovie, Apple’s intuitive video editing software, creating stop motion videos is accessible and surprisingly fun.
What Is Stop Motion?

Stop motion is an animation technique where individual frames are captured in sequence, with slight adjustments made to objects between each frame. When these frames are played back in rapid succession, the objects appear as if they’re moving on their own.
Examples of iconic stop motion include movies like The Nightmare Before Christmas and Wallace and Gromit. While professional studios use advanced tools, you can start small with basic setups and achieve impressive results using consumer-friendly tools like iMovie.
Why Use iMovie for Stop Motion?
iMovie is a fantastic tool for creating stop motion videos because of its user-friendly interface and powerful editing capabilities. Here’s why it’s a great option:
- Ease of Use : iMovie minimizes the technical learning curve so you can focus on creative aspects.
- Cost Efficiency : If you own a Mac, iMovie is included for free. For iPhone and iPad users, the app is also free, making it an affordable animation tool.
- Integrated Tools : Offers features like frame cropping, timing adjustments, and music integration to level up your stop motion animations.
- Quick Sharing : Easily export and upload your stop motion video to social platforms like YouTube, Instagram, or Vimeo.
Step 1: Plan Your Stop Motion Video
The success of your stop motion project lies in the planning. Taking the time to map out your scenes and materials will save you countless headaches later.
Key Things to Plan:
- Storyboard : Outline the progression of your story. Sketch or list the key scenes and movements.
- Materials : Decide what objects or characters you’ll be animating. These could be LEGO figures, clay models, or even household items.
- Frames Per Second (FPS) : Determine how many frames you’ll shoot. For beginners, 8-12 FPS works well. A higher frame rate (around 24 FPS) will make the video smoother but requires more frames.
Place your camera on a stable tripod to ensure consistency between shots. Lighting should also be steady; avoid shadows from natural light sources shifting during your shoot.
Step 2: Shoot Your Frames
Stop motion animation is created by capturing individual frames with slight incremental movements of your object or figure between each shot.
- Set Up Your Scene : Position your objects and ensure the frame is well-lit. Avoid bumping the camera or disrupting the scene, as consistency matters.
- Incremental Movements : Move your objects slightly for each frame. The smaller the movements, the smoother the animation will look in playback.
- Capture Frames : Use a camera, smartphone, or even the built-in camera on your Mac. Apps like Stop Motion Studio or your phone’s camera can help you snap the still photos efficiently.
Take more frames than you think you’ll need to leave room for adjustments during editing.
Step 3: Import Your Frames into iMovie
Once your photos are ready, transfer them to iMovie for editing. Here’s how to do it:
- Import Your Photos : Open iMovie and create a new project. Select “Import Media” and upload your stop motion photos.
- Organize Your Frames : Drag the photos onto the timeline in sequential order. Arrange them carefully to preserve the flow of movement.
Use a consistent naming convention for your photos when saving them (e.g., frame001, frame002), so they’re easier to arrange chronologically.
Step 4: Adjust Photo Durations
By default, iMovie sets photo durations to a few seconds, which is too long for stop motion. To create the animation effect, adjust each photo to display for a fraction of a second.
- Select All Frames : Highlight all the photos in your timeline.
- Change Duration : Click the speed adjustments icon (a clock symbol) and set each photo’s duration to 0.1–0.2 seconds (depending on your chosen FPS). For smooth animation, aim for 12 frames per second.
- Preview Your Animation : Play your timeline to preview how your stop motion looks so far.
Don’t hesitate to tweak durations slightly to fix pacing issues in specific scenes.
Step 5: Add Transitions and Sound
While stop motion doesn’t necessarily need transitions, sound design can take it to the next level. Here’s how to enhance your video:
- Add Background Music : Choose music that complements the mood of your animation. iMovie’s library has stock music or you can upload your own tracks.
- Include Sound Effects : For actions like footsteps or object movement, add sound effects to sync with the visuals.
- Smooth Transitions : You might want some light fades between scenes to improve the viewing experience.
Step 6: Export and Share

Once you’re satisfied with your final edit, it’s time to export your stop motion video:
- Export as a File : Go to File -> Share -> File. Choose your desired resolution and export settings.
- Upload It Online : Platforms like YouTube or Instagram are perfect for showcasing your stop motion masterpiece to the world. Remember to use hashtags like #StopMotion or #Animation to reach a wider audience.
Before uploading, watch the video through to ensure everything looks just right.
Conclusion
Stop motion in iMovie is a creative and rewarding process that anyone can master. From planning your storyboard to exporting your final animation, the steps are straightforward yet leave plenty of room for artistry. Whether it’s your first experiment or a polished animation, the joy of stop motion lies in the creativity and patience behind every frame. And iMovie makes that process accessible to everyone, no matter your skill level.
Related Articles

Master the Green Screen Feature in iMovie 11: A Step-by-Step Guide

PowerPoint Image Compression: Reduce File Size Without Sacrificing Clarity

A Step-by-Step Guide to Quickly Combine Video Clips in iMovie

Mastering iMovie: Quick, Clean Video Editing for Every Apple Device

6 Best Tools to Create Stunning Animated Videos with Ease
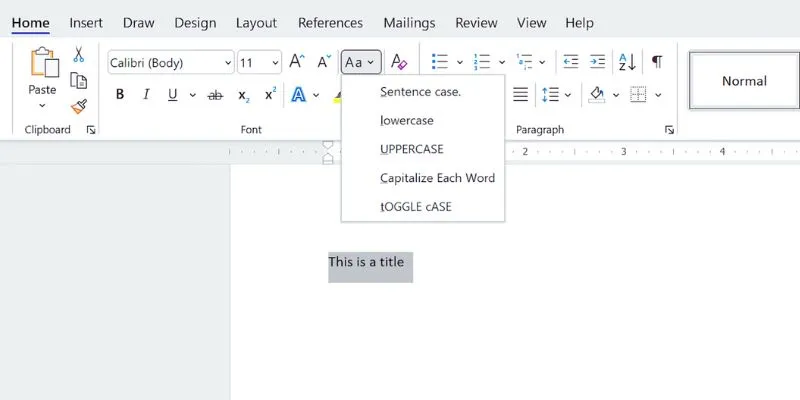
How to Capitalize All Letters in Word, Excel, and Other Apps: A Complete Guide
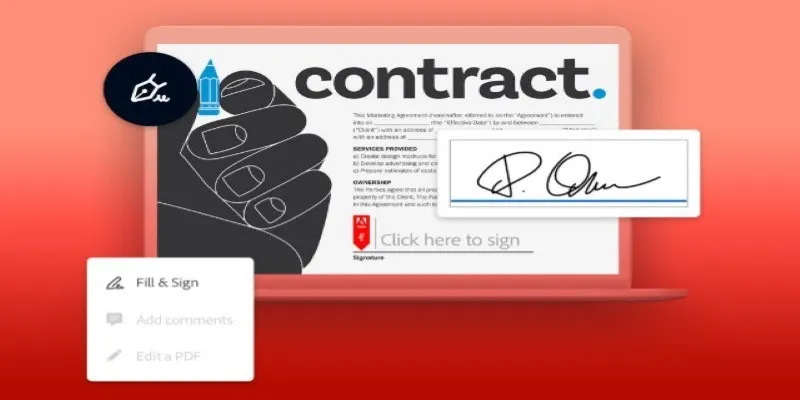
Signing Documents Made Simple: Create a Digital Signature with Adobe
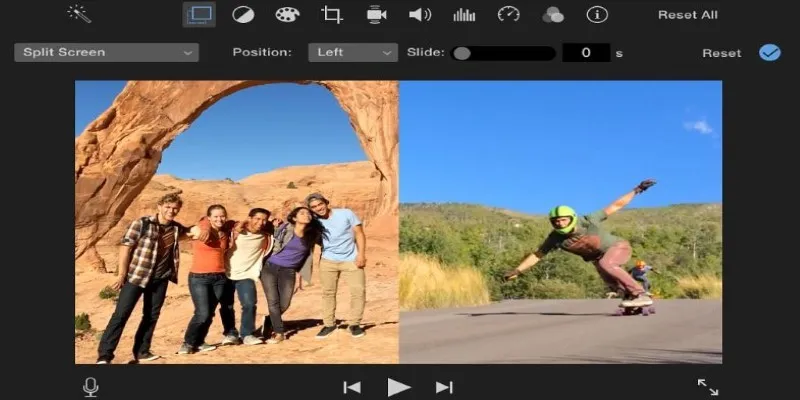
Mastering the Split Screen Effect in iMovie: A Beginner’s Guide
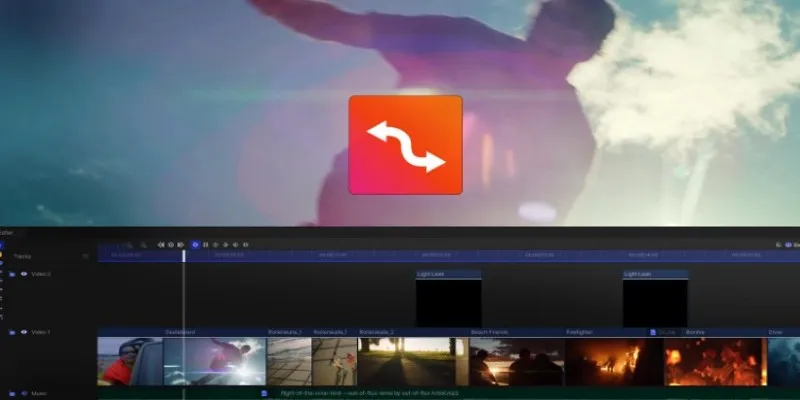
Smooth Slow Motion Editors: Top Tools for Phone and Computer
Smooth Slow Motion in Sony Vegas: Top 7 Editing Techniques
Using QuickTime to Play Videos in Slow Motion: A Comprehensive Guide
Perfect Your Video Framing: A Guide to Cropping in Filmora
Popular Articles
Top SEO Crawler Tools to Improve Website Performance

A Simple Guide to Turning MXF Videos into MP4

Top Single-User Wiki Software to Organize Personal Notes Effectively

How to Colorize Photos with Palette AI: A Step-by-Step Guide For beginners

Top Live Video Mixing Software for Creators

CapCut for Mac: A Starter’s Look and the Top Tools That Compare

Top Video Editors for Android – Best Alternatives to iMovie

InShot Review: The Go-To Video Editor for Quick, Polished Social Content

Best Driver Update Apps for Windows in 2025

Programmatic SEO: How Can You Increase Search Traffic Using No-Code Tools
7 Best M4A to WAV Converters for High-Quality Audio Transformation
