mww2
mww2
5 Easy Ways to Play a Video in Reverse Without Extra Hassle
Sometimes, you want to run a video backward—whether it’s for a creative project, a how-to reel, or just to achieve that cool rewind effect for fun. Fortunately, there are numerous ways to accomplish this, and you don’t need to be a video editing expert. From simple drag-and-drop tools to more detailed editors, reversing a video is more straightforward than it sounds. It mainly depends on which method suits you best and how much control you want over the final clip. Let’s explore the different options available and how each one works.
5 Effective Ways to Play a Video in Reverse with Ease
Use Online Video Reversing Tools (No Downloads Needed)
If you’re not keen on installing apps or learning editing software, there are websites that allow you to reverse a video directly from your browser. Upload the file, wait a few moments, and download the reversed version. It’s that simple.
These sites often offer just enough options: you can mute the audio, choose whether you want it played backward in slow motion or at normal speed, and sometimes even trim sections before reversing. Most formats are accepted—MP4, AVI, MOV—and they’re often free up to a certain file size.
The best part? No account is usually required, which keeps things quick. However, be prepared for upload and processing times, especially if your file is large. Still, if you’re only doing this occasionally, online tools are hard to beat for ease.
Reverse a Video Using Built-In Mobile Apps
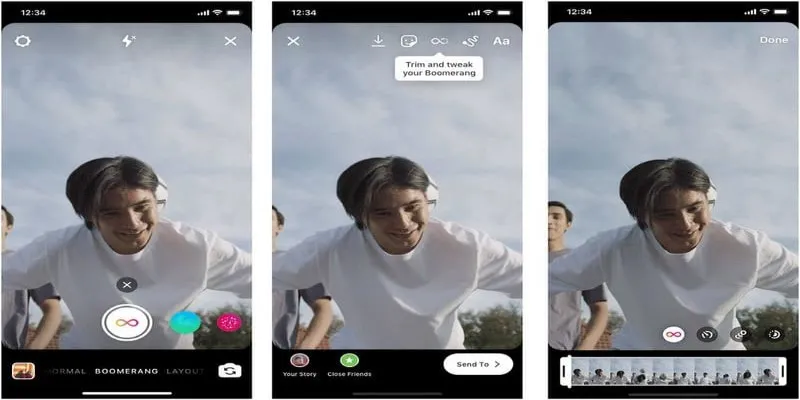
Many phones come with basic editing tools built into their gallery apps, but if yours doesn’t include a reverse function, there are plenty of free apps that do. On Android, apps like “Video Reverse” or “Reverse Movie FX” are popular choices. For iPhone users, apps such as “Reverse Vid” let you select the video, apply the reverse effect, and save it back to your device.
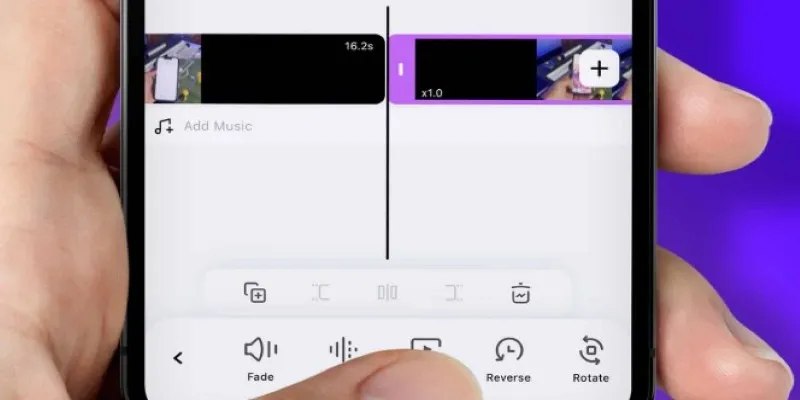
These mobile apps are perfect for short clips—think social media content, Instagram reels, or fun edits for friends. Most have a simple interface with sliders to adjust speed or trim the clip before or after applying the effect. The only thing to keep in mind is storage—some apps save a separate copy, which can quickly consume space if you’re working with several videos.
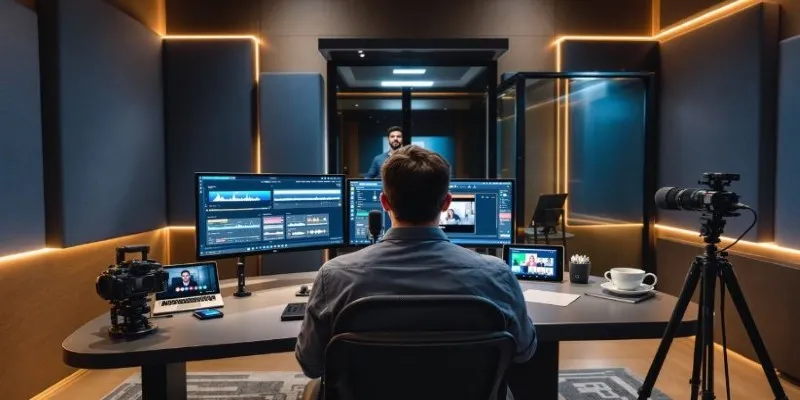
Use Desktop Editing Software for More Control
If you’re looking to do more than just hit “reverse”—maybe add music, titles, or extra clips—video editing software gives you full control. Programs like Adobe Premiere Pro, DaVinci Resolve, and Final Cut Pro have reverse functions built into their timelines.
For example, in Premiere Pro, you right-click the clip, select “Speed/Duration,” and check the box for “Reverse Speed.” It’s a few steps but nothing complicated. DaVinci Resolve has a similar process—just drag the clip into the timeline, right-click, and select the reverse option. You can then add transitions, effects, or audio as needed.
These programs are better suited for those who regularly work with video or have time to learn a bit. They’re powerful, but they also come with longer export times and more steps. If you’re not used to video editing software, there might be a small learning curve, but nothing that a couple of YouTube tutorials can’t fix.
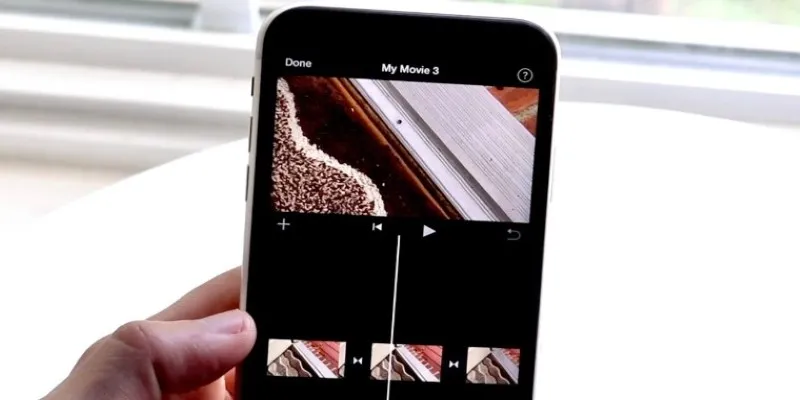
Try Free Video Editors Like iMovie or Clipchamp
Not looking to spend money on editing software? You don’t have to. Free editors like iMovie (for Mac users) and Clipchamp (which works on Windows and browsers) can reverse video clips without needing any premium upgrades.
In iMovie, the process is straightforward. Import the clip, click on the speed controls, and you’ll find the reverse option right there. Clipchamp is similarly simple, with drag-and-drop features that let you flip, rotate, and reverse with just a few clicks.
These tools are ideal for basic editing with a cleaner interface. They won’t give you the full flexibility of a pro-level editor, but for quick projects or hobby content, they work just fine.
Reverse a Video with VLC Media Player (Yes, It’s Possible)
VLC is known for playing just about any video file you throw at it, but most people don’t realize it has editing features, too—including the ability to reverse a clip, though it takes a few steps.
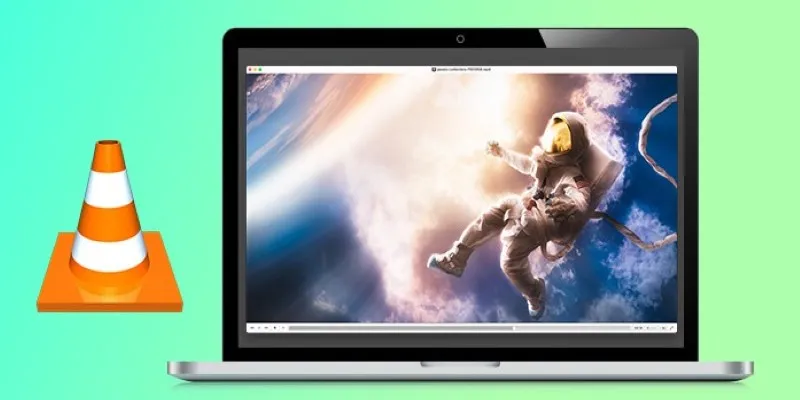
Here’s how it works: VLC doesn’t have a direct “reverse” button, but you can extract frames from your video and then recompile them in reverse order. This sounds a bit technical, but there are plenty of guides that walk you through it. First, use VLC’s convert/save feature to break the video into individual frames. Then, with a tool like FFmpeg or a basic editor, stitch those frames back together in reverse order.
This method is best for short clips or situations where you don’t mind doing a bit of extra setup. It gives you more control over how the video is processed, and you don’t need any paid software to get it done. Just a bit of patience and some free tools—and you’ll have your reversed video.
Tips Before You Hit “Reverse”
Before applying the effect, consider trimming your video. If the original file is long and you only want a small segment reversed, it’s easier to work with a shorter clip from the start. This will save you time during processing and avoid unnecessary data on your device.
Keep in mind that reversing the audio can create some strange effects—it often turns into a garbled mess. Some tools mute it by default; others let you choose. If your video has dialogue or sound that doesn’t make sense when reversed, you might want to mute it and add music instead.
Lastly, double-check your export settings. If you’re planning to upload the video somewhere, make sure the format and resolution match the platform’s recommendations to avoid unexpected compression or playback issues.
Wrapping It Up
Whether you’re experimenting with a clip just for laughs or working on something more polished, playing a video in reverse is surprisingly simple once you know your options. From browser-based tools to mobile apps and full desktop editors, there’s something for every skill level. Choose what suits your style, tweak a few settings, and you’re good to go. No stress, no deep editing knowledge required—just a few clicks, and your video moves backward like it always wanted to.
Related Articles

9 Free Tools to Speed Up a Video Online (No Downloads Needed)

Magisto: The Simplified Approach to Video Editing for Quick and Effective Content

LightCut 2025 Review: The Best Video Editor for Android and iPhone
Different Ways to Repeat and Loop a Video on iPhone

WeVideo: A Browser-Based Video Editor That Actually Makes Life Easier

KineMaster Video Editing App Review: A Mobile-Friendly Powerhouse
VideoShow Review: A Mobile Editor for Quick, Casual Projects
PowerDirector: A Fast and Accessible Video Editing Tool for Everyone

Top 5 Free Video Enhancers to Instantly Boost Video Quality

What is HitFilm Express? A Beginner's Guide for Mac Users

Simple Tutorial: How to Convert H.265 to H.264 Easily

CapCut, WeVideo & More: Tools That Simplify Video Editing
Popular Articles

Enhance Your Forms with AI Using Feathery
Streamlining MXF to Apple ProRes Conversion
Simple Ways to Resolve Audio Video Delay: A Beginner’s Guide
5 Easy and Effective Methods to Add Audio to Videos

Boost Engagement: 8 Ways to Automate Your Email Newsletters and Drip Campaigns
How to Loop a Video on Instagram Without Extra Hassle
Dropbox vs. Google Drive: Which Cloud Storage Solution Fits Your Needs

How to Bulk Resize Large Images in WordPress Without Losing Quality

Top 6 Free Online FLV to MP3 Converters You Should Try
Best AI Video Dubbing Services to Localize Your Content
How to Make Eye-Catching Video Edits for Instagram