mww2
mww2
Effortless Video Editing with These Windows Live Movie Maker Tricks
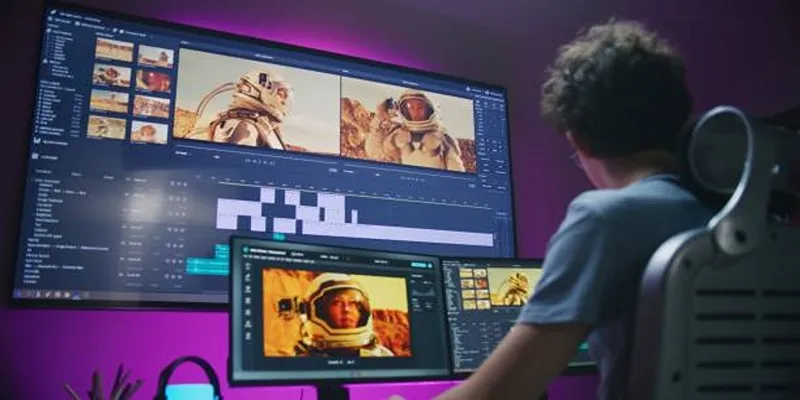
Creating videos was once limited to professionals with costly software, but free tools like Windows Live Movie Maker have changed the game. Now, anyone can create high-quality, engaging videos with ease. Whether you’re editing for social media, events, or personal projects, this beginner-friendly tool makes video editing accessible. Here, we’ll share essential tips to help you get started with Windows Live Movie Maker.
What is Windows Live Movie Maker?

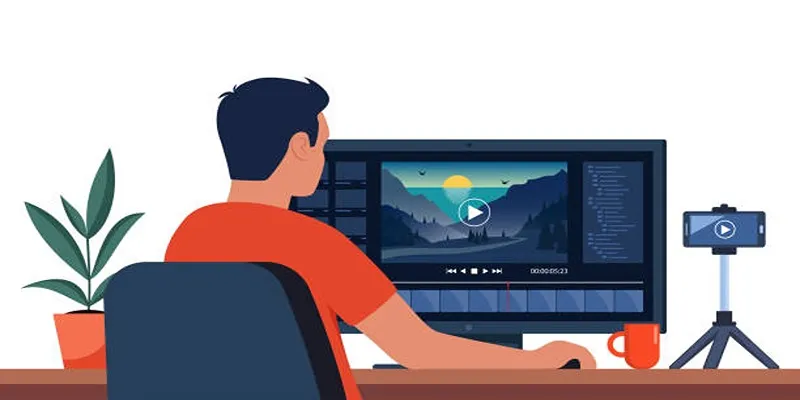
Windows Live Movie Maker (WLMM) is a free video editing tool developed by Microsoft. It’s designed to be simple and user-friendly, making it perfect for beginners interested in exploring video editing. Its drag-and-drop interface and built-in effects make it easy to create professional-quality videos without steep learning curves.
Windows Live Movie Maker allows you to:
- Edit video clips by trimming, splitting, and combining them.
- Add transitions, text, and effects for dynamic visuals.
- Include music or narration for compelling audio.
- Export files in various formats for sharing online or offline.
Essential Tips for Getting Started
1. Install Windows Live Movie Maker
Before you begin, ensure the software is correctly downloaded and installed on your device:
- Search for the official download link, using a reliable source to avoid malware.
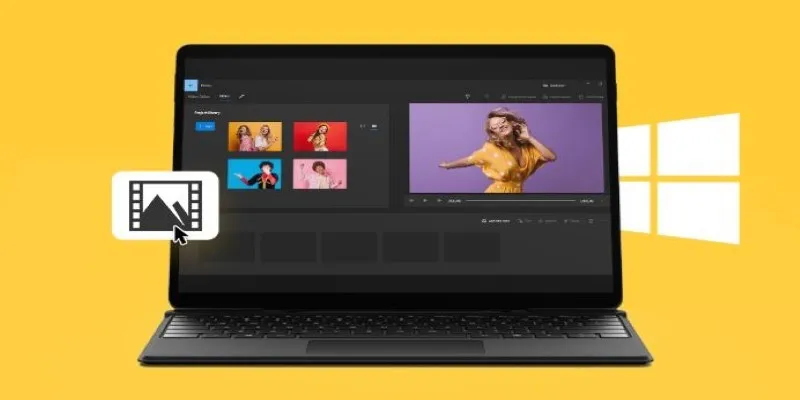
- Once installed, launch the program and get familiar with its clean and simple interface. The main menu offers tabs for adding videos, images, music, and text.
Note: Windows Live Movie Maker is no longer officially supported by Microsoft. Consider third-party tools like OpenShot or Shotcut if you experience compatibility issues.
2. Import Your Media Files
To start editing, you’ll first need to gather your video clips, images, and audio:
- Click the “Add videos and photos” button to import your footage.
- Add music or soundtracks by clicking the “Add Music” button.
The software supports a wide range of file formats, but aim for commonly used options like MP4 for videos and MP3 for audio to avoid compatibility issues. Keep all your media organized in one folder to easily locate and import files into WLMM.
3. Use the Storyboard Effectively
The storyboard is where your media files will be arranged in a sequence:
- Drag and drop video clips and images onto the timeline to structure your video.
- Rearrange clips as needed to tell a coherent story.
- Use the “Split” tool to break longer clips into smaller sections, or “Trim” to shorten them.
Save time and stay focused by creating a detailed storyboard on paper before editing your video. Planning your video’s flow in advance ensures a smoother, more efficient editing process.
4. Add Transitions and Effects
Enhance your video with WLMM’s library of transitions and effects:
- Find the “Animations” tab for transition options like fades, dissolves, and wipes. Add these between clips to make your video flow smoothly.
- Explore the “Visual Effects” tab to adjust brightness, apply filters, or add motion effects to photos.
Stick to subtle, clean transitions to maintain a professional look. Avoid overusing flashy effects that may distract viewers from your content.
5. Include Titles, Captions, and Credits
Strong text elements can elevate your project by providing context:
- Use the “Title” tool at the beginning of your video to introduce it.
- Add captions directly onto clips with the “Caption” option. This is helpful for adding subtitles or explaining specific scenes.
- Don’t forget to thank your team or viewers with a Credits slide!
Keep text clear and easy to read with sans-serif fonts like Arial or Helvetica, ensuring strong contrast between text and background for maximum readability.
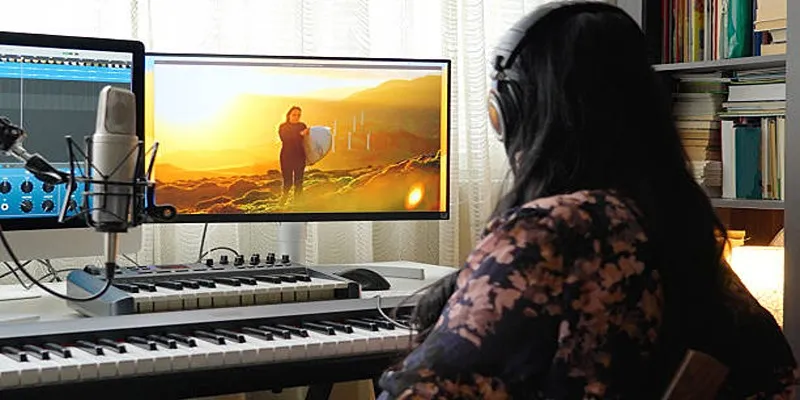
6. Fine-Tune with Music and Audio
Music and audio can make or break your video. Use WLMM’s audio tools to ensure your sound complements your visuals:
- Add background music to set the tone of your video.
- Use the “Narrate Timeline” tool if you need to record voiceovers directly within the program.
- Adjust music volume using the Music Tools tab to ensure it doesn’t overpower any spoken dialogue.
Royalty-free music libraries like Epidemic Sound and Free Music Archive offer high-quality background tracks, ensuring your content stays copyright-safe.
7. Preview and Polish Your Work
Before finalizing your video, always preview it multiple times:
- Click Play to check how everything flows together.
- Look for mistakes like awkward cuts, spelling errors in captions, or unbalanced audio.
- Tweak transitions, effects, and text placement if necessary.
Take a step back for at least 10 minutes after previewing. A fresh set of eyes can help you spot areas for improvement after revisiting.
Export and Share

After finalizing your edits and ensuring everything looks perfect, it’s time to export your video. Double-check the settings for quality and format to ensure they meet your needs.
- Click the “Save Movie” button in the top-right menu. Choose from preset options like high-definition (ideal for YouTube) or lower resolutions suitable for emails.
- The exported file can be directly uploaded to platforms like YouTube, Facebook, or Instagram.
Always save your project file separately in case you need to revisit and make edits later.
Conclusion
Now that you know the ins and outs of getting started with Windows Live Movie Maker, it’s time to start creating! Begin with small, simple projects to acquaint yourself with the tool’s capabilities. With practice, you’ll be crafting seamless, beautiful videos in no time. But don’t stop there! The world of video editing is constantly evolving and there are always new techniques and tools to explore.
Related Articles
Step-by-Step Guide: How to Use Windows Movie Maker

Fix the Windows Movie Maker Black Screen Problem

Steps to Download Movie Maker Free and Start Creating
How to Create an Amazing AMV Using Windows Movie Maker
How to Easily Edit Videos for Free Using Windows Movie Maker
Easy Steps to Convert MP4 for Use in Windows Movie Maker
Stop Motion Made Easy with Windows Movie Maker: A Complete Tutorial

LightCut 2025 Review: The Best Video Editor for Android and iPhone
How to Edit and Merge GoPro Videos on Your Windows PC
5 Ways to Convert Videos to MP4 on Mac OS X Effortlessly

Free Video Editing Software for Mac OS X: 10 Excellent Choices
Windows 10 Video Editing: 10 Best Software Reviews
Popular Articles

How to Reverse a Video on Snapchat Using the Built-In Filter

ClickFunnels vs. ActiveCampaign: A Comprehensive Comparison for 2025
Everything You Need To Know About Trello Cards and Slack Messages

ActiveCampaign vs. HubSpot: Which CRM Best Fits Your Business Needs
VideoShow Review: A Mobile Editor for Quick, Casual Projects
Excel or Smartsheet: Which is the Better Option for Project Management?

How to Make a Lyric Video That Boosts Your Music's Impact

The 8 Best To-Do List Apps for Android in 2025

Discover the Top 8 Game Recording Software Programs for Windows
ProWritingAid vs. Grammarly: A Writer's Guide to Choosing the Best Tool

Fathom vs. Fireflies: A Comprehensive Comparison of the Best AI Note Takers