Creating a Portfolio on Your WordPress Site: A Comprehensive Guide
Adding a portfolio to your WordPress site is an excellent way to showcase your work, whether you’re a designer, writer, developer, or photographer. A well-crafted portfolio allows visitors to see your offerings, builds trust, and attracts new clients. The best part? You can do all of this without any coding knowledge!
Why Add a Portfolio to Your WordPress Site?
A professional portfolio efficiently highlights your projects and enhances your website’s appeal. By using WordPress’s themes, plugins, or built-in features, creating a portfolio is straightforward. Let’s dive into the steps to transform your WordPress site into a polished, professional showcase.

Steps to Add a Portfolio to Your WordPress Site
Step 1: Select a Portfolio-Ready Theme
Choosing the right theme is essential as it sets the stage for your portfolio.
- Navigate to your WordPress dashboard and click on Appearance > Themes, then select Add New.
- Search for “portfolio” to find themes tailored for showcasing projects.
- Preview and select a theme that complements your style and offers user-friendly navigation.
- Install and activate the chosen theme.
Some popular free themes include Astra, OceanWP, and Neve, which are known for their speed and flexibility. Ensure the theme is mobile-responsive for an optimal user experience.

Step 2: Install a Portfolio Plugin (If Necessary)
If your chosen theme lacks portfolio support, a plugin can fill the gap. Here’s how:
- Navigate to Plugins > Add New.
- Use the search bar to find “portfolio” plugins.
- Consider plugins like Portfolio Gallery, Visual Portfolio, or Grid Kit Portfolio Gallery.
- Install and activate your selected plugin.
These plugins simplify creating projects, uploading images, and adding descriptions. You can embed the portfolio into any page via shortcodes or blocks.
Step 3: Create Portfolio Projects
With your theme or plugin ready, it’s time to add content.
- Go to Portfolio > Add New.
- Title your project and provide a brief description.
- Upload images or videos to visually represent the project.
- Set a featured image for easy identification in the grid.
- Organize with tags or categories.
- Save or publish each project, adding at least five varied examples.
Step 4: Create a Portfolio Page
Make your work publicly visible by creating a dedicated page.
- Go to Pages > Add New and name it something like “My Portfolio.”
- Depending on your tools, you might:
- Use a portfolio block or shortcode.
- Select a template layout.
- Utilize a page builder.
Preview and publish your portfolio page to make it live.
Step 5: Add the Portfolio Page to Your Menu
Ensure easy navigation by adding the portfolio to your site’s menu:
- Go to Appearance > Menus.
- Select your menu or create a new one.
- Find your portfolio page under Pages, check it, then Add to Menu.
- Arrange and Save Menu.
Step 6: Customize the Look and Feel
A clean, organized portfolio is more effective. Customize through Appearance > Customize to adjust fonts, colors, and layout. Plugins may offer additional styling options.
Step 7: Add Filters or Categories (Optional)
Enhance navigation with filters or categories if you have a large portfolio. Assign projects to categories like “Web Design” or “Photography” to allow visitors to filter content easily.
Step 8: Use Page Builders for More Control (Optional)
For a custom layout, consider page builders like Elementor. These tools offer drag-and-drop functionality for creative freedom without coding.
Conclusion
By following these steps, your WordPress portfolio will become a compelling showcase of your skills. Whether you use a theme, plugin, or page builder, the process is accessible even for beginners. Keep your layout neat, content relevant, and ensure your best work is easily accessible. Your portfolio will not only establish credibility but also open doors for new opportunities. Keep it updated and let your WordPress site work for you!
Related Articles

How to Import Post Ideas from CSV Spreadsheet in WordPress: A Guide

How to Add Facebook-Style Autocomplete for WordPress Posts: A Guide

What is the Hello Dolly WordPress Plugin: A Guide for Beginners

A Beginner’s Guide: How to Install and Setup Yoast Comment Hacks for WordPress

How to Build an Auction Site Like eBay Using WordPress: A Step-by-Step Guide

How to Add a Restaurant Reservation System in WordPress: A Step-by-Step Guide

Exploring the Top 5 WordPress Business Directory Plugins for 2025: Free & Premium Choices
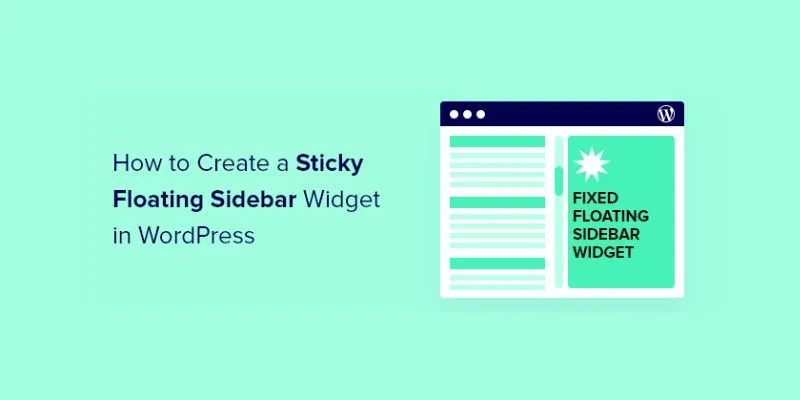
A Comprehensive Guide to Creating a Sticky Floating Sidebar Widget in WordPress

Top Reasons to Add a Floating Share Box to Your WordPress Site

Rank Math vs. Yoast: A Detailed Comparison to Choose the Best SEO Plugin

Top 10 WordPress Plugins for Collecting User Feedback

5 Proven Ways to Automate WordPress and Streamline Your Website Management
Popular Articles

Fast and Free AI-Powered Tools to Cleanly Cut Photo Backgrounds

Step-by-Step Guide to Allow Users to Submit Posts in WordPress
How to Create a Complete WordPress Backup for Free With BackWPup: A Guide

Top 5 Video Stabilization Tools for Professional-Quality Footage

The Ultimate Comparison: Hootsuite vs. Buffer for Social Media Success

Step-by-Step Guide to Editing TikTok Videos on iPhone

Best Code Editor Apps in 2025 for Fast, Clean Coding

Best Help Desk Tools for Enterprise-Level Support Teams

Six Top-Rated Apps to Sell Your Used Clothing and Household Goods

Best iPad Video Converter for Mac: Top 5 Tools for Smooth Playback

Top Free Methods to Download GIFs on Your iPhone, Windows, or Mac

 mww2
mww2