mww2
mww2
How to Create Tutorial Videos That Captivate Your Audience
The production of tutorial videos is an optimal method to teach your audience and establish your credibility as a field expert. Recording a tutorial video demands more sophistication than simply hitting record. Your objective with every tutorial video should be to engage viewers until they complete the entire presentation, regardless of the topic.
Why Create Tutorial Videos?

They’re Highly Engaging
Tutorials allow you to visually demonstrate concepts, making them easier for viewers to follow and understand compared to reading a blog post or instruction manual.
They Build Trust
If viewers find your content helpful, they’re more likely to see you as a credible expert and return for more. This strengthens your personal or brand reputation.
They’re Great for SEO
YouTube is the second-largest search engine after Google, and video content ranks highly in search results. Posting well-crafted tutorial videos can greatly enhance your online visibility.
Step 1: Identify Your Audience and Their Needs
The key to any successful tutorial video begins with a clear understanding of your audience. Consider these questions:
- Who are you creating the video for? Understand their demographics, challenges, and needs. Are they beginners, intermediates, or experts?
- What problem are you solving? Your viewers should leave knowing exactly how to apply what they’ve learned to real-life situations.
For example, if your audience consists of small business owners, a tutorial on “How to Use Free Design Tools for Social Media Graphics” might directly address their needs.
Step 2: Plan and Script Your Video
Even the most experienced creators struggle without a plan. A detailed script or outline ensures your video stays focused and concise, saving you time during recording and editing.
What Should Your Script Include?
- Introduction: Start with an attention-grabbing hook (e.g., “Struggling to create professional graphics for free? Here’s the fastest way to get started!”), followed by a quick summary of what your audience will learn.
- Step-by-Step Process: Present clear, numbered steps to guide your viewer through the tutorial.
- Call to Action (CTA): Wrap up with a strong CTA, like subscribing to your channel, visiting your website, or sharing the video.
While your script should guide you, avoid reading it word-for-word to maintain a natural and engaging delivery.
Step 3: Prepare Your Tools and Set-Up
You don’t need Hollywood-level equipment to create impactful videos, but the right tools make all the difference.
Recommended Equipment:
- Camera or Smartphone: Modern smartphones often have excellent video quality.
- Microphone: Good audio is as important as good visuals. Invest in an affordable clip-on mic or USB mic.
- Lighting: Natural light works well, but softbox lighting kits are a great budget-friendly option.
- Editing Software: Tools such as Adobe Premiere Pro, Final Cut Pro, and free alternatives like DaVinci Resolve or iMovie are all excellent options.
Setting the Scene:
- Choose a clean and clutter-free workspace.
- Keep the background relevant, whether it’s a workspace for tech tutorials or a kitchen for cooking videos.
- Ensure good lighting for a clear and professional look.
Step 4: Be Clear and Concise
Tutorial content doesn’t need to be overly complicated. Viewers often seek videos they can digest and implement quickly, so aim for clarity over complexity.
Tips for Clear Communication:
- Break Steps into Small Chunks: Instead of explaining an entire process in one go, focus on one step at a time.
- Use Simple Language: Avoid jargon unless it’s necessary, and if you must use it, explain what it means.
- Speak Slowly and Clearly: This is particularly important for non-native speakers or detailed steps that require precision.
Add subtitles to your videos to improve accessibility and engagement across different audiences.
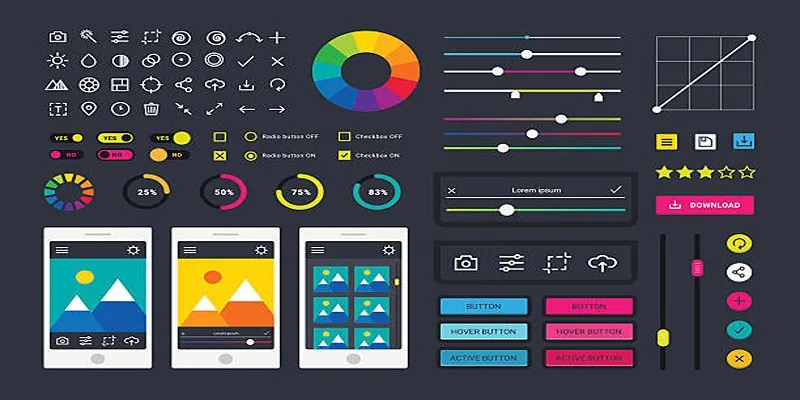
Step 5: Include Visuals and On-Screen Cues
A great tutorial uses more than just spoken instructions. Visual aids can make complex ideas easier to understand and keep the audience engaged throughout.
Ways to Keep It Visual:
- Screen Recording: Perfect for software walkthroughs or tutorials explaining digital tools.
- B-roll Footage: Incorporate relevant supplementary footage to illustrate key points (e.g., clips showing your hands performing actions for DIY projects).
- Text and Graphics: Add on-screen text, animated arrows, or highlights to draw attention to specific areas or actions.
- Step-By-Step Overlays: Use visuals to briefly review the steps covered so far.
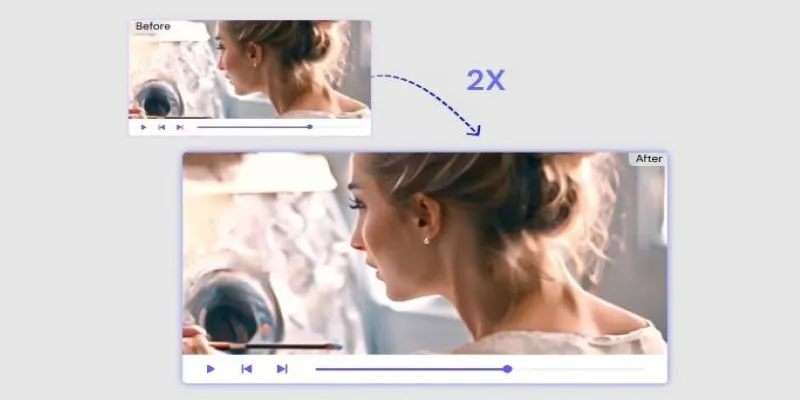
Step 6: Use Editing to Polish Your Video
Editing is where your tutorial goes from good to great. A polished video enhances the viewer’s experience by eliminating unnecessary distractions.
Key Editing Tips:
- Cut Out Filler Words: Edit out unnecessary pauses, filler words like “um” or “uh,” and any off-topic discussions.
- Add Background Music: Subtle background music can make your video feel more professional and engaging. Just make sure it doesn’t overpower your voice.
- Use Transitions and Effects: Smooth transitions between scenes and occasional effects can keep viewers interested. Don’t overdo it, though.
Step 7: Wrap Up with a Strong CTA
Always end your tutorial with a thoughtful CTA. Encourage your viewers to take the next step, whether it’s:
- Liking, commenting, or subscribing to your channel.
- Visiting your website for additional resources.
- Joining a community or downloading a template you’ve created.
Example CTA Script:
“Thanks for watching! If you found this tutorial helpful, don’t forget to hit ‘like’ and subscribe for more. Have any questions? Drop them in the comments—I’d love to help!”
Step 8: Promote Your Video

Creating a great tutorial is only half the battle; you also need to ensure it reaches the right audience. Share your video across all relevant channels, including:
- Social Media: Maximize reach on platforms like LinkedIn, Instagram, TikTok, and Facebook.
- Your Website or Blog: Embed your video to reach your existing audience.
- Email Newsletters: Share your video with your subscribers.
- Online Communities: Share in relevant groups or forums.
Engage with your audience in comments and encourage them to share the video if they found it useful!
Conclusion
By following these step-by-step tips, you can create tutorial videos that not only inform but also captivate your audience. Start by identifying their needs, planning your content, and setting up your tools. With clear communication, visually appealing edits, and a well-defined CTA, you’ll turn your tutorials into a valuable resource your audience can’t resist. Whether you’re teaching a simple task or unraveling complex ideas, your audience will appreciate the effort you put into making their learning experience engaging and enjoyable.
On this page
Why Create Tutorial Videos? Step 1: Identify Your Audience and Their Needs Step 2: Plan and Script Your Video Step 3: Prepare Your Tools and Set-Up Step 4: Be Clear and Concise Step 5: Include Visuals and On-Screen Cues Step 6: Use Editing to Polish Your Video Step 7: Wrap Up with a Strong CTA Step 8: Promote Your Video ConclusionRelated Articles

LightCut 2025 Review: The Best Video Editor for Android and iPhone

Best Tools: 4 Video Players for Frame-by-Frame Analysis

Top Tips for Designing Eye-Catching Video Presentations on Any Device

3 Easy Ways to Create a Stunning Memory Video on Your iPhone

Top 5 Video Stabilization Tools for Professional-Quality Footage
How to Easily Edit and Trim Videos on Your Android Devices

How to Effortlessly Combine MP4 Videos on Your Desktop

Top 4 Vertical Video Editors to Edit Vertical Videos Quickly

Top Desktop Video Editors for Background Removal

The 10 Best AI Video Tools in 2025 to Create Smart Content Fast
Fix Low-Quality Videos Fast: 3 Best AI Upscalers (2025)

Discover the Best Tools for Crafting Stunning Video Intros
Popular Articles

How to Use Tags and Labels to Organize Your Files: A Step-by-Step Guide
The 6 Best Airtable Alternatives in 2025 to Organize, Track, and Collaborate Better

The 24 Best Sales Tools to Supercharge Your Team's Performance

How to Embed a YouTube Video in PowerPoint with Confidence: A Complete Guide

Best Tools to Zoom in and Out of Videos on Your Computer

Steps to Add Hyperlinks in Gmail

How Can You Merge Google Accounts? 3 Easy Ways to Combine Gmail, Calendar, and Contacts

How to Restore the Missing Link Title Field in WordPress 4.2 Easily
How to Troubleshoot and Fix Docker Desktop Startup Issues on Windows

Everything You Need to Know About Converting to MP4
The 9 Best Applicant Tracking Systems to Streamline Your Hiring Process