How to Add a Progress Bar in Your WordPress Posts (The Easy Way)
Adding a progress bar to your WordPress posts is a smart idea. It keeps readers engaged by showing them how much of the article is left to read. This simple yet powerful tool can direct readers, making it particularly useful for long posts or tutorials. Many sites use it to lower bounce rates, enhancing the overall appeal of your content.
The best part? You don’t need to code. Thanks to WordPress plugins, even beginners can add a progress bar in minutes. This guide will walk you through easy methods to include a progress bar, complete with steps, tools, and tips. Let’s dive in and improve your website’s usability and appeal.

Why Use a Progress Bar in Your Posts?
Using a progress bar on your WordPress posts enhances user experience by keeping readers more engaged. When visitors see how much of an article is left, they’re more likely to keep reading to the end. This simple visual tool clearly indicates reading progress, reducing bounce rates and increasing the time spent on your site. It’s especially beneficial for long blogs, tutorials, or detailed guides where users might lose track of their position.
Progress bars also add structure and guidance, making your content feel more interactive and organized. They are particularly helpful for mobile users, who often scroll through lengthy pages and appreciate visual cues. Additionally, a well-designed progress bar can give your site a modern and professional look, increasing visitors’ trust. By encouraging full post views, progress bars indirectly boost SEO and reader satisfaction.
Method 1: Add a Progress Bar Using a WordPress Plugin
The easiest way to add a progress bar is by using a plugin. No coding is required. Let’s go through the steps below:
- Go to Your WordPress Dashboard: Log in to your WordPress admin panel, where you manage all your site settings.
- Click on Plugins > Add New: This opens the WordPress plugin directory, where you can search for new tools.
- Search for “Reading Progress Bar”: You’ll find several plugins, including “Reading Progress Bar,” “Worth The Read,” and “Reading Position Indicator.”
- Click “Install Now”: Once you’ve selected a plugin, click Install Now and Activate it after installation.
- Go to Plugin Settings: Each plugin has a settings page, usually found in the Settings tab or the plugin section.
- Customize Your Progress Bar: Here, you can choose the color, position, and style. You may place it at the top or bottom. Some plugins even let you pick page types to include.
- Save Changes: Once done, save the settings. Visit a post to see the progress bar in action. This method is ideal for beginners. It’s quick and safe to use on any theme.

Method 2: Add a Progress Bar Using a Page Builder
Many modern websites use page builders like Elementor or WPBakery. If you use Elementor, here’s how to add a progress bar easily:
- Open the Post in Elementor: Edit your blog post or page using Elementor.
- Drag and Drop the Progress Bar Widget: Elementor has a widget called Progress Bar or Reading Progress in some themes.
- Customize the Bar: Change the color, text, and animation style. You can set it to track scroll or time.
- Save and Preview: Click the Update button and preview your post. The bar should appear while scrolling. This method gives more control over design and works best if you already use a page builder.
Method 3: Add a Progress Bar with Custom Code (Advanced)
If you’re comfortable with coding, adding a custom JavaScript and CSS solution offers full control over the progress bar’s functionality.
Step 1: Add JavaScript to Track Scroll
Use the following code:
<script>
  window.onscroll = function () {
    var scroll = document.documentElement.scrollTop;
    var height = document.documentElement.scrollHeight - document.documentElement.clientHeight;
    var scrolled = (scroll / height) * 100;
    document.getElementById("progressBar").style.width = scrolled + "%";
  };
</script>
Step 2: Add HTML and CSS
Paste the following in your header or footer:
<div id="progressContainer">
  <div id="progressBar"></div>
</div>

<style>
  #progressContainer {
    width: 100%;
    height: 6px;
    background: #f3f3f3;
    position: fixed;
    top: 0;
    left: 0;
    z-index: 9999;
  }
  #progressBar {
    height: 6px;
    background: #3b82f6;
    width: 0%;
  }
</style>
Step 3: Save and Test
Save your theme or child theme changes. Then, check your post to see if the progress bar appears correctly. This method is flexible but risky for beginners. Always use a child theme and back up your site before making changes.
Best Plugins to Try
Using a plugin is the fastest and easiest way to include a progress bar in your WordPress entries. One great option is the lightweight Reading Progress Bar plugin, which adds a smooth bar at the top of your content without slowing down your website. Worth The Read is another excellent option with greater customization, showing progress by post type or only on single posts.
For those seeking a basic, beginner-friendly plugin compatible with most themes and layouts, the Catch Scroll Progress Bar is perfect. Progress Bar & Skill Bar provides adaptable styling and can be used for scroll indications or even skill displays for consumers looking for more sophisticated design elements. These free plugins from the WordPress plugin directory require no coding experience, making them ideal for both new and experienced WordPress users.
Conclusion
Including a progress indicator on your WordPress posts is a small but effective change. It increases visitor engagement and time spent on your website. Whether you use custom code, a page builder, or a plugin, the setup is easy and worth your time. While advanced users can have complete control with bespoke coding, beginners can find a simple, no-code alternative with plugins. A progress bar makes your content look neat, modern, and more dynamic. A few steps will enhance your website’s usability and the reading experience. Start now to provide your readers with an improved means of staying engaged.
Related Articles

How to Move Comments Between WordPress Posts: A Quick and Easy Guide

How to Allow Authors to Chat in WordPress: A Step-by-Step Guide

Effortless Guide: How to Create a Duplicate Menu in WordPress with One Click
How to Import Post Ideas from CSV Spreadsheet in WordPress: A Guide

How to Add a Custom Scrollbar to Any Element in WordPress: A Step-by-Step Guide
How to Add Facebook-Style Autocomplete for WordPress Posts: A Guide
What is the Hello Dolly WordPress Plugin: A Guide for Beginners

Exploring the Top 5 WordPress Business Directory Plugins for 2025: Free & Premium Choices

Easy and Effective Ways to Erase Unwanted Text from Your Video Content
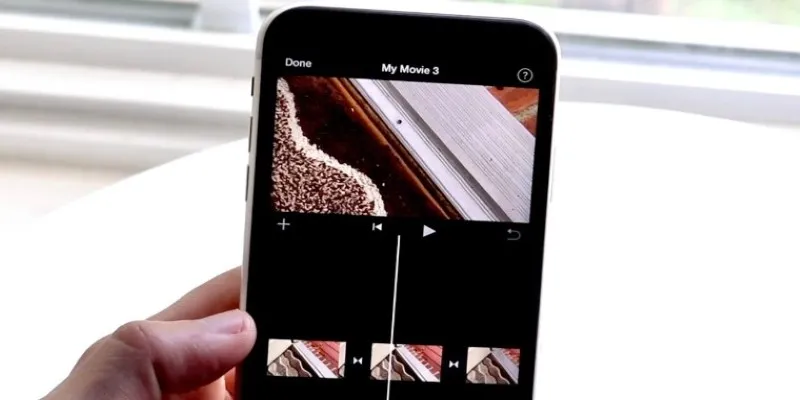
Different Ways to Repeat and Loop a Video on iPhone

How to Edit a PDF on Windows Like a Pro: The Ultimate Step-by-Step Guide

How to Add an 'Email This' Option to Your WordPress Posts: A Step-by-Step Guide
Popular Articles

Maximize Your SEO Strategy with the Best Rank Tracker Tools in 2025

9 Powerful Chrome Extensions for Effortless Screenshots
Fast & Easy AVIF to JPG Conversion: 5 Offline Converters

How to Scale Content Creation Using AI and Automation Tools: A Step-by-Step Guide

Top 3 Simple Ways to Convert WMA to MP4 Easily

How to Add a Private Messaging System in WordPress: A Step-By-Step Guide

How to Make Your Videos Look Stunning: 3 Simple Ways to Optimize Video Quality

Explore the Best Shopify Alternatives in 2025 for Building Your Perfect Online Store

Top 7 Online Tools to Convert MOV to WMV Effortlessly
Unlock the Power of Automation: 6 Ways to Automate Microsoft Excel

Boost Your Productivity: The 10 Best Google Docs Add-Ons You Need

 mww2
mww2