mww2
mww2
How to Convert JPG to EPS: Tips & Tricks for Scalable Vector Images
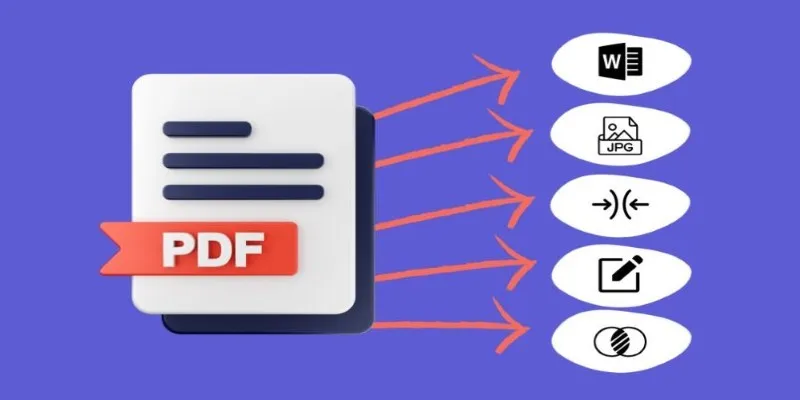
Graphics come in various formats, each serving a unique purpose. JPG files are raster images composed of pixels, while EPS files are vector-based, offering superior scalability without quality loss. When resized, JPGs become pixelated, whereas EPS files remain sharp, making them ideal for logos, prints, and large-scale designs. Converting JPG to EPS ensures better usability, especially for high-resolution projects.
Whether you’re designing for the web, branding, or print, converting JPG to EPS is invaluable. This tutorial walks you through the process, providing actionable tips to assist you in achieving smooth conversion and producing sharp, scalable vector graphics.
Why Convert JPG to EPS?
Converting from JPG to EPS offers several advantages, making it a preferred option for designers and print professionals. Here’s why it’s important:
Scalability Without Quality Loss – Unlike JPGs, EPS files remain crisp at any scale. Whether you’re designing a small logo or a huge billboard, your design stays impeccable.
Precision for Detailed Graphics – EPS supports vector-based elements, making it perfect for intricate designs like technical illustrations and branding materials.
File Efficiency – Large-resolution JPGs can be sizeable. Converting to EPS usually results in smaller, more efficient files, especially for detailed images.
Professional Print Compatibility – Most business printers demand EPS files as they are reliable and clean for large-scale printing.
Future-Proofing Your Work – EPS files are easily editable and flexible, keeping your graphics useful for years to come.
Converting JPG to EPS: Step-by-Step Guide
Now that we understand the reasons for JPG to EPS conversion, let’s explore the process in detail. You can perform quick conversions using online tools or opt for professional software for more control over the outcome. Below are some popular methods to convert your JPG photo to an EPS file.
Method 1: Using Online Converters
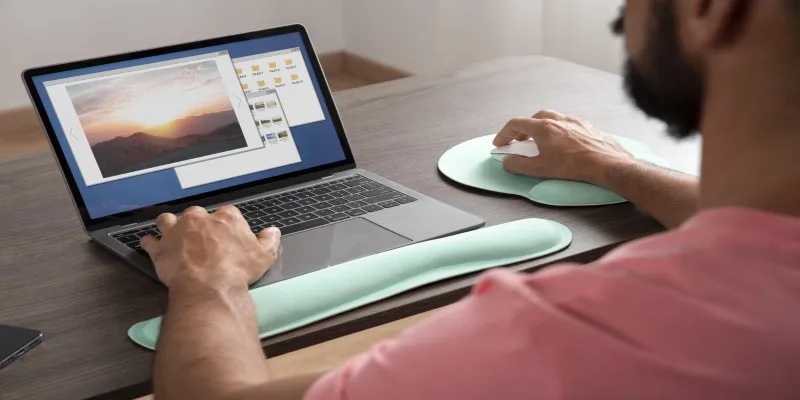
If you’re looking for a quick and easy way to convert JPG to EPS without installing any software, online converters are your best option. Many websites offer free JPG to EPS conversion tools, saving you time and effort. Here’s how you can use an online converter:
Find a Reliable Online Converter: Search for “JPG to EPS converter” and select a reputable online tool. Websites like Zamzar, Online-Convert, or Convertio are popular choices.
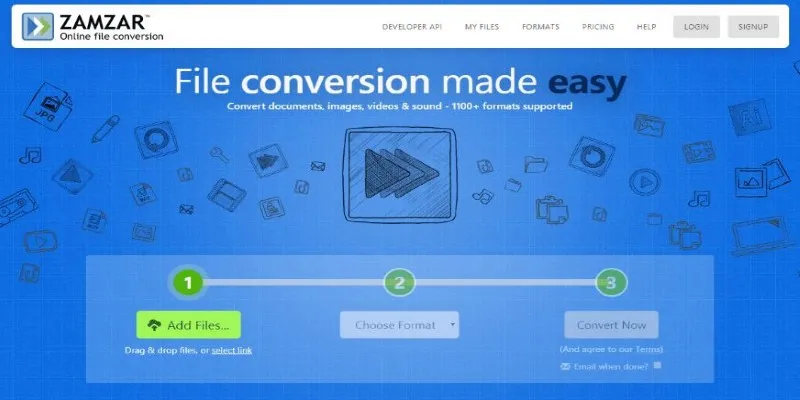
Upload Your JPG File: Once on the website, look for the upload button and select your JPG image.
Choose EPS as the Output Format: In the converter tool, select EPS as your desired output format.
Download the EPS File: After the conversion is complete, download the EPS file to your computer.
While online converters are convenient and user-friendly, they may not always offer the same quality as more advanced software, especially for images with complex details.
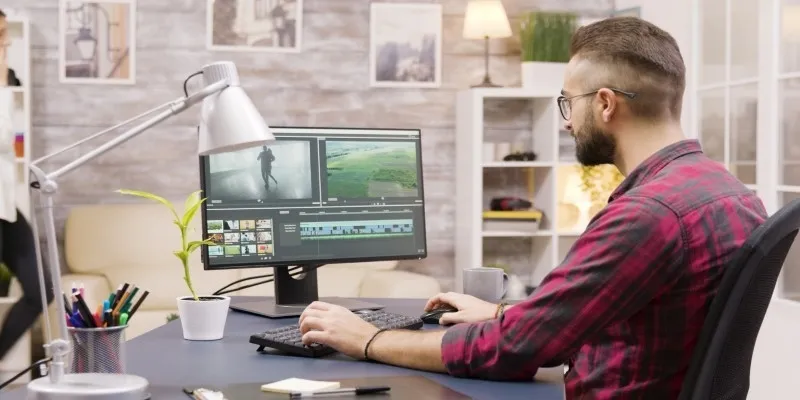
Method 2: Using Adobe Illustrator
For those who prefer more control over the conversion process and quality, Adobe Illustrator is an excellent tool for converting JPG to EPS. Here’s how to do it:
Open Adobe Illustrator: Launch Adobe Illustrator on your computer.
Import the JPG Image: Go to “File” > “Open” and select the JPG image you want to convert.
Trace the Image: To convert the raster JPG to a vector format, trace the image using the “Image Trace” panel (Window > Image Trace). Adjust the settings to achieve the desired level of detail.
Expand the Image: Once traced, click “Expand” in the toolbar to convert the trace into vector paths.
Save as EPS: After vectorizing the image, go to “File” > “Save As” and choose EPS as the file format.
Adobe Illustrator provides more control over the vectorization process, allowing you to adjust the level of detail and ensure the resulting EPS file is of the highest quality.
Method 3: Using Inkscape (Free Software)
If you don’t have access to Adobe Illustrator, Inkscape is a free, open-source vector graphic editor that can also convert JPG to EPS. Here’s a step-by-step guide:
Download and Install Inkscape: If you don’t already have Inkscape, download and install it from the official website.
Open the JPG File: Launch Inkscape and open the JPG image by going to “File” > “Open.”
Trace the Bitmap: To convert the raster image into a vector, select the image and click on “Path” > “Trace Bitmap.” Adjust the settings to fine-tune the trace.
Save as EPS: Once satisfied with the trace, go to “File” > “Save As” and choose EPS as the output format.
Inkscape is an excellent free alternative to Adobe Illustrator. With practice, you can achieve similar results.
Best Practices for Converting JPG to EPS
When converting JPG to EPS, there are a few best practices to ensure the best quality and usability of the resulting file:
Choose the Right Image: Start with a high-resolution JPG image to ensure the conversion process results in a high-quality EPS file.
Adjust the Image Before Conversion: If your image contains a lot of noise or unnecessary elements, consider editing it beforehand to remove any unwanted parts.
Optimize the EPS File: After conversion, clean up the EPS file by removing extra anchor points or simplifying complex paths to ensure smooth scalability.
Conclusion
Converting JPG to EPS is essential for achieving scalability and maintaining image quality. Whether you use online tools, Adobe Illustrator, or free software like Inkscape, the process is straightforward. EPS files allow for high-resolution printing, resizing without pixelation, and greater design flexibility. By following best practices—choosing high-quality images, optimizing vector paths, and refining details—you can create professional- grade vector images. Mastering this conversion process will enhance your design workflow and ensure crisp, scalable graphics for various applications.
Related Articles

Best Practices for Converting AVI Files to JPG Format
Fastest Method to Convert JPG to MP4 and Create Stunning Videos
Best Free PDF to Image Tools for Quick and Easy Conversion
Effortless Image Conversion: 5 Best TIFF to JPG Converters

How to Convert MPEG to WAV: A Step-By-Step Guide

How to Easily Convert AVI to MOV Using 4 Reliable Tools
How to Easily Convert HTML Files to JPG: 5 Methods
Convert WebP to JPG on Windows: 7 Best Tools to Use

PowerPoint Image Compression: Reduce File Size Without Sacrificing Clarity
Fast & Easy AVIF to JPG Conversion: 5 Offline Converters
Simple Methods to Convert ISO Files to MP4 for Beginners

Top 3 Simple Ways to Convert WMA to MP4 Easily
Popular Articles

Top 5 Benefits of Using Social Intents for Support

How to Ensure Your YouTube Uploads Stay Crisp in 720p, 1080p, and 4K

How to Make Your Videos Look Stunning: 3 Simple Ways to Optimize Video Quality

How to Set Up an Automatic Out-of-Office Notification Bot: A Step-by-Step Guide

The 9 Best AI Recruiting Tools

5 Creative GitHub Automation Ideas to Try
Step-by-Step Guide: How to Use Windows Movie Maker
Best PCB Design Software to Streamline Your Workflow
Free Prezi Slideshow Creation Made Simple: Start to Finish Tutorial

How to Turn On Subtitles on Apple TV Quickly

HubSpot vs. Mailchimp: Which Marketing Tool Will Benefit Your Business in 2025