How to Transfer Homemade DVDs to iPad or iPhone
If you’ve ever created a homemade DVD—perhaps from old camcorder footage, a family event, or personal projects—you know how precious those memories are. But let’s face it, DVD players aren’t common in laptops anymore, and carrying around a stack of discs doesn’t make sense when you have a smartphone or tablet. The good news? You don’t have to abandon your old DVDs. With the right steps, you can transfer that content directly to your iPad, iPhone, iPod Touch, or nearly any other device. Here’s how to do it without getting overwhelmed by tech jargon.
What You’ll Need Before You Start
Let’s start with the essentials. To transfer a homemade DVD to your Apple device, you’ll need:
- A computer with a DVD drive
- The homemade DVD (Note: This method is not for commercial or copy-protected discs)
- A DVD ripping program (we’ll explain more on this shortly)
- A video conversion tool (most ripping software includes this feature)
- iTunes or Finder (depending on your macOS version), or a file transfer program
Don’t worry—this might seem like a lot, but the process is straightforward, and once you do it, it’s a breeze to repeat.
Step 1: Rip the DVD to Your Computer
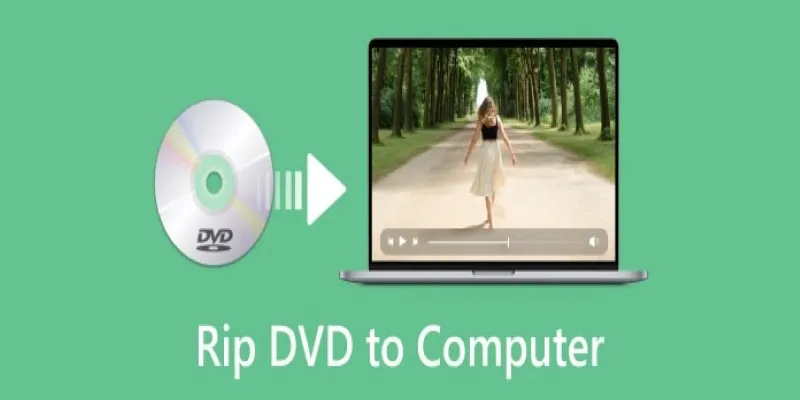
The first step is to copy the video files from the DVD. This process is known as “ripping.” Since we’re dealing with homemade DVDs, there’s no legal issue involved. You’re not bypassing encryption or doing anything illegal.
One free program that works well for this task is HandBrake. It’s compatible with both Windows and macOS and is user-friendly, even for those who aren’t familiar with video software. Once installed, insert your DVD and open HandBrake.
The program will detect the DVD and display available titles (these are different sections or video tracks). Select the one you want—usually the longest one, which is often the main video. HandBrake allows you to choose a format for video conversion. For Apple devices, select MP4 and use one of the Apple presets like “iPad” or “iPhone” to ensure seamless playback.
Once everything is set, click Start Encode and wait. The duration depends on your computer’s speed and the length of the video.
Step 2: Transfer the File to Your Apple Device
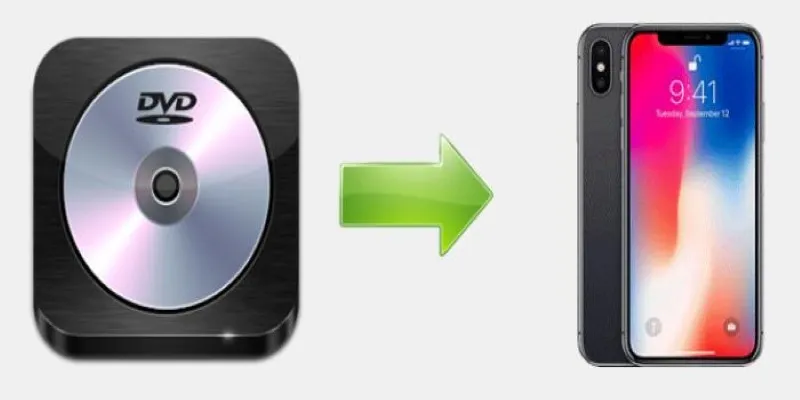
After ripping the DVD and converting the file, the next step is to transfer the video to your device.
If you’re using macOS Catalina or later, skip iTunes and use Finder:
- Connect your device via USB.
- Open Finder and select your device from the left panel.
- Click the Movies tab (or drag the file directly into the device’s window).
- Drag and drop the MP4 file into the window.
- Sync your device.
If you’re on an older macOS version or using Windows, you’ll use iTunes:
- Connect your iPad, iPhone, or iPod Touch.
- Open iTunes and find your device.
- Go to the Movies section.
- Drag the video file into your iTunes library if it’s not there already.
- Check the video in the sync options and click Apply or Sync.
Now the video should appear in the TV or Videos app on your device, depending on the iOS version.
Optional Tips and Tricks
Need It on Another Device? No Problem
While Apple devices are the focus here, the MP4 file you got from HandBrake will work on other devices too—Android phones, smart TVs, laptops, and more. Just copy the file like you would any other video. For Android, use a USB cable and drag the file into the Movies folder. For cloud-based access, upload it to Google Drive or Dropbox and stream it directly.
What About Quality and File Size?
If you’re dealing with a long video or want to save space on your device, you can adjust settings in HandBrake before ripping. Lowering the resolution or using a more efficient encoder like H.265 can reduce the file size. Remember, older devices might not support every video format, so stick with the recommended Apple presets if you’re unsure.
Subtitles or Chapters? You Can Keep Those Too
A great feature of using a good ripper like HandBrake is the ability to include subtitles or DVD chapter markers in your converted file. If your homemade DVD includes subtitles, you can check a box to include them. The same goes for chapters, which is helpful for navigating long videos.
Don’t Want to Use iTunes? Try These Alternatives
If you’re not a fan of iTunes or Finder syncing, apps like VLC for Mobile, Infuse, or Documents by Readdle allow you to transfer and watch videos without going through Apple’s ecosystem.
Simply open the app on your device, use Wi-Fi transfer or cloud upload, and drop the video file in. It’s a more flexible option if you frequently move videos or share files with other devices.
Wrapping It Up
Transferring a homemade DVD to your iPad, iPhone, or iPod Touch might seem like a tech hurdle initially, but it’s quite manageable once you get the hang of it. You’ll have your favorite personal videos ready to enjoy anywhere—no discs, no cables, just your device and a screen.
So, dust off those old DVDs. They’ve got more life left in them than you might think. Want them on your phone for a long flight or to show off at a family gathering? Now you know exactly how to do it.
Related Articles

The 8 Best To-Do List Apps for Android in 2025
8 Best To-Do List Apps for Mac in 2025
How to Easily Convert AVI to MOV Using 4 Reliable Tools
MPEG to MP3 Conversion Made Easy: A Complete Guide
How to Convert MPEG to WAV: A Step-By-Step Guide

How to Easily Convert AVI to MOV Using 4 Reliable Tools
Simplest Methods to Convert AVI Files into XviD, SWF, or FLV Formats
Top Tools to Convert MXF Files for Seamless Sony Vegas Compatibility
5 Simple Ways to Convert FLV Files to MOV Format on Windows
How to Easily Convert JVC TOD to MP4, MOV, or AVI: A Step-by-Step Guide
How to Convert FLV to MP4 for Free: Top Tools and Easy Methods

Top 9 Apps to Effortlessly Add Text to Your Videos in No Time
Popular Articles
How to Turn Flip Video Camera Files into MP4 or AVI

10 Essential Martech Tools for Building a Smart Martech Stack for Startups

Simplify Your Project Management Software Comparison: Top 5 Choices
Simple Ways to Resolve Audio Video Delay: A Beginner’s Guide
10 Game-Changing VS Code Extensions Every Developer Should Install

How to Choose the Best Automation Software for Your Business: A Guide
How to Use Free Tools Online to Convert EPUB Files to PDF Format

7 Best Online Tools to Create Picture and Video Collages
Effortless Image Conversion: 5 Best TIFF to JPG Converters
Top Note Taking Apps for iOS Devices This Year

The 5 Best Bitrate Converters to Enhance Your Media Experience

 mww2
mww2