A Beginner’s Guide to Adding Watermarks to Your Videos
When you spend hours creating a video, the last thing you want is for someone else to claim it as their own. Whether you’re sharing a tutorial, a product demo, or a travel vlog, adding a watermark gives your work a sense of ownership. It’s not just about slapping a logo on your video—it’s about protecting your brand, your content, and your time. With the right tool, it doesn’t have to be difficult. In fact, it can be done in just a few minutes.
Below, you’ll find several methods to add watermarks to your videos, each using a different approach. Choose the one that fits your workflow—whether you’re on your phone, using a laptop, or editing through a browser.
Watermark App/Maker: Add Watermark to Videos with Ease
How to Add a Watermark Using InShot
InShot is a handy mobile editor that works well for quick video edits, including watermarking. It’s popular for a reason—it keeps things simple without sacrificing quality.
Step-by-step:
- Download and open the InShot app.
- Tap on “Video” and select the clip you want to edit.
- Once your video is loaded into the timeline, tap on “Sticker.”
- Choose a sticker or upload your logo image (PNG with transparency works best).
- Drag and place the image where you want it on the screen.
- Adjust the size and opacity if needed. If you want the watermark to stay throughout the video, extend it along the timeline.
- Tap the checkmark, export your video, and you’re done.
What’s great about InShot is how easy it is to use on the go. You don’t need a desktop or complicated software—just your phone and a logo file.
Add Watermark with Canva Video Editor

Canva isn’t just for social posts and resumes anymore—it has a video editor that’s straightforward and surprisingly capable. If your watermark is already part of your brand kit, Canva makes it even easier.
Here’s how:
- Log into Canva and select the “Video” option from the home screen.
- Upload your video and logo.
- Drag your video onto the timeline.
- Add your logo as an image, then position and resize it as needed.
- Adjust the transparency if you don’t want it to stand out too much.
- Drag the watermark to cover the entire video length.
- Click “Download” and export as an MP4.
This is great for creators who have already designed everything in Canva. It keeps all your assets in one place, and the interface is clean with almost no learning curve.
How to Watermark Videos Using Adobe Premiere Pro
If you’re working on long-form content or commercial videos, Premiere Pro gives you full control. The setup takes more time, but the result is polished.
Instructions:
- Open Premiere Pro and create a new project.
- Import your video and logo file.
- Drag your video to the timeline.
- Drop the logo above the video on a separate video track.
- Select the logo, go to the “Effect Controls” panel, and adjust the scale, position, and opacity.
- If needed, use keyframes to move or fade the watermark during the video.
- Export using your desired format.
Premiere is ideal for those who already edit their videos professionally. The flexibility here lets you place the watermark wherever, however, and whenever you want within the video.
How to Add Watermark in iMovie
iMovie doesn’t have a direct watermark tool, but you can still add one with a bit of layering.
Steps for Mac:
- Open iMovie and create a new project.
- Add your video to the timeline.
- Drag your watermark image above the video in the timeline.
- Select the logo, click the “Video Overlay Settings,” and choose “Picture-in-Picture.”
- Resize and move the watermark to the corner or spot of your choice.
- Extend the image clip to match the video’s duration.
- Export the final video.
This works the same way on iOS with minor changes in menu names. iMovie keeps things basic, but if you already use it for editing, this is an easy way to add a consistent mark.
Add a Watermark Online with Veed.io

Don’t want to download anything? Veed.io is a browser-based editor that handles watermarking in a few clicks.
Here’s what to do:
- Visit veed.io and start a new project.
- Upload your video.
- Click “Upload” again to bring in your watermark image.
- Resize and place the watermark where you want.
- Adjust the opacity to make it subtle or keep it bold.
- Download the final video.
This is perfect for quick edits from a shared computer or when you’re working with limited storage. The free version does leave its watermark, but with a paid plan, that’s removed.
Use Shotcut to Add Watermark on Windows/Linux
Shotcut is a free, open-source video editor with more features than you’d expect. It takes a bit of setup, but it’s great for people who want control without paying for premium software.
How to use it:
- Open Shotcut and start a new project.
- Add your video to the timeline.
- Drag your watermark image to a new video track above the video.
- Use the “Size and Position” filter to place your watermark.
- Apply any transparency or fade effects if needed.
- Export your video.
Since Shotcut doesn’t force you to deal with any subscriptions, it’s a good option for editors who don’t mind a small learning curve.
Final Thoughts
No matter how you edit, there’s a tool out there that fits. Whether you want something fast and mobile-friendly or you’re working on a more involved video project, watermarking doesn’t have to slow you down. The key is to choose the method that matches your workflow—so you can get back to creating without worrying about credit. Your content deserves that layer of protection, and with these tools, adding it is just part of the process.
Related Articles

Top 9 Apps to Effortlessly Add Text to Your Videos in No Time

How to Easily Convert AVI to MOV Using 4 Reliable Tools

MPEG to MP3 Conversion Made Easy: A Complete Guide

How to Convert MPEG to WAV: A Step-By-Step Guide

How to Easily Convert AVI to MOV Using 4 Reliable Tools

Top 10 Apps to Add Text to Videos on Mobile and Desktop

5 Simple Ways to Convert FLV Files to MOV Format on Windows

How to Easily Convert JVC TOD to MP4, MOV, or AVI: A Step-by-Step Guide
How to Convert FLV to MP4 for Free: Top Tools and Easy Methods

Easy Ways to Automatically Upload Zoom Recordings to Google Drive

How to Convert M3U8 to MP4 Using VLC and Other Tools

From Video to Audio: 10 Top MP4 to MP3 Converters in 2025
Popular Articles
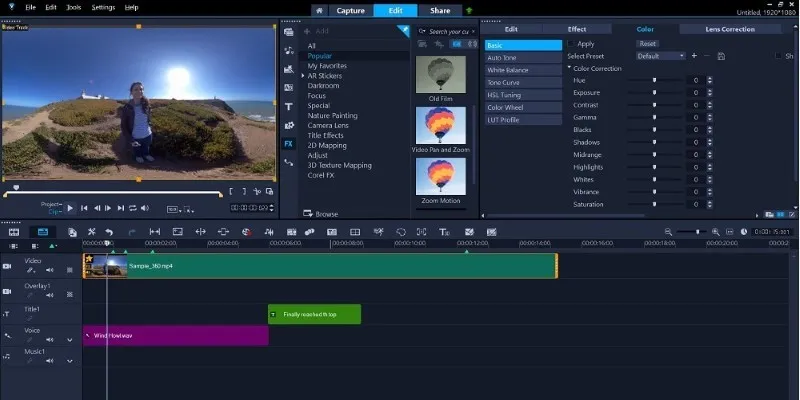
Make Your Own Music Videos: 8 Best Musically Makers
Top 5 SWF Conversion Tools for Mac Users in 2025

4 Trello Calendar Views to Help Visualize Your Projects Effectively

How to Allow Authors to Chat in WordPress: A Step-by-Step Guide

Beauty by the Numbers: 4 Data Visualization Apps for Business Success

The Complete Guide to the iPod Family: Devices That Shaped Portable Music

5 Best Related Posts Plugins for WordPress (Compared): Choose the Right One
Looping Videos on iPad Without Wi-Fi or Workarounds

Discover the Top 8 AI Meeting Assistants in 2025 to Boost Productivity and Stay Organized

Track and Reply to Facebook Leads Easily Without Manual Work
Troubleshooting Cloud Storage Sync Errors: A Step-by-Step Guide

 mww2
mww2