mww2
mww2
Editing Like a Pro: Splitting Video Clips in iMovie Explained
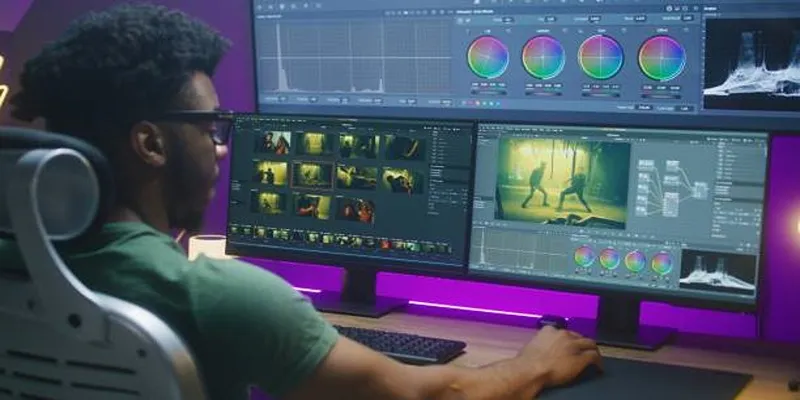
Video editing can seem daunting, especially for beginners. However, if you’re using iMovie, Apple has made the process simple and user-friendly. Splitting video clips is one of the most essential editing skills you’ll need to master when using iMovie. Whether you want to cut out unnecessary parts, rearrange segments, or create seamless transitions, learning to split clips is the foundation of great video editing.
Benefits of Splitting Video Clips

There are several benefits to splitting video clips in iMovie. Here are a few:
- Efficiency : Targeting pre-selected video segments after splitting them into separate parts improves your editing workflow efficiency.
- Precision : By splitting video content, you gain the ability to perform exact cuts while editing.
- Seamless Transitions : Using the split clip feature creates professional transitions between consecutive shots to enhance video appearance.
Getting Started with iMovie
Step 1: Install and Launch iMovie
If you don’t already have iMovie installed, you can find it for free in the Mac App Store. Once downloaded, open iMovie from your Applications folder.
When you first launch the program, you’ll be greeted with two sections:
- Projects : This is where your saved video projects are stored.
- Media Library : This is where you can upload videos, photos, and audio files for your editing project.
Click the “+ Create New” button to start a new project and select “Movie” when prompted.
Step 2: Import Your Video Clips
Once your new project interface is open, import your video footage. Click the Import Media button or drag and drop video files directly into the iMovie media library. iMovie supports a wide range of file formats, including MP4, MOV, and AVI.
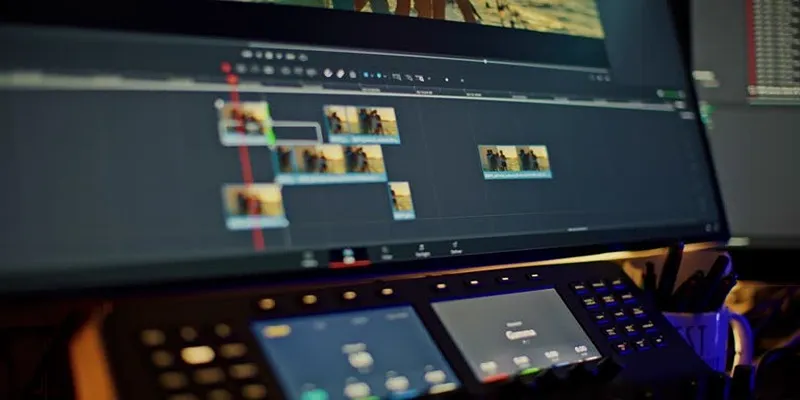
After importing, drag your video clip(s) into the timeline at the bottom of the screen. This timeline is where you’ll perform all of your editing work.
How to Split Video Clips in iMovie
Step 3: Select the Clip You Want to Split
Once your video footage is in the timeline, select the clip you want to split by clicking on it. The selected clip will be highlighted with a yellow border.
When you move your cursor over the clip, you’ll see a white playhead line. This line indicates the point in the video where actions like splitting or cutting will take place.
Step 4: Position the Playhead
Navigate to the exact point where you want to split the video. You can move the playhead in two ways:
- Drag the playhead manually along the timeline.
- Press the space bar to play your video, then pause it when you reach the desired split point.
For accuracy, you can use the arrow keys on your keyboard to move the playhead frame by frame.
Step 5: Split the Clip
Now that the playhead is in position, it’s time to split the clip. Here’s how:
- Right-click (or Control-click) on the clip where the playhead is placed and select “Split Clip” from the menu.
- Alternatively, use the shortcut Command (⌘) + B on your keyboard for faster splitting.
Once split, the single clip will be divided into two parts, each functioning independently. You can now delete, move, or edit each segment as needed.
Tip : If you want to undo a split, press Command (⌘) + Z to revert your action instantly.
Step 6: Repeat for Additional Splits
If your project requires multiple splits, simply repeat the process. Position the playhead and use Command (⌘) + B to split at each point you need.
You can now fine-tune your clips to create the perfect sequence.
Editing Your Split Clips
Once your clips are split, you can begin editing each section to fine-tune your video. Here are a few options to elevate your project:
- Trim Unnecessary Footage : Click on the edges of a split clip and drag inward to cut out unwanted frames.
- Rearrange Clips : Drag and drop individual clip segments in the timeline to reorder them.
- Add Transitions : Go to the Transitions tab in the upper toolbar and drag a transition effect (e.g., fade, dissolve) between split clips.
- Apply Filters : Select a clip and click the Filters tab to add visual effects, like black-and-white or vintage tones.
Tips for Seamless Video Editing

- Save Regularly : iMovie auto-saves your progress, but it’s good practice to manually save your project periodically to avoid accidental loss.
- Zoom for Precision : If you want more control over your splits, use the zoom slider in the timeline to magnify individual frames.
- Export in High Quality : Once editing is complete, export your video by clicking the File > Share menu. Choose 1080p or 4K resolution for the best quality.
- Learn Keyboard Shortcuts : iMovie has a variety of keyboard shortcuts that can save you time and make editing smoother. For example, use the J , K , and L keys to navigate through your footage, and use the spacebar to play or pause.
Common Mistakes to Avoid:
- Using too many transitions : While transitions can add visual interest to your video, using too many can be distracting and take away from the content. Stick to 2-3 different types of transitions throughout your video.
- Overusing effects : Similar to transitions, applying too many effects can make your video look cluttered and unprofessional. Use them sparingly for specific moments or as a way to enhance certain shots.
- Neglecting audio quality : Poor sound quality can ruin an otherwise well-edited video. Try to record audio in a quiet environment and use tools like noise reduction or equalization if necessary during the editing process.
Conclusion
Congratulations! You now know how to split video clips in iMovie like a pro. Splitting clips is just the beginning of what’s possible with video editing. By mastering this skill, you’re already taking the first step toward creating polished, professional-quality videos. If you’re ready to explore more advanced editing techniques, such as adding text overlays, color grading, or using transitions creatively, check out Apple’s official iMovie tutorial page or explore additional guides online.
Related Articles

A Step-by-Step Guide to Quickly Combine Video Clips in iMovie

LightCut 2025 Review: The Best Video Editor for Android and iPhone

Master the Green Screen Feature in iMovie 11: A Step-by-Step Guide

Mastering iMovie: Quick, Clean Video Editing for Every Apple Device

How to Upload iMovie Videos to YouTube in 7 Easy Steps
How to Edit and Merge GoPro Videos on Your Windows PC

KineMaster Video Editing App Review: A Mobile-Friendly Powerhouse

PowerDirector: A Fast and Accessible Video Editing Tool for Everyone

PowerPoint Image Compression: Reduce File Size Without Sacrificing Clarity
Master the Art of Stop Motion in iMovie Step by Step

Effortless Ways to Place Videos Side by Side on Your Computer

Top Methods to Combine Multiple Videos into One Screen on Android
Popular Articles

Zoom Whiteboard Explained: Features, How to Use It, and Alternatives

Discover the 4 Best Journal Apps for Organizing Your Thoughts

Maximize Your SEO Strategy with the Best Rank Tracker Tools in 2025

Free Tools for Effortless FLV to 3GP Conversion

The Ultimate Guide to Blurring Your Background on Zoom

Stay Updated with Email Alerts for Facebook Messenger Messages: A Comprehensive Guide

Best Ways to Turn MXF Files into FLV Format: A Comprehensive Guide

Best Looper Apps to Turn Your Phone Into a Pocket Studio

See You Skype: Upgrade Your Experience with These 10 Alternatives
How to Convert FLV Files to WAV Format in Minutes

TitanOS-Powered Philips TVs Get Full Stremio App Streaming Access