mww2
mww2
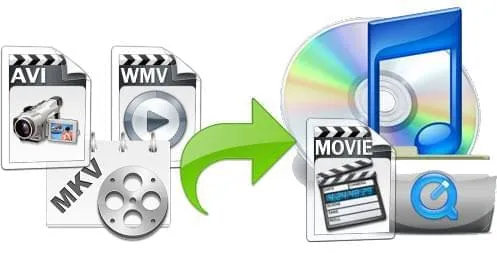
How to Convert Any Video to iTunes Format Without Quality Loss
If you’ve ever tried adding a video file to iTunes only to be met with a compatibility error, you’re not alone. iTunes doesn’t play well with every format out there. It prefers specific file types like MP4, MOV, and M4V—and even then, they need to be encoded correctly. That’s why converting your video before import isn’t just helpful; it’s necessary. But not all converters are created equal. Some reduce video quality, others add watermarks, and many just don’t work as expected. So, what’s the most reliable way to get your videos into iTunes without a headache?
Let’s break it down clearly, step by step, so you can save time and skip the trial-and-error.
Understanding iTunes Video Compatibility
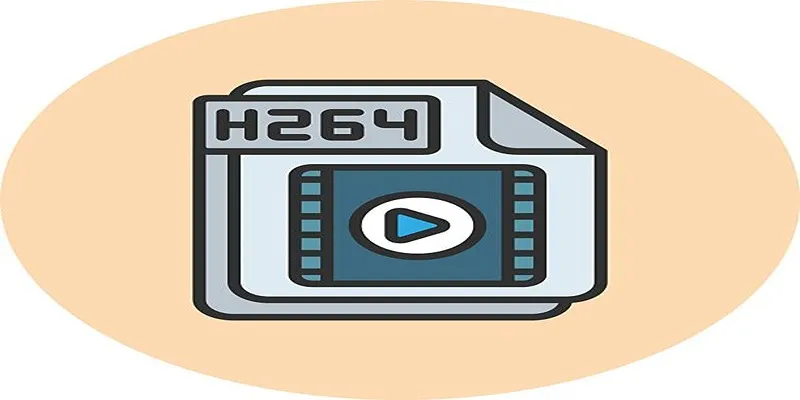
Before diving into tools and methods, it helps to know what iTunes expects from a video file. The platform accepts MP4, M4V, and MOV formats. But it’s not just about the extension—you also need the right video and audio codecs. iTunes typically supports H.264 for video and AAC for audio. So even if your file has a “.mp4” label, it might still get rejected if it uses something like DivX or Xvid for compression.
This is why many users get confused. A file might look compatible, but won’t play or import properly. That’s where conversion software comes in—it does the heavy lifting of reformatting the file and encoding it in the way iTunes likes.
Some converters just change the extension, which doesn’t help much. A good converter will actually re-encode the file correctly, keeping the video watchable while meeting iTunes’ technical demands.
Choosing the Right Converter
When choosing a tool, look for three things: compatibility, control, and output quality. You want something that converts into iTunes-supported formats (with proper codec settings), gives you basic control over settings like resolution and bitrate, and preserves the quality of the original video.
HandBrake
HandBrake is a popular free option. It’s open-source, available for Mac and Windows, and does a great job converting most file types into MP4 or M4V with H.264 and AAC settings. You can tweak settings like subtitles, audio tracks, and compression level. It also includes presets labeled “Apple 720p” or “Apple 1080p,” which are designed to match what iTunes looks for.
Wondershare UniConverter
Another option is Wondershare UniConverter. It’s not free, but it offers a smoother interface, faster conversions, and fewer compatibility errors. It can convert large files in bulk, add subtitles, trim clips, and even burn to disc—if you’re into that sort of thing.

Any Video Converter (AVC)
Any Video Converter (AVC) is a mix of free and paid features. The basic version does the job for most users. It has presets for Apple devices and can handle a wide range of file types. It’s a bit less sleek than Wondershare but more user-friendly than HandBrake for beginners.
Avoid random online converters for anything above a few megabytes. They usually have file size limits, sketchy ads, and don’t always encode the video properly. And if you’re dealing with a large video library or high-resolution files, you’ll want something faster and more secure.
Step-by-Step Conversion Process
Once you’ve chosen a converter, the process is usually the same no matter which tool you’re using. Here’s a basic walkthrough using HandBrake as an example:
Install the Software : Go to the official HandBrake website and download the latest version for your system. Install it like any other program.
Open the Video File : Launch HandBrake and drag your video file into the window. It will scan the file and display its properties.
Choose a Preset : On the right side, choose an Apple-compatible preset like “Apple 1080p30 Surround.” This ensures that the output file uses H.264 for video and AAC for audio, both of which are needed by iTunes.
Adjust Settings (Optional) : If needed, tweak the bitrate for smaller file sizes or better quality. You can also add subtitles or change the audio track.
Select Output Format and Location : Make sure the format is MP4 (which HandBrake calls “.m4v” in Apple presets). Set where the file should be saved.
Start Conversion : Click “Start Encode.” HandBrake will begin converting the file. The time it takes depends on the file size and your system.
Import to iTunes : Once it’s done, open iTunes. Go to File > Add to Library, and select your converted file. It should import smoothly, with no errors.
That’s it. No need to tinker with codecs manually or go through a bunch of failed imports.
What to Avoid When Converting
It’s easy to waste time on conversions that don’t work because of one small setting. Here are a few things to watch out for:
Incorrect Codecs : Just using the MP4 format isn’t enough. Make sure the video is encoded with H.264 and the audio with AAC. Otherwise, iTunes won’t play it.
Resolution Mismatch : Don’t push 4K files if your device only supports 1080p playback. You’ll end up with a large file and no added benefit. Choose a resolution that matches your target device.
Audio Sync Issues : Some converters don’t handle variable frame rate (VFR) video well. That can throw off audio syncing. HandBrake has an option to “Constant Framerate,” which usually fixes this.
Watermarks or Popups : Free trial versions of some converters leave watermarks or add prompts. Always check the final file before importing.
Converting Already-Compatible Files : If your file is already in MP4 with the right codecs, you don’t need to convert it again. Just try importing directly into iTunes first.
Final Thoughts
Getting a video into iTunes the right way means matching format and codec requirements, not just file extensions. With a solid converter like HandBrake or Wondershare, the process becomes predictable and hassle-free. Avoid shortcuts or quick fixes that promise one-click solutions but end up causing playback errors. Stick with tools that give you real control over how the video is handled.
Once you get the hang of it, it takes just a few clicks to prepare a video that iTunes accepts without complaint.
Related Articles
The Easiest Way to Convert Video to Apple TV: Free, Paid, and Online Options

9 Free Tools to Speed Up a Video Online (No Downloads Needed)

Effortless Steps to Convert and Upscale Video to 4K Resolution
How to Convert FLV to MP4 for Free: Top Tools and Easy Methods

Magisto: The Simplified Approach to Video Editing for Quick and Effective Content

LightCut 2025 Review: The Best Video Editor for Android and iPhone

Simple Guide to Converting and Editing Videos for BlackBerry Phones
HEVC to MOV Conversion Made Simple for Windows Users
Simple Tutorial: How to Convert H.265 to H.264 Easily
Top 6 Methods to Convert AVI to MP4 on Windows Easily

How to Change Video Frame Rate: 5 Best FPS Converters
Discover the Top 5 Tools for Effortless AVI Video Conversion
Popular Articles

The 10 Best Email Apps for iPhone: Streamline Your Inbox Today

Discover the 10 Most Effective Userback Alternatives
9 Reliable Ways to Make Videos Play on Motorola Xoom
Understanding 2K Resolution: A Key Player in Digital Video Production

Boost Trust for Free: Adding McAfee SECURE Seal to Your WordPress Site

How to Generate and Add QR Codes in WordPress: An Easy Step-by-Step Tutorial

Top 5 M3U8 Players for Online, Web, Windows, and Mac

Enable PHP in WordPress Posts and Pages Easily

Top 4K Phones and Tablets for Stunning Video Playback and Recording in 2025

iCloud Keychain vs. 1Password: Which Password Manager Wins?

How to Allow Authors to Chat in WordPress: A Step-by-Step Guide