mww2
mww2
How to Record a Specific Window or Custom Area on Your Screen (No Fullscreen Needed)
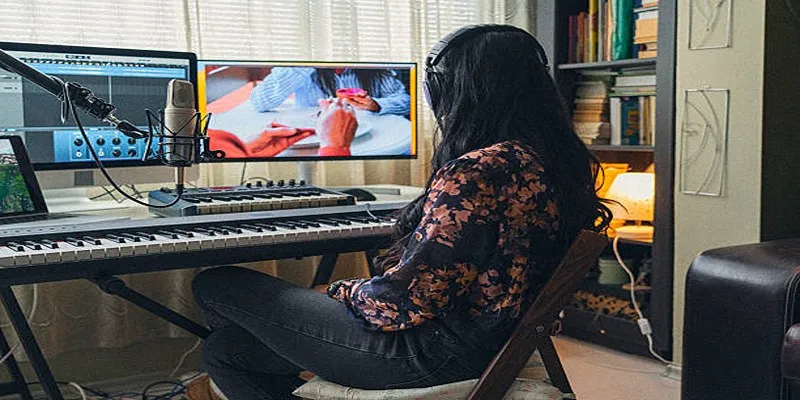
Sometimes, you don’t need to record your whole screen—just a single window or a portion of it. Whether you’re capturing a Zoom call, demonstrating how to use an application, or creating a tutorial, focusing your recording can save time and enhance clarity. The best part? You don’t need expensive software. Several simple tools let you choose exactly what to record, without slowing down your computer or complicating the process.
8 Tools to Record a Specific Window or Area on Your Computer
OBS Studio (Windows, Mac, Linux)
OBS Studio is a free, open-source tool widely known for streaming, but it’s also excellent for local screen recording. You can select a specific window or drag to choose a custom area. OBS allows you to mix audio, layer multiple sources, and export in high quality. While it has a learning curve, once configured, it performs seamlessly.
ShareX (Windows Only)

ShareX is another free tool focused on screen recording and screenshots. It operates quietly in the background and allows you to select any region, window, or monitor to record. ShareX includes annotation tools and direct uploads to platforms like YouTube and Google Drive. It’s perfect for quick results and more control compared to built-in tools.
Screenflick (Mac Only)
For Mac users, Screenflick provides a straightforward alternative to OBS. It offers simple controls to select exactly what you want to record, whether locking onto a window or drag-selecting part of the screen. It records high-quality video and audio, includes keyboard shortcuts, and offers a trial version for testing.
Snagit (Windows, Mac)
Snagit is designed for screen capture, both still images and video. It’s user-friendly with a clean interface, allowing you to select a specific window, drag a custom region, or record fullscreen. With built-in editing tools, you can trim videos, add annotations, and export in various formats. While not free, it’s popular for its straightforward use in professional settings.
Camtasia (Windows, Mac)
Camtasia is more than just a screen recorder—it’s a complete editing suite. You can record a window, app, or custom area and immediately edit the footage. Add callouts, transitions, captions, and cursor effects. While it might be overkill for simple tasks, it’s ideal for creating tutorials or explainer videos.
Bandicam (Windows Only)
Bandicam is favored by gamers and software demonstrators, allowing you to record specific areas, windows, or the full screen. You can set it to record active windows only and overlay your webcam. It offers high-quality recording and compression options to maintain clarity. Although not free, a trial version is available.
Apowersoft Free Online Screen Recorder (Windows, Mac via Browser)

This tool operates directly from your browser without installation. Launch it from their site to record your entire screen, an application window, or a selected region. It’s straightforward, cross-platform, and saves files directly to your device. A desktop version is also available for offline use.
Movavi Screen Recorder (Windows, Mac)
Movavi balances ease of use with solid performance. Record the whole screen, a fixed region, or a single app window. It supports scheduled recordings and captures both system and microphone audio. The built-in trimming tool lets you clean up recordings before exporting. Though the free version adds a watermark, it’s user-friendly and ideal for beginners.
How to Record a Specific Window or Area with ShareX
Let’s highlight ShareX for its lightweight, free, and efficient performance for focused recording tasks on Windows.
- Download and Install ShareX: Visit the official ShareX website to download and install the software.
- Configure the Recorder: Once open, locate the panel with various options. To record a specific area, navigate to Capture > Screen recording.
- Install FFmpeg: If prompted, install FFmpeg to enable video recording.
- Select Your Area: Click Capture > Screen recording. Your screen dims, and the cursor changes to a crosshair. Click and drag to select the recording area.
- Start and Stop Recording: After selection, recording begins. To stop, press Shift + Print Screen or right-click the tray icon and select stop. ShareX saves recordings in your default folder, usually under
Documents\ShareX\Screen recordings.
Conclusion
Recording only what’s necessary on your screen saves time and reduces distractions. Tools like OBS, ShareX, and Screenflick make it simple to capture specific windows or areas. OBS provides full control, ShareX offers simplicity, and Screenflick integrates seamlessly with Mac workflows. Choose the tool that fits your setup best, and you’re ready to create focused recordings with ease.
Related Articles
5 Best Mac Screen Recording Tools to Elevate Your Recording Game

Best Tools to Record Streaming Content on Chrome Browser

Top 6 Screen Recorders for Firefox to Simplify Your Workflow

Top 8 Screen Recorder Apps for Effortless Video Recording
5 Best MP4 Screen Recording Tools for Capturing Videos on Your PC
Simple Ways to Record a Teams Meeting: Built-in and Other Options
Icecream Screen Recorder Review: Features, Pricing & Alternatives

Easy Ways to Screen Record Snapchat Stories & Snaps

Lag-Free Screen Recording on Mac: 5 Tools You Need

Offline Loom Alternatives: The Best 5 Tools for Screen Recording
Easy Ways to Screen Record Snapchat Stories & Snaps
Offline Loom Alternatives: The Best 5 Tools for Screen Recording
Popular Articles

Best Color Pairing Sites for Design Beginners

Best Free Video Splitters to Cut Your Clips Like a Pro
5 Simple Ways to Convert 3GP to MP4 Effortlessly
Top 5 To-Do List Apps You Need in 2025

Convert MPEG2 to AVI: Easy Tools That Work Without the Headache

Conducting Market Research Surveys: DIY Tips and Techniques

Top HubSpot Alternatives for Small Businesses in 2025

Top Keyword Research Tools

The 5 Best Habit Tracker Apps to Transform Your Life: A Guide

Best Programming Languages with Clean and Clear Syntax
Smooth Slow Motion in Sony Vegas: Top 7 Editing Techniques