mww2
mww2
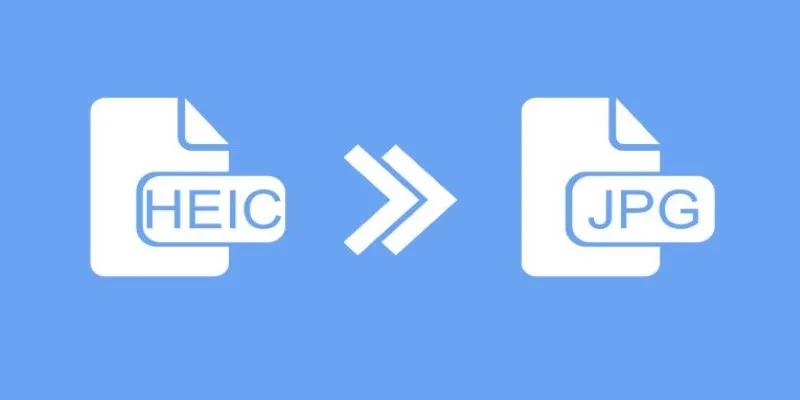
Sending HEIC Photos? Here’s How to AirDrop JPG Instead
iPhones capture high-quality photos, but sharing them via AirDrop can be frustrating when they’re in HEIC format instead of JPG. While HEIC saves storage and maintains image quality, it’s not always compatible with Windows computers and older Macs. JPG, on the other hand, is widely supported, making it the preferred choice for many users.
Fortunately, Apple provides an easy way to manage photo formats without manual conversion. By adjusting a few settings, you can ensure your iPhone automatically sends JPGs instead of HEIC when using AirDrop. This simple tweak saves time and eliminates compatibility issues, allowing you to share photos effortlessly. Here’s how to set it up.
Why Does Your iPhone Use HEIC Instead of JPG?
Apple introduced the HEIC format with iOS 11 to enhance photo storage space efficiency. HEIC pictures occupy less space without losing quality details. If you compare an image in a HEIC file with a JPG version of the same picture, the HEIC image is usually smaller, which saves device storage space.
However, even though it has its benefits, HEIC is not as widely compatible as JPG. Most apps, websites, and older devices do not support HEIC files, which is annoying when you’re attempting to send or upload photos. It’s particularly problematic when AirDropping images to non-Apple devices or older Macs.
Your iPhone stores photos in HEIC mode by default but can automatically convert HEIC to JPG when sharing using AirDrop.
How to AirDrop JPG Instead of HEIC on iOS?
When using AirDrop, you don’t need third-party apps or complicated workarounds to switch from HEIC to JPG. Apple has built-in options to handle this, which you can control through your iPhone’s settings.
Step 1: Change Your Camera Settings
One way to avoid HEIC entirely is to stop your iPhone from taking HEIC photos in the first place. This method ensures that all your pictures are already in JPG format, so you won’t have to worry about conversion later.
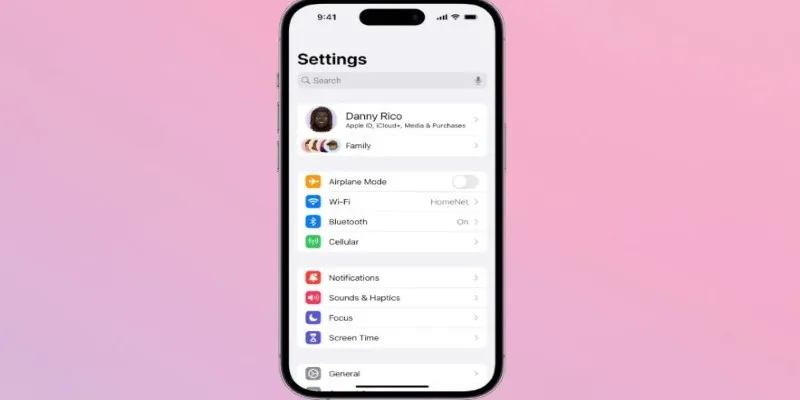
- Open the Settings app on your iPhone.
- Scroll down and tap Camera.
- Select Formats.
- Under Camera Capture, choose Most Compatible instead of High Efficiency.
Once you select “Most Compatible,” your iPhone will take photos in JPG format instead of HEIC. However, this setting only applies to new pictures. Any HEIC photos you’ve already taken will remain in HEIC format unless converted manually.
Step 2: Ensure Automatic Conversion When Sharing
If you don’t want to change how your iPhone captures photos but still need to AirDrop JPG instead of HEIC, iOS has the option to convert images automatically when you share them.
- Open Settings on your iPhone.
- Scroll down and tap Photos.
- Find the Transfer to Mac or PC section.
- Select Automatic instead of Keep Originals.
With this option enabled, your iPhone will convert HEIC images to JPG when you AirDrop them to a non-Apple device or an older Mac that doesn’t support HEIC. However, if the receiving device can handle HEIC, it may still receive the original file format.
What If You’ve Already Taken HEIC Photos?
If your iPhone has already captured pictures in HEIC and you want to AirDrop JPG instead, you can manually convert them before sending them. While iOS doesn’t offer a direct “convert to JPG” button, there are a few easy ways to do it.
Method 1: Use the Files App to Convert
The simplest way to convert HEIC images to JPG without third-party apps is by using the built-in Files app.
- Open the Photos app and select the HEIC image you want to convert.
- Tap the Share button and select Copy Photo.
- Open the Files app and navigate to a folder (or create a new one).
- Long-press inside the folder and tap Paste.
When pasted into the Files app, your iPhone automatically converts the image to JPG. Now, you can AirDrop the JPG version instead of HEIC.
Method 2: Use the Photos App Editing Feature
Another quick trick is to make a small edit to the photo, which forces iOS to save a JPG copy.
- Open the Photos app and select your HEIC image.
- Tap Edit in the top right corner.
- Make a minor change (like cropping the image slightly).
- Tap Done to save the changes.
Now, when you AirDrop the edited version, it will likely be in JPG format.
Method 3: Use a Third-Party Converter
If you need to convert multiple images at once, third-party apps like “HEIC to JPG Converter” or online tools can batch-convert photos before you AirDrop them.
Will This Affect Your Photo Quality?
Many people worry that switching from HEIC to JPG might reduce photo quality. While HEIC is more efficient, the difference in visual quality is minimal unless you’re dealing with professional photography. If you’re simply sharing pictures for everyday use, JPG is perfectly fine and will not result in noticeable quality loss.
Apple’s automatic conversion feature ensures that when you AirDrop JPG instead of HEIC, the image remains high quality. The key difference is that JPG files will be larger compared to HEIC. If you’re concerned about storage space, you might want to back up HEIC originals to iCloud and only convert them when necessary for sharing or compatibility.
Conclusion
If you frequently run into compatibility issues when sharing photos, switching from HEIC to JPG can make things easier. Whether you change your camera settings to capture JPGs, enable automatic conversion, or manually convert existing photos, there are simple ways to ensure your images are always ready to share. JPG is widely supported, making it a better option for sharing with non-Apple devices. With a few quick adjustments, you can AirDrop JPG instead of HEIC effortlessly, avoiding frustration and extra steps. Now, you can share your iPhone photos without worrying about format issues or compatibility problems.
Related Articles
Convert iPhone Photos to JPEG: Quick and Easy Methods
How to Convert JPG to SVG: The Best Methods for Beginners and Experts
How to Convert JPG to TIFF on Your Desktop: A Simple Guide
From ZIP to JPG – Your Go-To Guide for Quick Image Extraction

Fastest Method to Convert JPG to MP4 and Create Stunning Videos

Unlocking HDR Magic: How to Get a Free Copy of Photomatix Essentials
Why You’ll Need a New App to Use Gemini on Your iPhone

What is Marketing Resource Management (MRM): A Comprehensive Guide

3 Easy Ways to Create a Stunning Memory Video on Your iPhone
How to Convert 4 JPG to BMP: Easily Decode Compressed Images into Uncompressed Files
How to Effectively Convert ARW to JPG: 3 Methods You Need to Know
How to Convert JPG to Word for Text Editing: 4 Proven Techniques
Popular Articles
How to Create Instagram Reels: A Step-by-Step Guide
How to Record Skype Calls Without Losing Quality: A Complete Guide
Best Tools to Convert MXF Files to AIFF Format Without Compression

How to Bulk Resize Large Images in WordPress Without Losing Quality

Simple Steps to Fix Pixelated and Grainy Videos on Windows

Steps to Download Movie Maker Free and Start Creating

How to Fix Khan Academy Buffering and Stream Videos Smoothly

How to Use JustCall and ChatGPT for Smarter Customer Service?

The 8 Best Zoom Alternatives in 2025: Top Picks for Seamless Communication
How to Convert MKV to MP4 with a Fast and Powerful Converter
Portrait to Landscape: How to Rotate Your Screen on Any Device