 mww2
mww2
How to Quickly Convert Videos for iPad Air on Mac: A Complete Guide
It’s frustrating when a video just won’t play on your iPad Air. You know it’s there, you know it works on your Mac, but the iPad throws up that “unsupported format” warning. The issue usually comes down to compatibility. The iPad Air doesn’t accept every file type out there—it prefers formats like MP4, M4V, and MOV. So the best approach is to convert those stubborn videos into a friendly format using your Mac. And no, this doesn’t mean you need to be a tech expert or spend hours trying to figure things out.
Simple Guide to Convert Video to iPad Air on Mac
Using QuickTime Player (with Export Feature)
QuickTime Player isn’t just for watching videos. It has a built-in export feature that can quietly handle simple conversions. If your video isn’t wildly out of spec, this is a calm and straightforward way to get it iPad-ready. Once the file is open in QuickTime, you can just head to the “File” menu and select “Export As.” From there, you’ll see options like “480p,” “720p,” and “1080p.” Go with the resolution that best suits your storage and viewing needs. Each export also shifts the format into something your iPad Air can read, usually an MP4 inside an M4V wrapper.
It’s not flashy and doesn’t give you lots of settings to tinker with, but that’s what makes it usable for anyone. The output is smooth, and you won’t have to deal with ads or popups like third-party apps often throw in.
Converting with iMovie
If the video needs more than a straight export—maybe you want to trim parts, fix the audio sync, or change the aspect ratio—iMovie is a solid choice. Since it’s already built into most Macs, there’s no need to go hunting for extra software. Drop the video into a new iMovie project, make your edits if needed, then use the “Share” or “Export” function. Choose the output format labeled “File,” and select the resolution. The file iMovie gives you at the end is ready for your iPad.

This method works especially well if the video is large or has non-standard encoding. And while it’s a step longer than QuickTime, it also gives you more control without getting complicated.
Using HandBrake
HandBrake isn’t built-in, but it’s free and widely trusted for a reason. If your video format is something like MKV, AVI, or WMV, HandBrake handles it with ease. It’s especially helpful for files that come with strange encodings or multiple subtitles and audio tracks. You can drag the file into the HandBrake window, choose a preset (they even have one called “iPad”), and tweak the settings if you want more control over quality, size, or subtitle inclusion. Then hit the “Start” button, and let it work.
The final file is usually MP4 and will play well on the iPad Air. HandBrake is a better pick when your video is complex or unusually large. It also has batch conversion if you’re converting more than one file.
Using AirDrop After Conversion
No matter which method you use to convert, transferring the file is the next step. AirDrop is the cleanest way to get your video onto the iPad Air without cables or syncing nightmares. Just open Finder on your Mac, select the converted file, and choose AirDrop from the share options. Make sure the iPad is nearby and AirDrop is enabled. It takes only a few seconds, and the video lands directly in your iPad’s Photos or Files app, depending on where you send it. This removes the need for iTunes or Finder syncing, which can often be clunky, especially if you’re not syncing media manually.
Third-Party Apps Like VLC for iPad
Sometimes, converting isn’t even needed if you’re using a more flexible video player on the iPad. VLC is one such app. It supports a wide range of formats that the native TV or Photos app does not. Once the app is installed on your iPad, you can open VLC on your Mac, go to the “Network” tab, and use the Wi-Fi upload option. Drag your video into the browser window, and it appears instantly on the iPad app. This skips the format conversion step, especially if you just want to watch the video once without needing it in your iPad’s main video library. It’s also useful when you have subtitle-heavy content or uncommon file types.
Using WALTR PRO (for Automatic Conversion and Transfer)
For those who want everything done in one move, WALTR PRO is an app that handles both conversion and transfer. It’s not free, but it’s a favorite among people who convert often. Drag the video into the app, and it does the rest—detects your device, converts the video into a compatible format, and sends it straight to your iPad. It even places the file in the correct app, like TV or Music, without requiring you to manually move it. This is more useful if you’re working with multiple formats and don’t want to go through separate steps every time.

So What Works Best?
Each method fits a different need. QuickTime and iMovie are solid choices for straightforward conversions. HandBrake handles trickier formats, while VLC skips conversion entirely if you prefer a flexible player. WALTR PRO wraps everything into one step, which is ideal if you do this often. And for quick transfers, AirDrop keeps it simple and fast. If you’re working with large files or uncommon formats, HandBrake or VLC is a better fit, while for users who just want the video to play without messing with settings, QuickTime or WALTR PRO makes the process nearly automatic. Hope you find this info worth reading.
Related Articles

PowerPoint Image Compression: Reduce File Size Without Sacrificing Clarity
Perfect Your Video Framing: A Guide to Cropping in Filmora
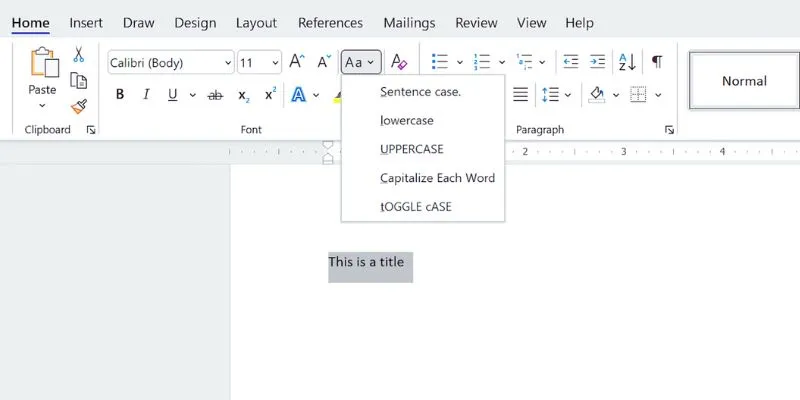
How to Capitalize All Letters in Word, Excel, and Other Apps: A Complete Guide
How to Capitalize All Letters in Word, Excel, and Other Apps: A Complete Guide
Convert MP4 to 3GP with Ease: 2 Methods You Need to Try

Top Software to Convert Videos to DPG at High Quality Standards
Best Free Tools to Convert MKV to MP4 Online and Offline
Top Tools to Convert MXF Files for Seamless Sony Vegas Compatibility
Simple Steps to Convert Videos into Multiple Formats Without the Hassle

How to Use iMovie for Mac to Add Picture-in-Picture Effects Easily

Step-by-Step Guide to Adding Music in iMovie
Signing Documents Made Simple: Create a Digital Signature with Adobe
Popular Articles

Top 4 Typeform Alternatives to Create Online Forms and Surveys: A Comparison

How to Add a Custom Scrollbar to Any Element in WordPress: A Step-by-Step Guide

ActiveCampaign vs. tinyEmail: Comparing the Best Email Marketing Tools

How to Use Variables in Google Docs for Smarter Document Automation: A Guide

No-Fuss TikTok Editing: 7 Windows Apps That Keep It Simple

Tools in the Cloud: The Future of Work Made Simple
Best 5 Note-Taking Apps to Stay Productive and Organized This Year

The 10 Most Reliable Open Source Platforms for Online Assessments

Explore Mistral's OCR API With AI-Powered Document Understanding
Top 10 WordPress Plugins for Collecting User Feedback
Videoshop: A Complete Evaluation of the Videoshop Video Editor on Phone
