mww2
mww2
Simple iMovie Tips for Adding Perfect Background Music
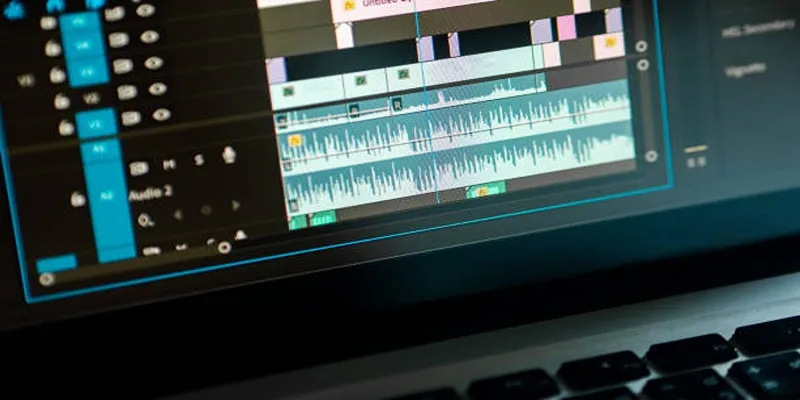
Creating a captivating video involves more than just stunning visuals. An appropriate soundtrack is key to setting the mood and engaging your audience. With iMovie, even if you’re new to video creation, you can transform average videos into extraordinary pieces. Follow this step-by-step guide to add music to your iMovie projects and make your videos more compelling.
Why Add Music to Your iMovie Project?
Music has the power to evoke emotions, enhance storytelling, and elevate the overall viewing experience. Whether you’re creating a travel montage, a heartfelt message for a loved one, or an engaging tutorial for your audience, the right music can make all the difference.
Here are some compelling reasons to add music to your video:
- Setting the Mood : A motivational track boosts energy, while a soft melody conveys calm or nostalgia.
- Adding Professionalism : High-quality soundtracks make your content feel more polished and professional.
- Capturing Audience Attention : Music helps keep viewers engaged from start to finish.
Getting Started with iMovie
Before adding music, ensure iMovie is installed on your Mac, iPad, or iPhone. While the steps might slightly vary depending on your device, the core process remains similar. This guide focuses on the desktop version, but additional tips for iOS users are included further down.
Step 1: Open Your Project
- Launch iMovie and open your existing project or start a new one.
- To open an existing project, click on “Projects” > select the desired project > tap “Edit”.
- For new projects, click on “Create New” , then choose either Movie or Trailer based on your needs.
Once your project is open, you’ll see a timeline at the bottom, a video preview screen in the top-right corner, and your media library on the upper- left corner.
Step 2: Access the Music Library
iMovie makes it easy to access built-in royalty-free soundtracks, your iTunes library, or other audio files.
- Click on the Audio tab in the media library located in the top-left corner of your screen.
- You’ll see several options:
- Music (if synced to iTunes)
- Sound Effects (offering a wide array of built-in tones and effects)
- GarageBand (if you’ve created custom tracks)
- Or you can use custom files by dragging and dropping.
Choose the one that best fits your video’s needs.
Step 3: Preview and Import Music
- After selecting your desired library, explore the available music tracks by scrolling through the options. Use the search bar to find specific titles or genres.
- Click on the play button beside a track to preview it. Select one that aligns with your video’s tone and pacing.
- Once you’ve found the right track, click and drag it onto the timeline. Place the music file underneath the video clips where you want it to play.
If you’re using external audio files, such as MP3s or WAV files, you can drag and drop them directly from your Finder or desktop onto the iMovie timeline.
Step 4: Adjust the Music to Fit Your Video
Once the music is on your timeline, you may notice that the track length doesn’t perfectly match your video. No problem! You can easily trim, loop, or fade the music.
- Trim the Track :
- Hover your mouse over the edges of the music clip.
- Drag the edge forward or backward to trim the track to your preferred length.
- Fade the Music : Fading in or out can create a smoother experience for viewers, especially at the beginning or end of your video.
- Hover over the small circle that appears at the start or endpoint of the audio file within your timeline.
- Click and drag to adjust the fade duration.
- Adjust Volume :
- Click on the audio clip in your timeline.
- At the top of your screen, find the volume adjustment slider. You can increase or lower volume levels directly from here.
Keep the music’s volume low if you have voiceovers or dialogue, ensuring the audio doesn’t clash.
Step 5: Sync Music and Visuals
If your video contains important transitions, you’ll want the background music to align perfectly for added impact.
- Highlight the music track in the timeline.
- Drag and drop sections to ensure significant beats or drops in the music sync up with your video transitions or key events. This makes the content more dynamic.
Step 6: Preview Your Work
Before finalizing your project, preview it in full to make sure the music enhances the story and matches your vision. Use the preview screen in the top- right corner to play your video from start to finish.
Listen carefully for:
- Sudden cuts or abrupt transitions in the music.
- Clashing audio between the music and any voiceovers/dialogue.
- Proper alignment between visuals and key musical cues.
If needed, make adjustments to the music volume, fade settings, or synchronization.
Step 7 (Optional): Add Multiple Tracks
If your video contains multiple scenes or moods, consider using more than one music track. Simply repeat the steps above for each track you want to add, and align them with the respective scenes in the timeline.
Tips for iPhone/iPad Users
For those using iMovie on an iPhone or iPad, the process is streamlined but still follows similar steps:
- Use the + icon to access music libraries.
- Drag music onto the timeline below the video clips.
- Adjust volume, trim, or fade as needed using touch gestures.
Export Your Final Video
Once satisfied with your video and its music, it’s time to export! Click on the Share button in the top-right corner, then choose your preferred output format (e.g., file, YouTube, or email). Make sure the audio settings are optimized for high-quality playback.
Conclusion
Adding music in iMovie is an easy yet powerful way to enhance your storytelling. With just a few clicks, you can inject emotion, rhythm, and energy into your visuals, making them truly memorable for your audience. Whether you’re a beginner or a seasoned video editor, mastering music integration is a simple yet effective skill that will elevate your content creation game.
Related Articles

PowerPoint Image Compression: Reduce File Size Without Sacrificing Clarity
A Step-by-Step Guide to Quickly Combine Video Clips in iMovie

Discover the Best Tools to Organize Your Music on Windows Today

The 8 Best To-Do List Apps for Android in 2025

Best Methods to Add Music to Your Videos Quickly
Perfect Your Video Framing: A Guide to Cropping in Filmora

Master the Green Screen Feature in iMovie 11: A Step-by-Step Guide

8 Best To-Do List Apps for Mac in 2025

Top 9 Apps to Effortlessly Add Text to Your Videos in No Time

Top 10 Apps to Add Text to Videos on Mobile and Desktop

How to Split Video Clips in iMovie: A Step-by-Step Guide

How to Upload iMovie Videos to YouTube in 7 Easy Steps
Popular Articles

PickU Photo Editor & Cutout: A Complete Review of Features & Performance
5 Simple Ways to Convert FLV Files to MOV Format on Windows

Simple Steps to Build a WordPress Image Slider

The 8 Best Free Photo Editors in 2025 That Rival Photoshop

Easy Ways to Create a Video Collage with Music on Your PC or Mac

Maximize Your Customer Understanding with User Personas: A Top Tool

Startup Essentials: 9 Free Tools That Will Revolutionize Your Workflow
5 Effective Ways to Play a Video in Reverse with Ease

Best Driver Update Apps for Windows in 2025

How to Make MTS and M2TS Videos Work on Any Device by Converting to MP4