mww2
mww2
Mastering Picture-in-Picture Editing with iMovie on Your Mac
The addition of picture-in-picture (PiP) effects transforms video editing practices into a complete game-changer. With this effect, you can combine two visual elements by placing one on top of the other, which is perfect for creating tutorials, conducting reactions, and producing gaming content. Mac users can leverage Apple’s iMovie program to create professional-level PiP effects without needing specialized editing experience.
What Is Picture-in-Picture, and Why Should You Use It?
The PiP effect allows you to display a smaller video or image on top of your main video. This overlay appears in a corner of the screen (or any position you choose) while the main content plays in the background.
Why is PiP useful?
- Tutorials : Add a webcam view of yourself while showcasing a software demonstration or craft project.
- Reaction Videos : Overlay your reactions as you watch a movie, listen to music, or review content.
- Gaming Content : Keep the gameplay on the main screen while featuring a face cam in a corner.
- Educational Videos : Highlight important notes, diagrams, or images over your lecture or explainer video.
Despite being a professional tool, iMovie presents a basic user interface that helps beginners apply PiP effects efficiently.
Getting Started with iMovie
Step 1: Open a New Project in iMovie
- Launch iMovie on your Mac.
- Click on “Create New” and select “Movie” from the dropdown options.
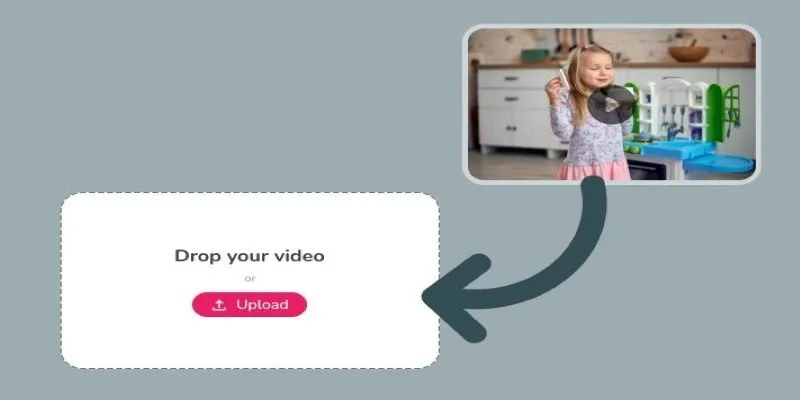
- Import your video files by dragging and dropping them into the Media Library , or clicking the Import Media button. Choose the main video you want as your background and the video or image to overlay.
Make sure your video clips are saved in a format supported by iMovie (commonly MP4, MOV, or JPEG for images).
Step 2: Add Your Main Video to the Timeline
Drag your chosen background video to the Timeline at the bottom of your screen. The timeline is where all your video and audio editing magic happens.
Step 3: Drag Your Overlay Video/Photo Above the Main Timeline
Next, drag the smaller video or image that you want to use as the PiP effect into the layer above the main video in the timeline.
The top layer in iMovie always acts as an overlay, so whatever clip or picture you place here will appear on top of the base video.
Customizing the Picture-in-Picture Effect
Once your overlay is in place, it’s time to make it visually stunning. Below are step-by-step instructions for adjusting the PiP effect to suit your needs.
Step 4: Enable Picture-in-Picture Mode
Here’s how to activate PiP for the overlay:
- Click on the overlay clip/image in your timeline to select it.
- At the top of the preview window, locate the Video Overlay Settings icon (a square within a square).
- From the dropdown menu, select Picture-in-Picture.
Your smaller video or image will now appear over the main video in the preview window.
Step 5: Resize and Reposition
- Resize : Click and drag the corners of the overlay video/image in the preview window to resize it.
- Reposition : Drag the overlay box within the preview window to adjust its position. Most PiP effects are placed in one of the corners, but you can position it anywhere that works for your video.
Step 6: Add a Border or Shadow (Optional)
iMovie offers additional options to enhance the appearance of your overlay:
- To add a border , click on the Video Overlay Settings icon and select a border color and thickness.
- To add a drop shadow , toggle the drop shadow option to add depth and make the overlay pop against your main video.
These small styling tweaks can give your PiP effects a polished, professional look.
Step 7 (Optional): Add PiP Animation Effects
If you want the overlay to fade in, zoom, or move dynamically, you can use iMovie’s simple animation tools:
- Select your PiP overlay in the timeline.
- Use the Ken Burns effect or other animation presets to add movement.
- Preview your edits in real-time using the playback button.
Exporting Your Final Video with Picture-in-Picture
Step 8: Preview and Edit Further
Before finalizing your project, playback the video to ensure your PiP effect looks seamless. Check the following:
- The overlay is appropriately sized and positioned.
- The PiP content enhances rather than distracts from the main video.
- Audio levels for both videos (if applicable) are balanced.
If everything looks good, you’re ready to export.
Step 9: Export Your Video
- Click the Share button in the top-right corner of the screen.
- Choose File from the menu to save the video to your Mac.
- Select your desired resolution, quality, and compression settings.
- Click Next , name your file, and save it to your desired location.
Your video with its PiP effect is now ready to share on YouTube, social media, or wherever you plan to distribute it.
Tips for Creating High-Quality Picture-in-Picture Videos
Now that you know how to use iMovie, here are some tips for making your PiP videos stand out:
- Use High-Resolution Content : Both your main video and overlay should be in high resolution to prevent pixelation.
- Be Consistent : Stick to a specific position for the PiP window, unless you’re moving it for narrative reasons.
- Keep Audio Balanced : When using audio from both the main video and overlay, ensure one doesn’t overpower the other.
- Stick to the Theme : Ensure your PiP video or image adds value to the overall purpose and aligns with the theme of your content.
Final Thoughts
iMovie simplifies adding picture-in-picture effects, allowing beginners and professionals alike to enhance their videos effortlessly. Whether you’re creating a gaming tutorial, an educational module, or a reaction video, this tool ensures your content stands out. Now that you’re equipped with the knowledge of using PiP on iMovie, it’s time to get started. Fire up iMovie, and start adding creative overlays to your videos today!
Related Articles

PowerPoint Image Compression: Reduce File Size Without Sacrificing Clarity

The 8 Best To-Do List Apps for Android in 2025

8 Best To-Do List Apps for Mac in 2025

Master the Green Screen Feature in iMovie 11: A Step-by-Step Guide

A Step-by-Step Guide to Quickly Combine Video Clips in iMovie

How to Easily Convert AVI to MOV Using 4 Reliable Tools

MPEG to MP3 Conversion Made Easy: A Complete Guide

How to Convert MPEG to WAV: A Step-By-Step Guide
How to Easily Convert AVI to MOV Using 4 Reliable Tools

Step-by-Step Guide to Adding Music in iMovie
Signing Documents Made Simple: Create a Digital Signature with Adobe

Top 9 Apps to Effortlessly Add Text to Your Videos in No Time
Popular Articles

Best Ways to Turn Your Video into a GIF Effortlessly
Transfer Your Homemade DVDs to Apple Devices

How to Automatically Share New YouTube Videos on Discord: A Step-by-Step Guide
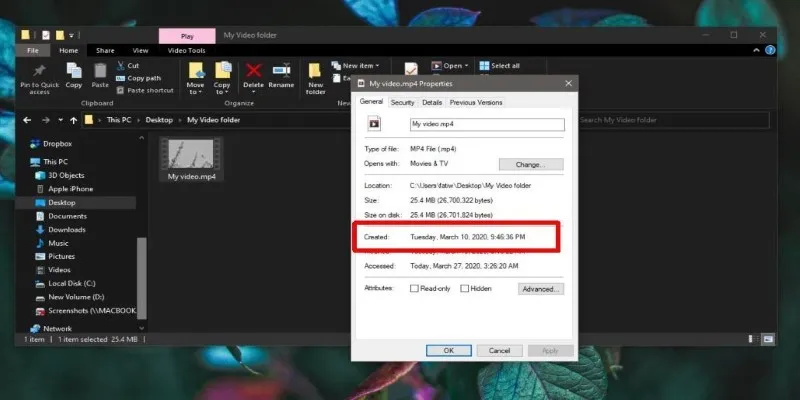
The Ultimate Guide to Changing Creation Dates for Files on Windows
Gmail Extensions That'll Turbocharge Your Inbox in 2025
Securing Access: The Simple Power of OAuth and 2FA

Best and Most Efficient Ways to Convert FLV
A Step-by-Step Guide to Creating a Split Screen Video with Movavi

Best Screen Sharing Software for Remote Teams in 2025: A Comprehensive Guide

Hudl's Automation Strategy for Enhancing User Experience

Get Started with Free PSD Templates: A Designer’s Guide