mww2
mww2
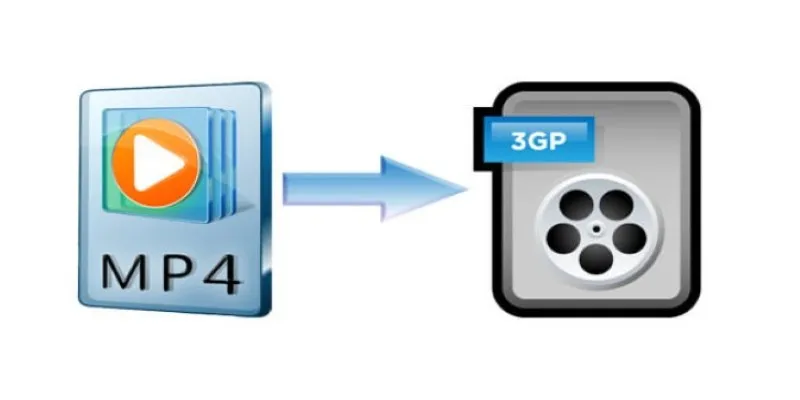
MP4 to 3GP Converter: 2 Easy Ways to Change Format Without Losing Quality
MP4 files are everywhere. They’re smooth, high in quality, and easy to share. But if you need a format that plays well on older phones or runs lighter on low-bandwidth networks, 3GP might be what you’re after. The concern, though, is often the same—how do you convert MP4 to 3GP without wrecking the video quality?
You don’t need to settle for basic drag-and-drop converters. There are multiple ways to get the job done, each offering a different kind of control. Below are methods that don’t just repeat tools—they approach the conversion differently.
MP4 to 3GP Converter: Easy Ways to Change Format Without Losing Quality
Frame-by-Frame Re-encoding for Bitrate Control
This method takes a granular approach—rather than converting the entire MP4 at once, it isolates frames and re-encodes them individually using a lower bitrate target but without removing keyframes. Some video editors (like Adobe Media Encoder) allow this mode where the encoder preserves motion detail without compressing transitional frames too heavily.
You load the MP4 into a timeline, slice it into segments at every scene change, and export each clip using 3GP-friendly codecs with a locked bitrate. Once that’s done, you stitch the clips back together into a single 3GP file. It takes longer but gives you better preservation of motion and clarity.
Best for: Videos with a lot of motion, like sports or dance clips.
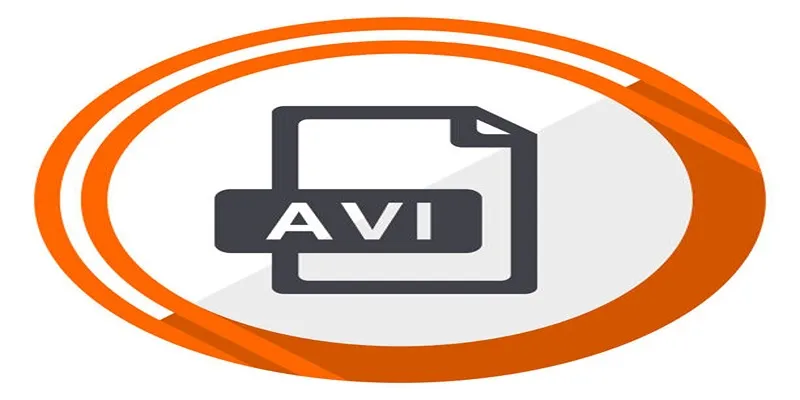
Batch Export Through Intermediate Codec (Using Lossless Format First)
Instead of directly going from MP4 to 3GP, you first convert the file into a lossless format, like AVI with a HuffYUV or FFV1 codec. These formats don’t lose any data during compression. From there, you convert the AVI to 3GP.
Why the extra step? Because intermediate formats hold the image quality intact, you can now compress down to 3GP using cleaner source data. That’s often better than compressing straight from a lossy MP4.
Best for: Maintaining sharpness in videos with text, graphics, or screen recordings.
Using Android Debug Bridge (ADB) with Device-Specific Encoding
This one’s for Android users who still use legacy phones that natively play 3GP. Instead of converting on your PC and testing if it works on your phone, you can use ADB to push MP4s to your device and convert them on the phone itself using the system’s built-in transcoder (available in some Android builds).

Commands through ADB trigger the device’s video compressor, which tailors output based on the actual playback limits of the phone.
Best for: Compatibility-focused use when the 3GP file must work on a specific device.
Using GPU-Based Encoding to Avoid Frame Loss
Some video converters let you use GPU acceleration, but few offer GPU-based encoding with custom profiles for mobile formats. When properly configured, encoding through your GPU (using CUDA or AMD’s AMF) can handle motion estimation far better than CPU-only tools, leading to smoother 3GP output.
You’ll need a converter that supports custom encoder setups. You create a profile with 3GP-compatible codecs (like H.263 and AMR), but let the GPU handle bitrate scaling, which helps retain sharpness during compression.
Best for: Fast conversion with minimal stuttering or ghosting in low- bitrate files.
Audio-Only Split with External Merge
If your goal is to preserve the video stream’s quality while still converting to 3GP, you can skip converting the audio along with it. Most quality loss happens in the audio track due to re-encoding into low-bitrate AMR. You can split the video and audio, convert just the video to 3GP-compliant format, and later merge it with the original audio track if it’s already AMR-compatible.
This selective processing minimizes double compression and retains clarity, especially for voice or music.
Best for: Reducing distortion in speech-heavy videos like interviews.
Terminal-Based Conversion with Constant Rate Factor (CRF) Locking
Most converters apply variable bitrate (VBR), which compresses different parts of the video differently. However, when switching to 3GP, VBR sometimes introduces blocking or blur in fast-changing scenes. Using a constant rate factor (CRF) with CRF-locking ensures that quality stays uniform across the entire clip.
In FFmpeg, this looks like:
shell ffmpeg -i input.mp4 -vcodec h263 -q:v 3 -acodec amr_nb output.3gp
Here, -q:v 3 is your CRF value. Lower means better quality. The trick is to avoid fluctuating quality levels during fast sequences.
Best for: Videos with changing brightness, movement, or lighting.
Encoding with Mobile Resolution Preprocessing
Before converting to 3GP, preprocess your MP4 by resizing it manually to native 3GP resolutions—like 176x144 or 320x240— before the actual conversion step. This manual resize gives you better control over scaling algorithms (like Lanczos or Bicubic), which are usually better than automatic resizers inside converters.
Some tools use fast scaling methods that can soften the image. Preprocessing the resolution gives you clarity where it matters, and it keeps file sizes in check, too.
Best for: Minimizing blur on small screens.
Scripted Automation with Quality Profiles
Rather than converting each file manually, you can create automation scripts that process files through a preset profile you define once. You write a script that includes bitrate, resolution, codec, frame rate, and audio settings, and apply it to an entire folder of MP4s. Unlike default “batch conversion” in apps, your script won’t reapply default compression—it sticks with your custom setup.
For example, in FFmpeg or a Python wrapper, you can loop through all MP4s in a directory and apply consistent parameters. This ensures every 3GP output has the same quality, with no surprises in bitrate drops.
Best for: Batch work where quality needs to stay uniform.
Conclusion
If all you’re doing is switching MP4 to 3GP using presets, you’ll probably lose sharpness or clarity without realizing it. But with these different approaches—from device-specific encoding to GPU processing and manual resizing—you can actually keep control of quality. The method you pick depends on your workflow. Whether you’re optimizing for small screens, speech clarity, or compatibility, there’s a path that doesn’t rely on basic converters repeating the same process.
Related Articles
Best Free Tools to Convert MKV to MP4 Online and Offline
Discover the Top 5 Tools for Effortless AVI Video Conversion
Convert Videos for iRiver: MP4, WMV, AVI, and FLV Explained
The Easiest Way to Convert Video to Apple TV: Free, Paid, and Online Options
Master Subtitles: Open and Embed Captions in Your Videos
GIF to WebM Conversion Made Easy: A Guide for PC and Mac Users
Top 10 QuickTime Player Alternatives for Smooth Media Playback

A Guide to Converting and Editing Videos for Pocket PCs
Simplest Methods to Convert AVI Files into XviD, SWF, or FLV Formats

How to Easily Convert AVI to MOV Using 4 Reliable Tools
5 Best Tools to Make Instagram Slideshow Videos Effortlessly
How to Convert FLV to MP4 for Free: Top Tools and Easy Methods
Popular Articles

Wave vs. QuickBooks: Which Accounting Software Should You Choose?
Top Free Methods to Convert MP4 to WMV Without Hassle

WhatsApp Now Lets You Block Chat Exports: Everything You Need To Know
8+ Cool jQuery Plugins for WordPress to Supercharge Your Website

Simple Ways to Combine WMV Videos Without Losing Quality

The Ultimate Comparison: Hootsuite vs. Buffer for Social Media Success

6 Best Platforms to Watch Anime and Cartoons Without an Account

Best Screen Sharing Software for Remote Teams in 2025: A Comprehensive Guide

How to Add Mailchimp Subscribers from a Webhook: A Step-by-Step Guide
Why the Rise of AI Agents Demands a Rethink of Your Entire SEO and Marketing Funnel
Calendly vs. Google Calendar Appointment Schedule: Which One Is Right for You