 mww2
mww2
How to Reverse Video Footage in After Effects Plus Best Free Alternatives
Reversing video footage can completely alter the vibe of your project, turning ordinary moments into something extraordinary. Whether it’s a bird flying backward or a creative rewind effect, this technique can add a unique touch to your video. If you’re using Adobe After Effects, reversing footage is simpler than you might think. But if After Effects isn’t your preference, there are quicker and more beginner-friendly alternatives available. Let’s explore both options.
How to Reverse Footage in After Effects
Adobe After Effects is a powerful tool for video editing, offering full control over your footage. If you’re already using it, here’s how to reverse video footage:
Step 1: Import Your Clip

Start by importing your video file. You can do this by dragging it into the project panel or selecting File > Import. Once imported, place it into a new composition.
Step 2: Right-click the Clip in the Timeline
Locate your video layer in the timeline. Right-click it and select Time > Time-Reverse Layer. Your footage is now reversed.
Step 3: Preview and Adjust if Needed
Press the spacebar to preview your reversed footage. If adjustments are necessary, trim the clip or modify keyframes, especially if effects or transformations are applied.
Remember, this process doesn’t alter the original video file; it only affects playback in the composition. To export the reversed version, ensure you render it out.
When Reversing Footage Doesn’t Look Right
At times, reversed footage may appear unnatural, such as a person walking backward. Here are solutions to common issues:
Mute the Audio or Reverse It Separately
After Effects doesn’t automatically reverse audio with the video. Use Adobe Audition or another audio editor to reverse audio, or mute it and add music or sound effects instead.
Watch Out for Motion Blur and Frame Blending
Reversing clips with motion blur or low frame rates can cause odd visuals. Toggle frame blending in the timeline to see what looks best.
Skip Keyframed Effects
Reversing a layer doesn’t reverse keyframes. Manually adjust keyframes for effects like scale and rotation to maintain animations.
Best Alternative: CapCut
If After Effects is too complex, CapCut offers a fast, user-friendly alternative. It’s available on mobile and desktop for quick video reversals.
Why CapCut Works Well
CapCut is designed for short-form content like TikToks and Instagram Reels, allowing easy video reversal with just a few taps.
Open the App or Desktop Version
Import your clip as you would in other editors.
Tap or Click “Edit” > “Reverse”
Reversing is simple—no layers or keyframes to manage until you export.
Save or Export Your Video
After processing, export your video. CapCut automatically optimizes clip smoothness and audio adjustment.
Extra Perks in CapCut
Beyond reversing, CapCut offers filters, text effects, and transitions without needing plugins, making it ideal for quick, fun edits.
Note that for professional, multi-layer projects, CapCut may not suffice. It’s best for fast, simple edits.
Other Apps That Let You Reverse Video Easily
Besides CapCut, several tools can reverse video footage with ease:
iMovie (Mac/iOS) – A great option for Apple users, iMovie features built- in reverse functionality. However, you’ll need to manually manage audio for seamless playback. It’s simple and integrates well with Apple devices.
InShot (iOS/Android) – Ideal for quick social media edits, InShot offers easy access to the reverse tool, plus features like filters, text overlays, and music integration.
Filmora (Mac/Windows) – Filmora provides intuitive reverse functionality, transitions, and additional editing tools while remaining beginner-friendly.
DaVinci Resolve – For professional-grade results, DaVinci Resolve includes a robust reverse playback feature alongside advanced editing capabilities, although it has a steeper learning curve.
These tools are excellent choices when you want efficient video reversal without lengthy render times or complex learning curves.
The Bottom Line
Reversing video footage can be straightforward with the right tool. If you’re using After Effects, reversing within the program offers full control. For quick social media clips, CapCut is efficient and user-friendly. Each tool adds a quirky, surprising twist to your videos, enhancing their overall feel.
Related Articles

LightCut 2025 Review: The Best Video Editor for Android and iPhone

Top 5 Free Video Enhancers to Instantly Boost Video Quality

What is HitFilm Express? A Beginner's Guide for Mac Users

CapCut, WeVideo & More: Tools That Simplify Video Editing

Effortless Steps to Convert and Upscale Video to 4K Resolution
Vizmato 2025 Review: Video Editing That Feels Like Play

Simple Tutorial: How to Convert H.265 to H.264 Easily

How to Change Video Frame Rate: 5 Best FPS Converters

Best Tools: 4 Video Players for Frame-by-Frame Analysis

Top 4 Vertical Video Editors to Edit Vertical Videos Quickly

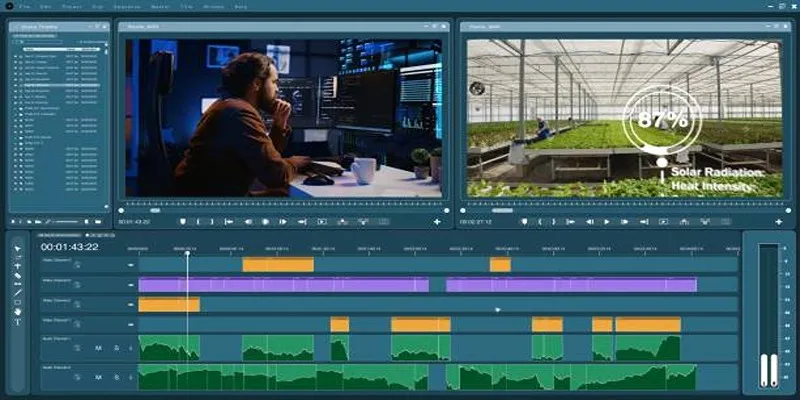
Top 8 Free Video Editors Reviewed and Compared in Detail

Simple Steps to Fix Pixelated and Grainy Videos on Windows
Popular Articles

Best Ways to Turn MXF Files into FLV Format: A Comprehensive Guide

Best Help Desk Tools for Enterprise-Level Support Teams

How to Push Code to GitHub: A Step-by-Step Guide
How to Easily Upload 4K Videos Recorded on Your Sony PMW

Step-by-Step Guide: How to Put Videos on Your PSP with a PSP Video Converter

How to Import Post Ideas from CSV Spreadsheet in WordPress: A Guide
Top 3 Easy Methods to Join AVCHD Video Clips Together

Click, Commit, Push: 5 Best Git GUI Clients in 2025

Steps to Download Movie Maker Free and Start Creating

The 6 Best Session Replay Tools in 2025 to Optimize Your User Experience

Step-by-Step Guide to Allow Users to Submit Posts in WordPress
