Mini DV to Digital Conversion Made Simple on Windows
Do you have old Mini DV tapes with precious memories stored on them? Over time, these tapes can degrade, and finding a modern device to play them might be difficult. Converting Mini DV tapes to digital format is a great way to preserve your videos and make them easier to watch on today’s devices. This guide will show you how to convert Mini DV to digital format on a Windows computer quickly and easily, so you can save your videos forever.
What You Will Need
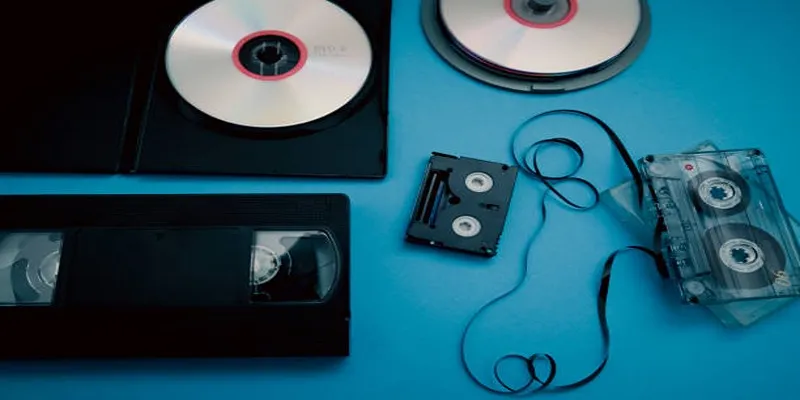
To convert Mini DV to digital format, you will need the following:
- A Windows computer with a FireWire or Thunderbolt port
- A Mini DV camcorder or player that can connect to your computer via FireWire or Thunderbolt
- A blank DVD or USB drive
- Video capture software (such as Windows Movie Maker)
- Optional: video editing software for advanced editing capabilities
Step 1: Connect Your Camcorder to Your Computer
Switch on the Mini DV camcorder and enable its playback mode. Use a FireWire or Thunderbolt cable to connect your Mini DV camcorder to your Windows computer. If your computer lacks these ports, consider using a compatible adapter or external capture card.
Once connected, your computer should automatically recognize the camcorder. If prompted, install the necessary drivers to ensure your devices function correctly.
Step 2: Set up Your Video Capture Software
Open your video capture software on your Windows computer. If you are using Windows Movie Maker, go to the “File” menu and select the option for importing video from a device. Choose your camcorder from the list of connected devices, and ensure that the input source is set to “DV” or “Digital Video” to match your Mini DV camcorder. Configure the capture settings, such as video resolution and format, to suit your preferences.
For optimal quality, select a resolution that matches the original Mini DV recording, typically 720x480 for standard definition. Once everything is set up, preview your video feed to ensure the software is correctly capturing the output from your camcorder.
Step 3: Start the Conversion Process
When you are ready to begin, click the “Record” or “Capture” button in your video capture software. Simultaneously, press the “Play” button on your Mini DV camcorder so that the tape begins to play. Your software will capture the footage in real-time, so make sure to allow the entire tape to play through if you want to capture all its contents. Keep an eye on the process to ensure there are no errors or interruptions during the recording.
Once finished, save the captured video file to your computer in your preferred format, such as MP4 or AVI, for easy storage and compatibility with modern devices.
Step 4: Optional: Edit Your Videos
After you have successfully converted your Mini DV tapes to digital format, you may want to edit the videos to enhance their quality or create a more polished final product. Open your video editing software, such as Adobe Premiere Pro, DaVinci Resolve, or a free option like Shotcut. Import the captured video file into the software and begin editing.
Basic edits might include trimming unwanted sections, adjusting the brightness and contrast, or adding simple transitions between scenes. If you have advanced editing skills, you can enhance the videos further by applying color correction, stabilizing shaky footage, or adding soundtracks and subtitles.
Once you are satisfied with your edits, export the final video file in your desired resolution and format. For compatibility and wide accessibility, MP4 is generally a good choice, as it works well on most devices and platforms.
Step 5: Save and Share Your Videos
Now that your Mini DV tapes are converted and optionally edited, it’s time to save and share your digital videos. Save the video files on your computer, but also consider creating backups. Use USB drives, external hard drives, or cloud storage for additional safety against data loss.
To share your videos with family and friends, you can upload them to video-sharing platforms like YouTube or Vimeo or transfer them directly to their devices via USB drives or email.
Tips for Better Results
- Use high-quality Mini DV tapes for better video quality during playback and conversion.
- Clean your Mini DV camcorder or player before playing the tapes to avoid any dust or debris that might interfere with the recording process.
- Allow the entire tape to play through without interruptions to ensure a complete capture of all footage.
- Make sure your computer is sufficiently powered and has enough storage space for the video files.
- If you encounter any issues during the conversion process, try restarting your computer, checking cable connections, and updating drivers if necessary.
Troubleshooting Common Issues
- Audio is missing or out of sync: Check your audio settings in the video capture software and make sure they match the input source.
- Video quality is poor: Try adjusting the resolution and format settings in your video capture software, using a different Mini DV tape, or cleaning the playback device.
- Software crashes or freezes: Restart your computer and try again. If the issue persists, check for updates to the software or try using a different program.
Conclusion
Converting Mini DV tapes to digital format on Windows may seem like a daunting task at first, but with this quick tutorial, you can easily preserve your precious memories and enjoy them on modern devices. With just a few simple steps and the right tools, you can bring your old home videos back to life and share them with others for years to come. Remember to take care of your tapes and regularly back up your digital files for added peace of mind. Happy converting!
Related Articles
Simple Ways to Convert GIF Files to MOV Format Online
How to Easily Convert AVI to MOV Using 4 Reliable Tools
How to Automatically Save Gmail Attachments to a Google Drive Folder: A Complete Guide

Top 7 Methods for Effortless MP4 to MOV Conversion
Effortless Steps to Convert and Upscale Video to 4K Resolution

Step-by-Step Guide to Adding Captions to Instagram Reels
Top 5 VOB to MP4 Converters to Make Your DVDs Digital
How to Create Trello Cards from Google Calendar Events: A Step-by-Step Guide

Top 5 AMV Editing Software for Smooth and Professional Videos
How to Easily Edit and Trim Videos on Your Android Devices
How to Colorize Photos with Palette AI: A Step-by-Step Guide For beginners

Top Transcription Tools in 2025 That Get the Job Done
Popular Articles
Is Wondershare DemoCreator Worth It? A Full Performance Review

Plan Your Summer Adventures: Use These Apps for Camping, Hiking, and More

Streamline Your Workflow with the 9 Best AI Meeting Assistants in 2025
How to Effortlessly Convert MOV to MPEG and Vice Versa

Microsoft Launches Dragon Copilot for AI-Driven Healthcare Support

Discover the 10 Most Effective Userback Alternatives

Best Text-to-Speech Programs for Windows with Natural Voices 2025
Simple Ways to Transfer Files Between Phone and PC
How to Make a TikTok Video with Over 60 Seconds of Music
Best Apps for iPhone: 6 To-Do List Picks in 2025

A Developer’s Guide to Leveraging AMD OpenCL™ APP for Enhanced Performance

 mww2
mww2