mww2
mww2
How to Convert MP4 to JPG Without Losing Quality: Tools That Actually Work
If you’ve ever watched a video and thought, “This would make a perfect photo,” you’re not alone. Videos often capture expressions, movements, and frames that are too good to be left in motion. Converting MP4 files into JPG images is a handy trick to master.
But not all converters do the job right. Some skip frames, while others compress the image to the point of pixelation. Fortunately, there are tools that get it right. This guide will help you understand the “how,” “which,” and “why” of converting MP4 to JPG.
Understanding the Conversion: MP4 to JPG
MP4 is a video format that stores moving images, audio, and sometimes subtitles. JPG, however, is a still image format. Converting MP4 to JPG involves selecting a single frame from a video and saving it as a photo. It’s like picking your favorite page from a flipbook and keeping just that one.
This process is especially useful for tutorials, events, vlogs, or capturing that one irreplaceable smile.
Top MP4 to JPG Converters
Here’s what you’ve been looking for. Let’s explore some of the best tools that make converting MP4 to JPG a breeze.
VLC Media Player – More Than Just a Player
Most people know VLC as the versatile video player that handles all file types. However, it also includes a frame capture option that works as a converter.
How It Works:
Open your video in VLC, pause at the desired frame, and go to Video > Take Snapshot. The image is saved in high resolution, depending on your video’s quality.
FFmpeg – For the Command Line Enthusiasts
FFmpeg is open-source and free, often used by paid tools. It provides full control over frame rates and output file naming.
How It Works:
Enter a command like:
ffmpeg -i video.mp4 -vf fps=1 out%d.jpg
This command pulls one frame per second and saves each as a JPG.
Online Convert – No Downloads Required
This browser-based tool is perfect for those who prefer not to download software. Simply upload your MP4, choose JPG as the target format, and hit convert. You can adjust frame rate and image quality.
How It Works:
Visit the site, upload your file, set the parameters, and download your images.
Movavi Video Converter – User-Friendly Drag-and-Drop
Movavi offers a polished interface with features like MP4 to JPG conversion. While not free, it provides a trial version. Its preview window allows you to scroll through the video and select specific frames.
How It Works:
Import the video, select the frame(s), and choose JPG as your output format. Movavi handles the rest.
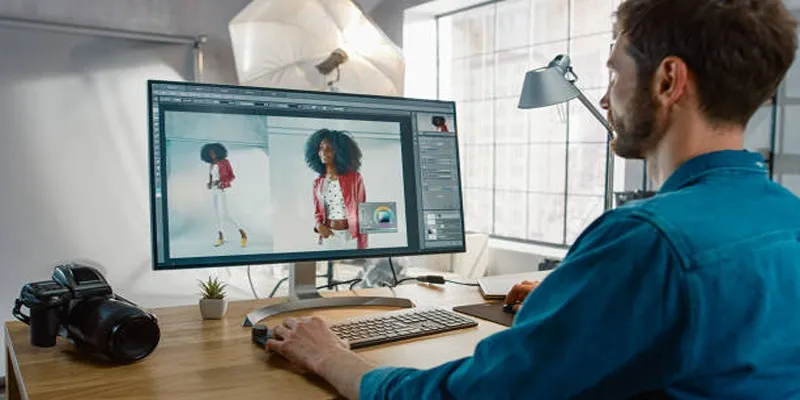
Adobe Premiere Pro – For Existing Users
If you already use Premiere Pro for video editing, you can export stills directly from the timeline without exporting the whole clip. It ensures high- quality output.
How It Works:
Load your video, navigate to the frame you want, click the camera icon (Export Frame), and select JPG as the format. You can name the file and choose its destination.
Key Considerations Before Conversion
Before converting, keep these factors in mind:
Video Quality Matters : A blurry MP4 will result in a blurry JPG. Use high-resolution videos.
Frame Rate : Tools like FFmpeg let you extract one frame every second, or even more frequently. Determine how many images you need.
Batch or Single? : Some tools convert every frame to JPG, ideal for animations but overwhelming for long videos.
Compression : Choose tools that allow you to control compression levels for quality retention.
Utilizing JPGs in Projects
Once you have your images, here are some ways to use them:
Content Creators : Use JPG frames as thumbnails, blog images, or step-by- step guides.
Educators : Capture steps from recorded lessons for teaching materials.
Designers : Use aesthetic scenes in visuals or layout drafts.
Personal Use : Print stills from family videos or save perfect vacation moments.
Converting MP4 to JPG is more than a format change—it’s a means to enhance your creative projects and preserve unique moments.
Final Thoughts
Extracting images from video content can be incredibly useful. Whether you’re creating content, saving memories, or need a still shot, the right converter makes all the difference.
Some users prefer FFmpeg’s precision, while others enjoy VLC’s simplicity or Movavi’s ease of use. Regardless of your preference, you now have the tools to extract images without awkward screenshots. There’s a better way, and you’re ready to use it.
Related Articles

From Video to Audio: 10 Top MP4 to MP3 Converters in 2025

Free Ways to Convert HEVC to MP4 Without Losing Quality
Simple Methods to Convert ISO Files to MP4 for Beginners

Top 3 Simple Ways to Convert WMA to MP4 Easily
Top 7 Methods for Effortless MP4 to MOV Conversion
HEVC to MOV Conversion Made Simple for Windows Users
Top 6 Methods to Convert AVI to MP4 on Windows Easily
How to Convert OGV to MP4: 3 Fast and Easy Methods
Top 5 Online Services to Convert WMV to MP4 Without Hassle
5 Simple Ways to Convert 3GP to MP4 Effortlessly
Best Practices for Converting AVI Files to JPG Format

Effortless Steps to Convert and Upscale Video to 4K Resolution
Popular Articles

Comprehensive Guide to Using Bandicam for Screen and Game Recording

Seamlessly Convert Panasonic P2 MXF Files to MP4 or MOV Format
Transforming MKV Video Files to XviD Format: A Step-by-Step Guide
Streamline Your Email Campaigns: The 7 Best Cold Email Software Options
Best Free Online Converters for Converting JSON to CSV Quickly

Get Started with Free PSD Templates: A Designer’s Guide
Top Batch File Renamers for Linux Users in 2025

Thinkific vs. Kajabi: Top Online Course Platforms Compared

Top DAT to DIVX Converters for Windows and Mac Users
8 Easy Techniques to Extract Audio from Video Files

Capture Gameplay Smoothly: 5 Great ShadowPlay Alternatives