mww2
mww2
How to Easily Send Webflow Form Responses to Google Sheets
If you’re collecting form responses on your Webflow page, you should try an easy way to store, manage, and analyze all that data. Webflow is fantastic for creating stunning websites, but organizing the form submissions can get tricky. The good news is you can send your Webflow form responses directly to Google Sheets. This makes tracking your leads much easier, allowing you to view all your data in one place and collaborate with your team.
Why You Should Connect Webflow with Google Sheets
If you’ve ever tried managing form responses by hand, you probably know how messy things can get fast. Webflow records form responses, but it’s not the easiest tool to organize, analyze, or share that data with others. But here’s the thing — Google Sheets is perfect for this. It’s simple to use, easy to access, and makes tracking leads, sorting info, and even creating charts much more straightforward. Plus, sharing the sheet with your team is super easy, which makes working together much smoother. By connecting Webflow with Google Sheets, you won’t have to worry about managing all that data manually anymore. Whenever someone submits a form on your site, their response automatically lands in your Google Sheet — neat, correct, and ready to go whenever needed.
Setting Up Your Webflow Form
First, you’ll want to set up a Webflow form on your website. This is how you’ll gather all the info you need. Consider what you want to collect, like:
- Your name
- Email address
- Phone number
- Message or inquiry
When designing your Webflow form, ensure the fields align with the columns in your Google Sheets. So, if your sheet has a column for ‘Name,’ your form should have a field to collect that info. And don’t forget—try to keep the required fields to a minimum to avoid overwhelming your visitors. A simple, easy-to-fill form will probably get more folks to complete it. Once someone submits the form, ensure they see a clear confirmation message letting them know it went through.
Preparing Your Google Sheets
Alright, let’s get your Google Sheets set up. Open a new sheet and add column headers that match the fields on your Webflow form. For example, include columns like:
- Column A: Name
- Column B: Email
- Column C: Phone Number
- Column D: Message
This ensures that when data comes from Webflow into Google Sheets, everything stays organized and easy to read. Feel free to format your sheet to improve clarity or create additional sheets to keep your data sorted over time.
Signing Up for Zapier
Here’s where the magic happens: Zapier. Zapier is a tool that connects your favorite apps; in this case, we’ll use it to link Webflow with Google Sheets.
If you haven’t already, sign up for a Zapier account. There’s a free version available, but if you plan to use it frequently or need advanced features, you might consider their paid plans. Once you’re in, you must connect Webflow and Google Sheets to Zapier.
Zapier will act as the middleman, automatically transferring the data from your Webflow form to your Google Sheets. Let’s set it up.
Connecting Webflow to Zapier
Let’s set up the “Zap” that connects Webflow to Google Sheets. In Zapier, click on “Create a Zap.” For the trigger, select Webflow and choose “New Form Submission.” Every time a user submits your form, Zapier will send that information to Google Sheets.
Next, you’ll connect your Webflow account to Zapier. You’ll be asked to log in to Webflow and allow Zapier access to your forms. Once connected, you can choose which form you want to sync with Google Sheets.
Setting Up Google Sheets in Zapier
After setting up Webflow, you must use Google Sheets as your action app. Choose “Create Spreadsheet Row” as the action event. This tells Zapier to create a new row in your Google Sheet whenever there’s a new form submission.
Connect your Google Sheets account to Zapier and then choose the Google Sheet you created earlier. Here, you’ll map the fields from your Webflow form to the columns in your Google Sheets. For example, the “Name” field from Webflow will go to the “Name” column in your sheet, and so on.
Once that’s set, Zapier will automatically start syncing data. But it’s always a good idea to test it before relying on it.
Testing the Integration
Testing your integration is important to ensure everything works smoothly. Go to your Webflow form and submit a test entry – maybe a fake name and email address. Then, check your Google Sheets to see if the data was added correctly.
If everything looks good, you’re ready to go! Every time someone submits a form, Zapier will automatically push that data into your Google Sheets.
Managing Your Form Responses in Google Sheets
Now that your Webflow form responses are syncing to Google Sheets, you can start managing and analyzing the data. Google Sheets makes filtering responses, tracking leads, and looking for patterns easy.
For instance, if you’re capturing leads, you can sort your sheet by date or filter for specific criteria, such as leads from a particular city or product interest. You can also use Google Sheets’ built-in formulas to calculate metrics like conversion rates or follow-up times. It’s an excellent way to stay organized and keep track of your leads’ progress.
Expanding Your Workflow with Zapier
While this guide focuses on syncing Webflow with Google Sheets, Zapier offers many more possibilities. You can add additional actions to your workflow, like sending an email or a Slack message whenever a new form submission is received. You can create more complex workflows, like sending form responses to your CRM system for further action.
Zapier can also help you automate other parts of your workflow, saving you time and making it easier to manage everything from leads to customer support.
Conclusion
Syncing Webflow form responses to Google Sheets isn’t just about automating; it’s about saving yourself some hassle and having more control over your data. With just a few quick steps, all your Webflow form entries can be neatly organized in Google Sheets, ready for you to analyze, share, or act on. Once you’ve got this setup working, you won’t have to worry about manually managing responses anymore. Whether you’re gathering leads, customer feedback, or event sign-ups, Webflow and Google Sheets team up perfectly to keep things simple and keep you focused on what’s important. Go ahead and give it a shot today—your future self will thank you!
On this page
Why You Should Connect Webflow with Google Sheets Setting Up Your Webflow Form Preparing Your Google Sheets Signing Up for Zapier Connecting Webflow to Zapier Setting Up Google Sheets in Zapier Testing the Integration Managing Your Form Responses in Google Sheets Expanding Your Workflow with Zapier ConclusionRelated Articles

How to Integrate Google Sheets with Mailchimp: A Step-by-Step Guide
How to Integrate Google Sheets with Mailchimp: A Step-by-Step Guide
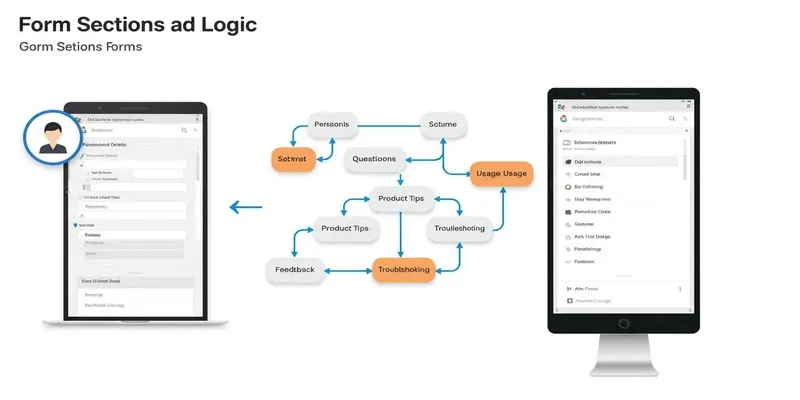
A Comprehensive Guide to Create Form Sections and Logic in Google Forms

How Can You Connect Firebase to Google Sheets for Real-Time Data Syncing?

How to Add, View, and Print Comments in Google Docs: A Step-by-Step Guide

Resolving Google Classroom Submission Errors: Step-by-Step Guide

Google Chat vs. Slack: Which Collaboration Tool Suits Your Business Best

Boost Your Productivity: The 10 Best Google Docs Add-Ons You Need

How to Use Variables in Google Docs for Smarter Document Automation: A Guide

PowerPoint Image Compression: Reduce File Size Without Sacrificing Clarity

How to Automatically Save Gmail Attachments to a Google Drive Folder: A Complete Guide
Boost Your Productivity: The 10 Best Google Docs Add-Ons You Need
Popular Articles
Best Free Tools to Convert MP4 to AVI on Mac Efficiently

Base64 Encoding and Decoding Made Easy with Free Online Tools

Asana vs. Basecamp: Find the Best Fit for Your Projects in 2025

Best Tools for 1920x1080 Image Conversion: Comprehensive Analysis

How to Create Instagram Reels: A Step-by-Step Guide
5 Easy Ways to Repair Corrupted PDF Files Online for Free
Why the Rise of AI Agents Demands a Rethink of Your Entire SEO and Marketing Funnel

Upgrade Your Streaming: 5 Chrome Extensions to Enhance Video Quality
Top Tools to Convert MP4 to XviD Online and Offline

5 Best Tools to Transfer and Convert AVCHD Videos to Your iPod

Best macOS Language Translation Tools Available in 2025