mww2
mww2
How to Quickly Cut and Edit Your Videos Using Movie Maker
Video editing can feel daunting, but tools like Windows Movie Maker simplify the process for beginners. Whether you’re trimming clips, creating montages, or editing social media content, Movie Maker offers an easy, intuitive way to cut videos without technical expertise. In this guide, we’ll show you step-by-step how to cut videos in Movie Maker, helping you create polished, professional-quality content quickly and effortlessly.
What is Windows Movie Maker?

Windows Movie Maker is a video editing software developed by Microsoft that allows users to create, edit, and share video content effortlessly. Although Microsoft officially discontinued the software in 2017, it’s still widely used and appreciated for its simplicity.
Windows Movie Maker is suitable for those who need basic editing capabilities such as trimming, cutting, and adding transitions without the burden of professional software like Adobe Premiere Pro or Final Cut Pro. It’s one of the easiest apps for new users who need a straightforward video editor.
Why Cutting Videos is an Essential Editing Skill
Knowing how to cut video clips is one of the most fundamental yet impactful editing skills you can learn. Cutting allows you to:
- Remove unwanted footage or awkward moments.
- Focus on the most important parts of your video.
- Improve the flow of your story or message.
- Reduce your video length for specific platforms (e.g., Instagram, TikTok, or YouTube).
Mastering this skill can transform even basic footage into engaging and professional-looking video content.
Step-by-Step Guide to Cutting Video in Movie Maker
Follow these steps to cut your videos in Windows Movie Maker easily:
Step 1: Import Your Video
To get started:
- Open Windows Movie Maker.
- Click on “Add videos and photos” in the top menu.
- Navigate to the folder containing your video, select the file, and click “Open.”
Your video will appear in the Movie Maker timeline, ready for editing.
Step 2: Familiarize Yourself with the Timeline
The timeline is where all the magic happens. It’s the workspace where you visually manipulate your video. The timeline is divided into:
- Video Track: Displays video files.
- Audio Track: Shows background music or sound effects (if applicable).
The timeline helps you identify where you want to start and end your cuts.
Step 3: Play the Video and Identify Sections to Cut
Click the Play button to preview your video and identify edits. As you watch, note timecodes for any cuts needed. For instance, if there’s an unnecessary section at 1:15, write it down. These notes will help streamline your editing process.
Step 4: Use the Split Tool to Cut the Video
Windows Movie Maker uses the Split Tool to cut videos. Here’s how to use it:
- Place the playhead (the vertical line on the timeline) at the start of the section you want to cut.
- Click the “Edit” tab in the top menu.
- Select “Split” to divide the video into two parts.
Repeat this process at the end of the section you wish to cut out. This will result in three parts of the video:
- The part before the unwanted section.
- The unwanted section itself.
- The part after the unwanted section.
Step 5: Delete the Unwanted Portion
Once you’ve split the section you want to remove:
- Click on the unwanted portion to select it.
- Press the Delete key on your keyboard, or right-click and choose “Remove.”
The remaining clips will automatically adjust to close the gap, giving your video a seamless flow.
Step 6: Fine-Tune Your Cuts
After cutting, play back the edited video to ensure the transitions between clips are smooth. If necessary:
- Drag the edges of a clip to adjust its start or end point.
- Use the zoom feature to make more precise edits.
Step 7: Save Your Edited Video
When you’re happy with your cuts:
- Click on “File” in the top-left corner.
- Select “Save movie” and choose a format (e.g., MP4, WMV).
- Name your video, choose a destination folder, and click “Save.”
Congratulations! You’ve successfully cut your video in Movie Maker.
Tips for Creating Great Videos
Creating a great video involves more than just using the right software. Here are some tips to keep in mind when editing your videos:
- Plan ahead: Before you start filming, have a clear idea of what you want your video to be about and how you want it to look. This will make the editing process much easier.
- Keep it concise: In today’s fast-paced world, attention spans are shorter than ever. Try not to make your videos too long or include unnecessary footage.
- Use transitions wisely: Transitions can add visual interest to your videos, but don’t overdo it. Choose transitions that fit the tone and style of your video.
- Add music or sound effects: Background music can enhance the mood of your video and make it more engaging. Just make sure to use royalty-free music or obtain proper licenses for copyrighted material.
Alternative Solutions If You Don’t Have Windows Movie Maker
Since Windows Movie Maker is no longer officially available, you might want to explore alternatives like:
- iMovie: This is the go-to video editing software for Mac users. It’s user-friendly and offers a wide range of features, including adding transitions and music.
- OpenShot: An open-source video editor available for Windows, Mac, and Linux. It may not have as many features as Movie Maker or iMovie, but it’s free to use and great for basic video editing needs.
- Adobe Premiere Pro: A professional-grade editing software with a steep learning curve but powerful features. It comes at a price, but if you’re serious about creating high-quality videos, this might be worth considering.
No matter which option you choose, remember to always play around with different tools and features to find what works best for you and your video editing needs. Don’t be afraid to experiment and try new things!
Final Thoughts
Editing videos doesn’t have to feel overwhelming. With tools like Windows Movie Maker, cutting clips is both easy and effective for creating engaging content. Whether you’re trimming a quick social media video or removing lengthy sections from a project, knowing how to cut videos is an essential skill for content creators. Now it’s up to you! Practice the steps outlined above and experiment with trimming your footage. The more you edit, the more confident you’ll become.
Related Articles

The 8 Best To-Do List Apps for Android in 2025

Top 10 Apps to Add Text to Videos on Mobile and Desktop

Must-Know Tips for Getting Started with Windows Live Movie Maker

5 Ways to Convert Videos to MP4 on Mac OS X Effortlessly

The Best 7 Movie Makers for Mac Users in 2025

Steps to Download Movie Maker Free and Start Creating

Top 9 Apps to Effortlessly Add Text to Your Videos in No Time

How to Easily Edit and Trim Videos on Your Android Devices

LightCut 2025 Review: The Best Video Editor for Android and iPhone

Top Software to Convert Videos to DPG at High Quality Standards
Explore the 10 Best Video Editing Software for Creators

8 Best To-Do List Apps for Mac in 2025
Popular Articles
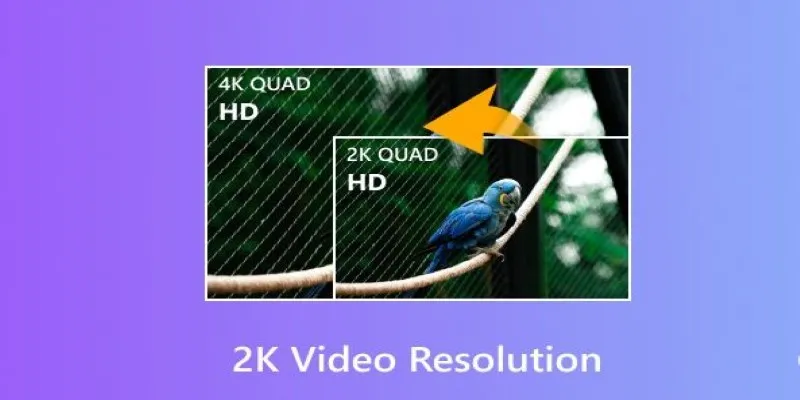
Understanding 2K Resolution: A Key Player in Digital Video Production

Which Are The 6 Best Electronic Signature Apps to Sign Documents Online in 2025

The Best Free Small Business Software in 2025 to Run Smarter, Not Harder

ShotCut Video Editor: A Simple and Reliable Free Tool for Video Editing
9 Reliable Ways to Make Videos Play on Motorola Xoom

How to Reverse Video Footage in After Effects and Best Alternatives

Amazon Prime Video Begins AI Dubbing to Expand Foreign Content
Transform Your Presentations with These Free PPT Template Tools
Best Linux Tools to Mount ISO Files Easily

Explore Samba 4.22 with SMB3 Leases and Himmelblaud Integration
Airtable vs. Google Sheets: Which Should You Use for Your Workflow