mww2
mww2
Mastering Slideshow Creation and Presentation on iPad
Most people now view the iPad as a great tool for completing tasks, and presenting slideshows is one of its main uses. Whether you’re a professional planning a pitch, a student finishing a class project, or a business owner arranging a webinar, the iPad can save you time. This guide will show you how to make, customize, and organize slideshows with your iPad.
Why Use an iPad for Slideshows?

- Portability: An iPad is much easier to carry than a laptop or desktop. It’s portable and can go anywhere with you.
- User-Friendly Tools: Use apps like Keynote, PowerPoint, or Google Slides on iPad, thanks to simple touch commands.
- Seamless Presentation Options: Connect your iPad wirelessly to a screen or projector using AirPlay or adapters.
- Creativity at Your Fingertips: Highlight, doodle on slides, or create custom diagrams with the Apple Pencil.
With its combination of powerful apps and hardware, the iPad is the perfect presentation tool for professionals and students alike.
Getting Started with Slideshows on iPad
To create and present slideshows on an iPad, you’ll need the right tools and apps. Here are the steps to get started:
Step 1: Choose the Right Presentation App
The first step is deciding which app you will use to create your slideshow. Some of the best options include:
Apple Keynote (Free)
Keynote is Apple’s easy-to-use program for making professional presentations. There are many customizable templates, animations, and tools available to improve the look of your presentations. Built into the iPad, Keynote helps users interact and exchange files seamlessly on all Apple devices.
Microsoft PowerPoint (Subscription-Based)
Microsoft PowerPoint is a widely used presentation tool known for its extensive features and versatility. With hundreds of templates, animation options, and collaboration tools, it allows users to create polished slideshows. PowerPoint is compatible across platforms, making it a go-to choice for professionals and educators alike.
Google Slides (Free)
Google Slides is a free, web-based presentation tool that emphasizes collaboration and accessibility. It allows real-time editing by multiple users and integrates seamlessly with Google Workspace. With customizable templates and easy sharing options, Google Slides is ideal for creating professional presentations on a budget.
Pro Tip: Ensure the app you choose is installed and updated before you begin. Download them from the App Store and sign in with your account credentials.
Step 2: Create a New Presentation
Once you’ve chosen your app, it’s time to start your presentation.
For Keynote
- Open Keynote and tap Create Presentation.
- Choose from a variety of beautiful templates to get started. Templates save time by providing pre-designed slide layouts.
- Tap a slide to select and edit it. Add content like text, images, charts, and graphs directly.
For PowerPoint or Google Slides
- Open the app and tap the plus icon to create a new presentation.
- Select a template or a blank slide deck.
- Use the app’s native interface to build your slides.
Choose templates that align with the tone and essence of your presentation. Business-oriented designs for professional pitches, bright designs for educational projects, and minimalistic designs for sleek communication.
Step 3: Add and Format Content
Now, start adding text, visuals, and multimedia to your slides.
Text
- Tap a text box to edit it.
- Use formatting tools to change font size, style, and color.
- Keep text concise and focus on key points for easy readability.
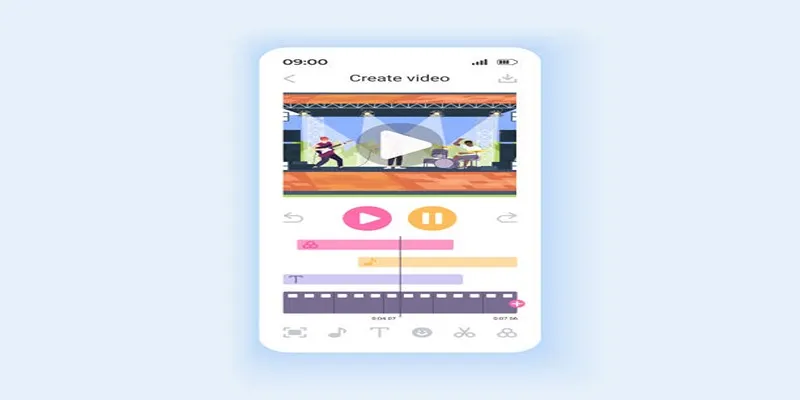
Visuals
- Add images by tapping the image icon. You can upload photos from your iPad’s library or search within the app.
- Use charts, graphs, or icons to visualize data. Apps like Keynote allow you to create 3D charts with ease.
Multimedia
- Insert videos or audio clips to engage your audience. For example, testimonials or background music can make a lasting impression.
Tip: Less is more. Avoid overloading slides with too much text or visuals. Aim for clean, professional designs with one focus per slide.
Step 4: Customize with Animations and Transitions
Animations and transitions can make your slideshow more dynamic and engaging.
- Keynote: Tap on an element, then choose Animate to add transitions such as “Magic Move” or fade effects.
- PowerPoint: Use the Transitions tab for slide animations or set specific movement styles for graphics.
- Google Slides: Offers basic transitions and animations, though limited compared to the other apps.
Use animations sparingly to avoid distracting your audience. Stick to subtle, professional effects.
Presenting Your Slideshow
Once your slideshow is complete, it’s time to present it. Here’s how you can do it seamlessly on your iPad.
Step 5: Practice Your Presentation
Before presenting to an audience, rehearse your slideshow. Both Keynote and PowerPoint have presenter modes where you can practice with speaker notes visible to you but hidden from your audience.
Step 6: Connect to an External Display or Projector
There are several ways to connect your iPad to a screen or projector.
Wireless Options
Use AirPlay to connect to an Apple TV. Swipe down on your screen and tap Screen Mirroring to connect.
Wired Options
Use an adapter (like an HDMI or VGA adapter) to connect your iPad to the screen. Simply plug it in, and your presentation will mirror on the external display.
Step 7: Control the Presentation

During the presentation, you can control the slides directly on the iPad’s screen. Alternatively, use the Apple Pencil or a Bluetooth remote for smooth navigation.
If using Keynote, activate Keynote Live, which allows viewers to follow along from their devices in real time.
Final Thoughts
An iPad is more than just a tablet; it’s a portable, powerful presentation tool designed to simplify your work and impress your audience. By following the step-by-step guide above, you’ll be prepared to create beautiful slides, engage your audience, and deliver presentations with confidence. Are you ready to elevate your presentations? Start experimenting with your iPad today and unlock its full potential.
Related Articles

The 8 Best To-Do List Apps for Android in 2025

8 Best To-Do List Apps for Mac in 2025

Top 10 Apps to Add Text to Videos on Mobile and Desktop

How to Convert MPEG to WAV: A Step-By-Step Guide

The 8 Best Note-Taking Apps for iPad: Stay Organized and Boost Productivity

Top Tools to Convert MXF Files for Seamless Sony Vegas Compatibility

What Are Creative Ways You Can Use Trello to Organize Work, Life, and Everything In Between?

How to Easily Convert AVI to MOV Using 4 Reliable Tools

MPEG to MP3 Conversion Made Easy: A Complete Guide
How to Easily Convert AVI to MOV Using 4 Reliable Tools
Unleash Your Creativity: Top AMV Maker Apps for Anime Music Videos

Top Software to Convert Videos to DPG at High Quality Standards
Popular Articles
Everything You Need to Know About CapCut Video Upscaler

7 Top-Rated Web Analytics Software to Boost Your Online Performance

Tidy Up Your Android: Best Apps to Clear Junk

How to Add a Featured Content Slider in WordPress Easily: A Guide
The 13 Best Shopify Apps in 2025 to Boost Your E-commerce Game

How to Fix Audio Delay in VLC Player

Step-by-Step Guide to Recording TeamViewer Meetings
How to Automatically Add New Unbounce Submissions to Google Sheets: A Guide
Convert M2TS to AVI for HDTV: The Best Lossless Methods

Top Desktop Apps for Smooth Slow and Fast Motion Effects

Comprehensive Guide to Using Bandicam for Screen and Game Recording