mww2
mww2
Step-by-Step Guide to Comparing Two Word Documents
Need to compare two versions of a Word document? Microsoft Word’s built-in tools make it easy to spot changes, additions, and deletions without wasting time. This guide will show you simple steps to compare documents and tips to use this feature effectively—perfect for students, professionals, and anyone managing multiple drafts!
Why Compare Word Documents?

Before learning how to compare documents, it’s important to understand why it matters.
Saves Time
If you have two similar documents, comparing them manually is slow and frustrating. Word’s comparison feature finds changes for you within seconds.
Reduces Errors
Manually checking for changes can lead to mistakes. The comparison tool highlights edits, making it easy to review without missing anything.
Helps with Collaboration
When working with others, you might receive edited versions of your original file. The comparison feature shows what others changed, so you can track contributions.
Built-in Comparison Tool in Microsoft Word
Microsoft Word includes a document comparison tool that is very easy to use. Here’s how to do it step by step.
Step 1: Open Microsoft Word
Launch Microsoft Word on your computer. You don’t need to open the files yet.
Step 2: Go to the “Review” Tab
In the toolbar at the top, click on the Review tab. This tab contains all tools related to editing, reviewing, and comparing documents.
Step 3: Click “Compare”
Under the Review tab, find the Compare button. Click on it, and you will see two options:
- Compare
- Combine
Choose Compare to see the differences between two documents.
Step 4: Select Your Documents
A dialog box will appear with two fields:
- Original Document: Click Browse and select your original file.
- Revised Document: Click Browse and select the newer version.
After selecting both documents, click OK.
Step 5: Review the Comparison Result
Word will now open a new window that shows:
- The combined document with changes marked.
- A list of revisions on the left side.
- The original and revised documents side by side.
You can scroll through and examine every change.
Understanding the Comparison Window
When the comparison is complete, Word provides three panels to help you review the differences effectively:
1. Combined Document (Middle Panel)
This is the main area where all the changes are displayed in context. Insertions are clearly underlined, deletions are crossed out, and any formatting changes are marked with unique indicators. This panel allows you to see all edits in one place, making it easy to understand how the document has evolved.
2. Revisions Pane (Left Panel)
The Revisions Pane offers a detailed summary of all the changes made in the document. Each change is listed chronologically, and you can click on any item to jump directly to that change in the combined document. This is particularly useful for navigating large documents with multiple edits.
3. Original and Revised Documents (Right Panel)
These panels display the original and revised documents side by side, allowing you to compare them line by line. This side-by-side view is ideal for closely examining the differences between both versions, ensuring you don’t miss any subtle changes.
These tools work together to give you a comprehensive view of the edits, helping you review and finalize documents with ease.
How to Use the “Combine” Feature
The Combine feature is different from Compare. Instead of only showing the changes, Combine merges comments and edits from two reviewers into one document.
When to Use Combine
- If multiple people are reviewing the same file
- If you want to track comments and changes from different users
Steps to Use Combine
- Go to Review > Compare > Combine
- Select the two files
- Choose which reviewer’s name to display
- Click OK
Now, you will see the edits and comments from both files in a single document.
Tips for Comparing Word Documents Effectively
Comparing Word documents can be a time-saving way to review changes and ensure accuracy. By using the right tools and techniques, you can effectively identify differences and streamline collaboration.
Use Meaningful File Names
When working with multiple versions of a document, always give your files clear and descriptive names like project-original.docx and project-edited.docx. This practice not only minimizes confusion but also makes it easier to identify the correct files when selecting documents for comparison. A good naming system ensures you won’t accidentally overwrite or lose track of your progress.
Save the Compared File
After you compare your documents, make sure to save the combined version under a unique name, such as project-final-combined.docx. This way, you’ll preserve the original and edited files for reference while creating a distinct version that reflects all changes. Saving under a new name also helps prevent accidental loss of important work during the editing process.
Adjust Markup Options
To refine your comparison view, go to the Review tab and use the Show Markup dropdown menu. This lets you customize the types of changes you want to see—whether it’s comments, insertions, deletions, or formatting updates. Adjusting these settings can help you focus on the most relevant changes and make the reviewing process more efficient, especially in complex documents.
Hide Unnecessary Panes
If you find the multiple document panels distracting, you can streamline your workspace by closing the original and revised document panes. Simply click the X in the corners of these panels. This allows you to focus solely on the combined document, making it easier to review and edit without visual clutter. Don’t worry—closing the panes won’t affect the integrity of your comparison results.
Comparing Older Versions of a Document
If you use OneDrive or SharePoint, you may have version history available. Word lets you compare the current file with an older version stored in the cloud.
How to Do It
- Open the file
- Click File > Info > Version History
- Select an older version
- Save it locally
- Compare it with the latest one using the steps explained above
Comparing Word Documents Online (Optional Tools)
If you don’t have access to Microsoft Word or want a quick online solution, you can try trusted web-based tools. These are useful if you need to compare documents on the go.
Some safe and commonly used websites include:
- Diffchecker
- Draftable
Final Thoughts
Comparing two Word documents is simple with Microsoft Word’s built-in comparison tool. This feature lets you quickly view changes, whether you’re reviewing edits, checking updates, or collaborating with a team. By following this guide, you can easily spot differences and save time. Using these tips will improve your editing skills, streamline document management, and reduce confusion when working with multiple versions. Try it out and make your workflow more efficient!
On this page
Why Compare Word Documents? Built-in Comparison Tool in Microsoft Word Understanding the Comparison Window How to Use the “Combine” Feature Tips for Comparing Word Documents Effectively Comparing Older Versions of a Document Comparing Word Documents Online (Optional Tools) Final ThoughtsRelated Articles
Discover the Best Microsoft Teams Alternatives for Your Team's Needs
How to Edit a PDF on Windows Like a Pro: The Ultimate Step-by-Step Guide

How to Create Google Calendar Events from Microsoft To Do Tasks: A Guide

6 Document Management Mobile Apps Users Love For Seamless Organization

Which Is the Best Meeting Scheduler? Microsoft Bookings or Calendly

Microsoft To Do automation can simplify your daily planning

Slack vs. Teams: Which Should Your Business Use for Better Collaboration

Top 6 Electronic Signature Apps in 2025 to Sign Documents with Ease
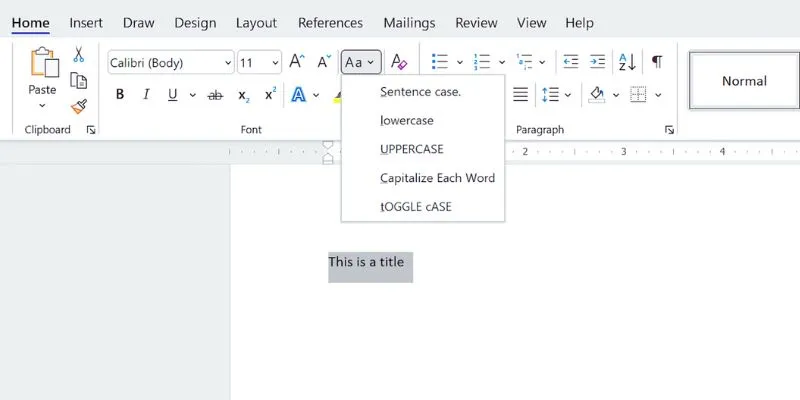
How to Capitalize All Letters in Word, Excel, and Other Apps: A Complete Guide

How to Train ChatGPT on Your Own Data: A Step-by-Step Guide for Beginners

6 Ways to Automate Microsoft Office 365 and Boost Productivity
Unlock the Power of Automation: 6 Ways to Automate Microsoft Excel
Popular Articles

Safe and Secure: Free Antivirus Solutions for Daily Web Protection

Top Marketing Newsletters You Need to Subscribe to Today
7 Best M4A to WAV Converters for High-Quality Audio Transformation

Fix the Windows Movie Maker Black Screen Problem

Best Screen Sharing Software for Remote Teams in 2025: A Comprehensive Guide

What Are the Best Methods to Integrate Square into Your Business Apps?

The Best Project Management AI Apps for iPhone: Revolutionize Your Workflow

Camtasia Screen Recorder Review: Features, Pros, Cons, and Alternatives
Explore the Best Developer-Friendly Online XML to JSON Converters

Lag-Free Screen Recording on Mac: 5 Tools You Need

Effortless Steps to Convert and Upscale Video to 4K Resolution