 mww2
mww2
How to Easily Convert FLV to WMV Without Losing Quality
Converting video files can be a daunting task, especially when dealing with different formats. The two common formats we’re focusing on today are FLV and WMV. FLV is widely used for internet streaming, while WMV, developed by Microsoft, offers smaller file sizes and is compatible with Windows devices. This guide will walk you through the process of converting FLV to WMV, ensuring your videos play smoothly across various platforms.
Why Convert FLV to WMV?

Understanding the reasons for converting FLV to WMV is crucial. Here are some scenarios where conversion might be necessary:
-
Better Compatibility: While FLV files are excellent for web streaming, they aren’t universally supported by all devices and players. WMV files, however, are designed to work seamlessly with Windows devices and media players.
-
Smaller File Size: WMV files are typically more compressed, making them ideal for storing videos without taking up much space.
-
Professional Editing: If you’re using editing software like Adobe Premiere Pro or Final Cut Pro, converting FLV to WMV can enhance compatibility during the editing process.
Tools to Convert FLV to WMV Format
1. HandBrake
HandBrake is a free, open-source video converter available on Windows, macOS, and Linux. Though primarily used for converting to MP4 or MKV, it also supports WMV.
How to Use HandBrake:
- Download and install HandBrake from the official website.
- Launch the application and click on “Open Source” to import your FLV file.
- Select “WMV” under the “Format” section.
- Customize video settings such as resolution and bitrate.
- Choose a destination folder for the converted file.
- Click “Start Encode” to begin conversion.
With its intuitive interface, HandBrake offers a straightforward way to convert FLV to WMV.
2. Any Video Converter (AVC)
Any Video Converter is known for its user-friendly interface and extensive format support. The free version makes converting FLV to WMV an easy task.
How to Use Any Video Converter:
- Download and Install: Access the official website to download the software.
- Add Your FLV File: Open the software and click “Add Video(s)” to import your FLV file.
- Choose Output Format: Select WMV from the “Output Profile” dropdown.
- Start the Conversion: Click “Convert Now” to begin.
AVC merges efficiency and simplicity, perfect for users of all experience levels.
3. Freemake Video Converter
Freemake Video Converter is another great tool, although the free version adds a watermark. The premium version removes this restriction.
How to Use Freemake Video Converter:
- Download and Install: Get the software from Freemake’s website.
- Add Your FLV File: Click “+Video” to add your FLV file.
- Choose WMV as the Output Format: Select WMV from the available formats.
- Customize Your Settings: Adjust resolution and bitrate as needed.
- Start the Conversion Process: Click “Convert” to proceed.
4. CloudConvert (Online Method)
CloudConvert is a convenient online tool for FLV-to-WMV conversion, eliminating the need for software downloads.
How to Use CloudConvert:
- Visit the Website: Go to CloudConvert.
- Upload Your File: Click “Select File” to upload your FLV file or choose from cloud storage.
- Choose WMV as the Output Format: Select WMV from the dropdown menu.
- Adjust Settings (Optional): Customize settings like resolution or bitrate if needed.
- Start the Conversion: Click “Convert” to begin.
5. Wondershare UniConverter
Wondershare UniConverter offers comprehensive multimedia solutions, including video conversion, compression, and editing.
How to Use Wondershare UniConverter:
- Download and Install: Get the software from the official website.
- Launch the Software: Open the application and select the ‘Converter’ tab.
- Add Files: Click “Add Files” to import your FLV file.
- Choose Output Format: Select WMV from the “Output Format” dropdown and adjust settings.
- Start Conversion: Hit “Convert” to start the process.
Things to Consider When Choosing a Conversion Tool
When selecting a tool, consider these factors:
- Speed: Some converters are faster, crucial for large files or batch processes.
- Ease of Use: An intuitive interface is essential for beginners.
- Quality Retention: Ensure the software maintains video quality.
- Cost: Evaluate whether premium features justify the expense.
- Additional Features: Look for extras like editing or watermarking capabilities.
Tips for a Smooth Conversion Process

- Backup Your Files: Keep a copy of the original FLV file as a precaution.
- Check Output Settings: Customize resolution and bitrate to fit your needs.
- Test Compatibility: Ensure the WMV file works on your intended devices or players.
Conclusion
Converting FLV to WMV can be straightforward with the right tools. Whether using HandBrake, Any Video Converter, or online solutions like CloudConvert, you can achieve high-quality conversions with ease. Follow these steps and tips to streamline your workflow, and you’ll be converting videos like a pro in no time. Explore each tool based on your specific needs to find the best fit for your video conversion tasks.
Related Articles
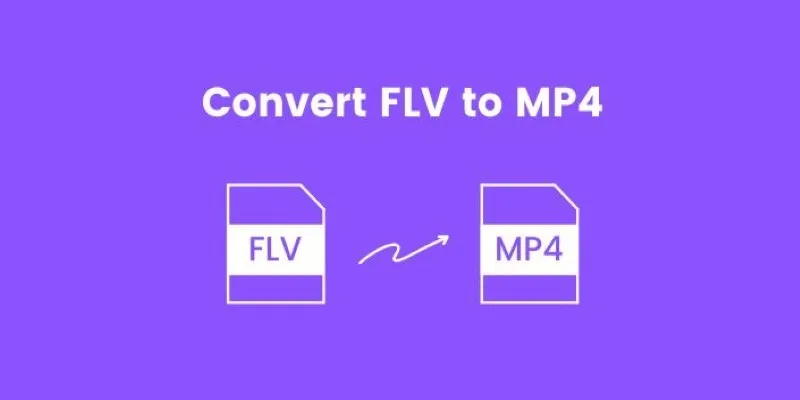
How to Convert FLV to MP4 for Free: Top Tools and Easy Methods
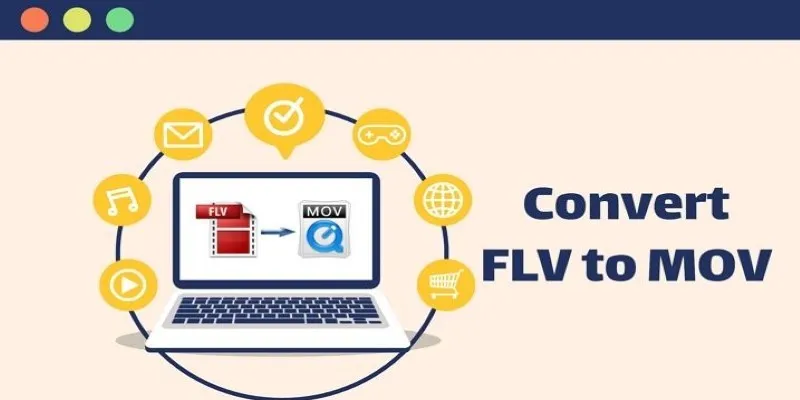
5 Simple Ways to Convert FLV Files to MOV Format on Windows

The 8 Best To-Do List Apps for Android in 2025

8 Best To-Do List Apps for Mac in 2025
Top Methods to Convert FLV to MPG Without Cost

How to Easily Convert AVI to MOV Using 4 Reliable Tools

MPEG to MP3 Conversion Made Easy: A Complete Guide
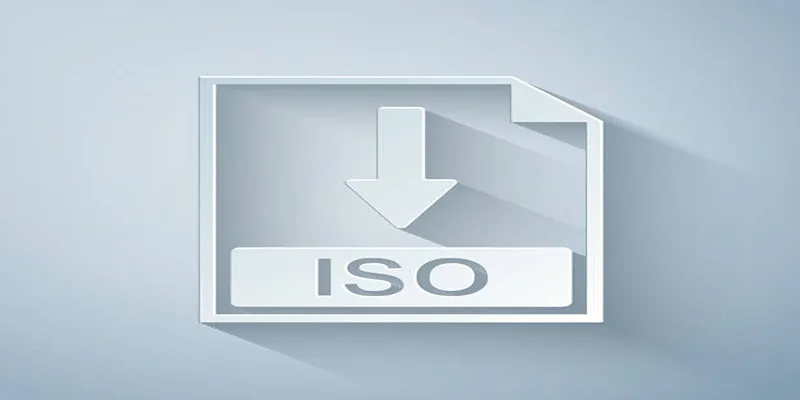
Simple Methods to Convert ISO Files to MP4 for Beginners

How to Convert MPEG to WAV: A Step-By-Step Guide
How to Easily Convert AVI to MOV Using 4 Reliable Tools
Free Ways to Convert HEVC to MP4 Without Losing Quality
Simplest Methods to Convert AVI Files into XviD, SWF, or FLV Formats
Popular Articles

Hudl's Automation Strategy for Enhancing User Experience
Top Tools to Convert MP4 to XviD Online and Offline

Top Dictation Software to Try in 2025 for Seamless Speech-to-Text Conversion

How to Make a DVD Photo Slideshow on Windows and Mac

Top 4 Vertical Video Editors to Edit Vertical Videos Quickly

The Ultimate Guide to the 10 Best WordPress Admin Dashboard Plugins

CapCut, WeVideo & More: Tools That Simplify Video Editing
Recording Samepage Meetings Using Tools You Already Have

How to Play RMVB with RMVB Player or Convert RMVB to MP4 for Playback on Mac

Turn Photos into Memories with Mac Photo Slideshows and Music

How to Make Viral YouTube and TikTok Reaction Videos: Step-by-Step Guide
