mww2
mww2
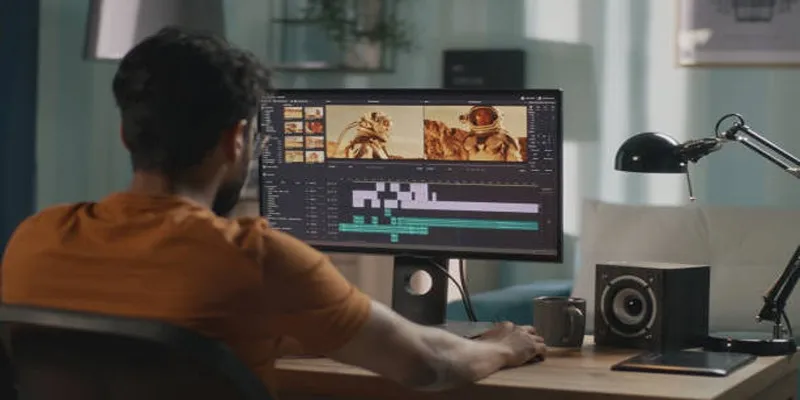
Top 10 iMovie Alternatives for PC That Are Easy and Feature-Rich
iMovie has been a favorite for many Mac users seeking to make clean and simple video edits. But when you switch to a PC or don’t have access to macOS, finding something equally reliable and user-friendly becomes a priority. Fortunately, Windows users have several options that match—and even surpass—what iMovie offers. Each of the tools below brings something unique to the table, whether it’s flexibility, advanced control, or a more intuitive interface. Here’s a look at the top alternatives worth checking out.
Top 10 Best Alternatives to iMovie for PC
Adobe Premiere Elements
If you’re after something that doesn’t demand a steep learning curve but still delivers strong results, Adobe Premiere Elements is a great choice. It’s a simplified sibling of Premiere Pro, offering features like automated editing, motion tracking, and face detection. Beginners appreciate its guided edits, while more experienced users can jump straight into Quick or Expert modes. It’s designed to give you structure without boxing you in.
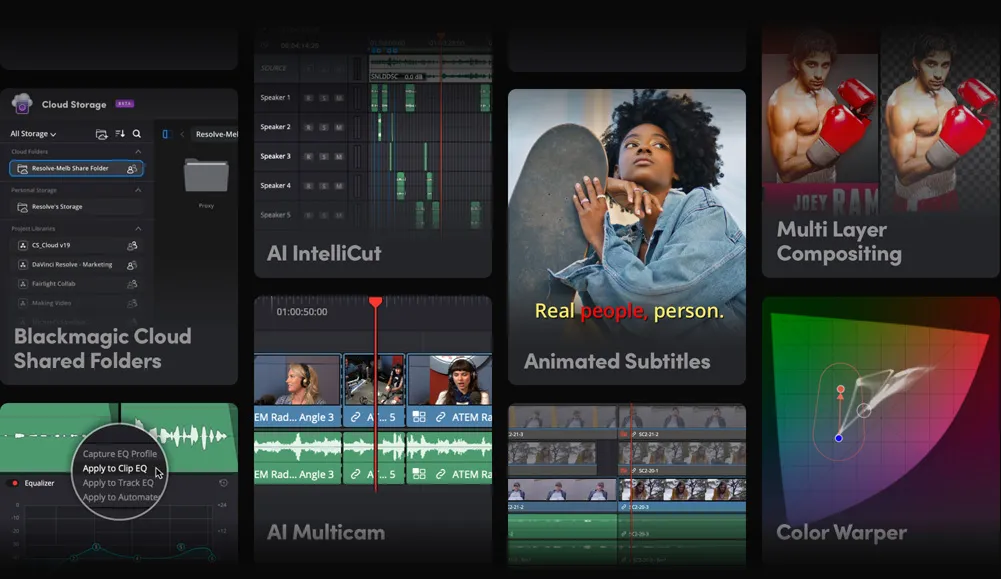
DaVinci Resolve
For those who care just as much about how their video looks as how it’s cut, DaVinci Resolve is a standout. Known primarily for its color grading tools, it also includes advanced editing, audio post, and visual effects in a single workspace. It’s free to start with, which is another plus for hobbyists and freelancers alike. If you’re working on projects that need polish and control, Resolve doesn’t hold back.
HitFilm Express
HitFilm Express feels like a hidden gem. It combines standard editing tools with visual effects capabilities for which you’d typically need separate software. Want to add lightning strikes or create picture-in-picture effects? It’s all here. You might find the interface different at first, but once you settle in, the workflow supports a lot of creativity.
Filmora
Wondershare Filmora is all about making things approachable. The layout is tidy, the tools are labeled clearly, and drag-and-drop functions make it easy to trim clips or apply transitions. It’s ideal for people who want their edits to look good without studying video editing theory. You can apply effects, correct color, and layer audio with minimal clicks.
Shotcut
If you want open-source software that doesn’t feel clunky or dated, Shotcut holds up. It’s modular, meaning you can customize the interface to suit your style. It handles wide format support, real-time previews, and GPU processing. While the interface might feel bare compared to commercial software, the performance is solid.
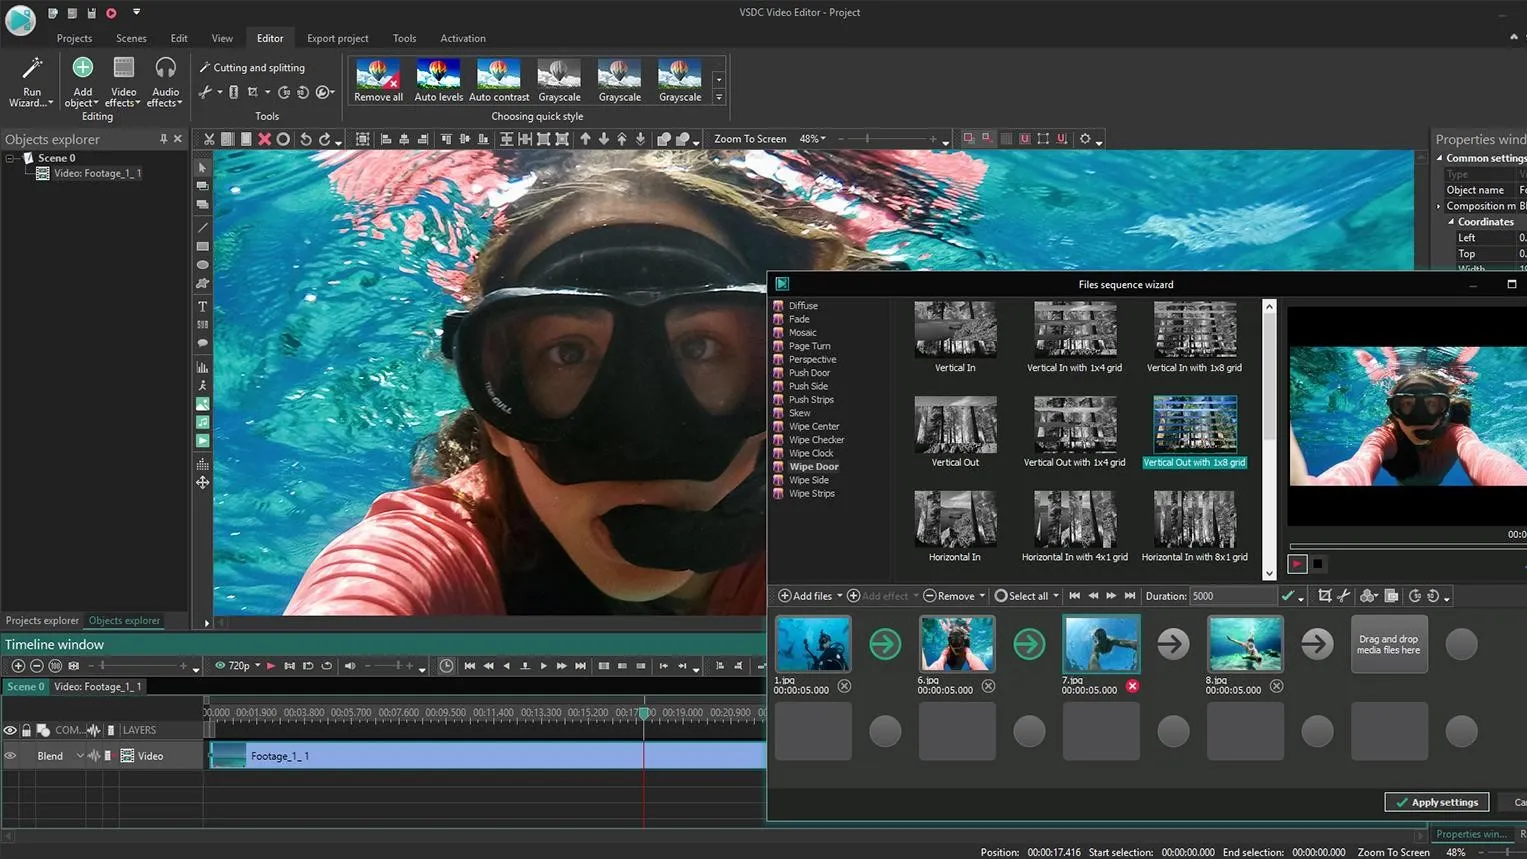
VSDC Free Video Editor
VSDC might surprise you. It offers non-linear editing, motion tracking, audio waveform visualizations, and even color correction—all in a free version. The interface is unique and a bit dense for first-timers, but once you figure it out, you get access to editing tools often locked behind paywalls in other programs.
OpenShot
For those who prefer simplicity and open-source flexibility, OpenShot is a great match. It’s built for users who want a minimal yet functional editor. You can use it to trim clips, layer elements, or add text effects. While it’s not the fastest on large projects, for standard edits, it gets the job done with ease.
Lightworks
Lightworks leans a little more toward professional editing, but it still offers a free tier that’s pretty generous. The timeline is fluid, there are built-in effects, and export options cater to different formats, including web and broadcast. The design reflects its Hollywood heritage, yet it doesn’t get in your way.
CyberLink PowerDirector
PowerDirector strikes a balance between user-friendly design and feature- packed power. You get a ton of transitions, effects, and titles ready to go. One of its standout qualities is how fast it renders video, which is great if you’re on a tight schedule. The interface is divided smartly, helping users jump between tasks without losing focus.
Kdenlive
Another solid open-source option, Kdenlive gives you multi-track editing, a customizable layout, and strong format support. It doesn’t try to mimic more polished platforms but focuses on reliability and control. It appeals to users who don’t mind a bit of DIY when it comes to getting their layout just right.
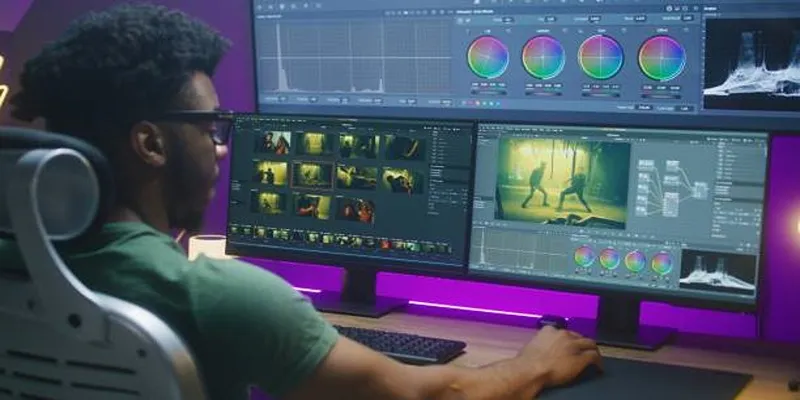
How to Use DaVinci Resolve: A Simple Start
Among all the options listed, DaVinci Resolve stands out for its balance of professional-grade tools and zero-cost entry point. Whether you’re adjusting footage from a DSLR or syncing audio for interviews, Resolve offers an unmatched level of depth. So if you’ve decided to give it a shot, the next part is learning how to actually use it without feeling overwhelmed.
Once you open DaVinci Resolve for the first time, you’ll land in the Project Manager. Create a new project and give it a name you’ll recognize. This keeps things tidy when you’re juggling multiple edits. The interface may look like several different apps rolled into one, but don’t let that throw you off. Stick to the Edit tab to begin.
Importing your media is step one. Head to the Media Pool and either drag your clips directly or use the import function from the top menu. Once your clips are in, drag them to the timeline. From there, trimming is as easy as dragging the edges of your clip. To add transitions, open the Effects Library on the left, pick one, and drop it where two clips meet. When you’re ready to export, hit the Deliver tab, choose your format, and click Render. The software handles the rest.
Conclusion
If you’ve outgrown iMovie or just need something that works on Windows, there’s no shortage of choices. Whether you want detailed control over every frame or just need to cut a few clips and add music, there’s a tool that fits your style. And if you’re willing to learn, options like DaVinci Resolve offer a lot without asking for much in return. Try a few, see what clicks, and you might end up with something even better than what you had before.
Related Articles

Top Video Editors for Android – Best Alternatives to iMovie
How to Edit and Merge GoPro Videos on Your Windows PC

How to Split Video Clips in iMovie: A Step-by-Step Guide
A Step-by-Step Guide to Quickly Combine Video Clips in iMovie

Mastering iMovie: Quick, Clean Video Editing for Every Apple Device

Magisto: The Simplified Approach to Video Editing for Quick and Effective Content

KineMaster Video Editing App Review: A Mobile-Friendly Powerhouse

LightCut 2025 Review: The Best Video Editor for Android and iPhone

Top Video Editing Tools with a Wide Range of Free Sound Effects

How to Upload iMovie Videos to YouTube in 7 Easy Steps

Effortless Ways to Place Videos Side by Side on Your Computer

Top Tools and Tips for Making Multi-Screen Videos on Windows and Mac
Popular Articles
Best OBS Alternatives for Low-End PCs & High-End Production

Discover the Top 10 Fastest Web Browsers to Use in 2025

Hudl's Automation Strategy for Enhancing User Experience

The Future of Creativity: The 9 Best Brainstorming Tools in 2025

How to add an email signature in Outlook: A Step-by-Step Guide
How to Convert FLV Files to WAV Format in Minutes

The Top Tools to Edit and Convert MTS Videos Without iMovie
Beeper vs. Texts: Which All-In-One Messaging App Is Right for You

How to Combine Multiple 3GP Videos on Your Windows PC

Where to Download the Right Background Music for Any Video

Convert PPT into Documents for Free: 5 Top Tools to Try