mww2
mww2
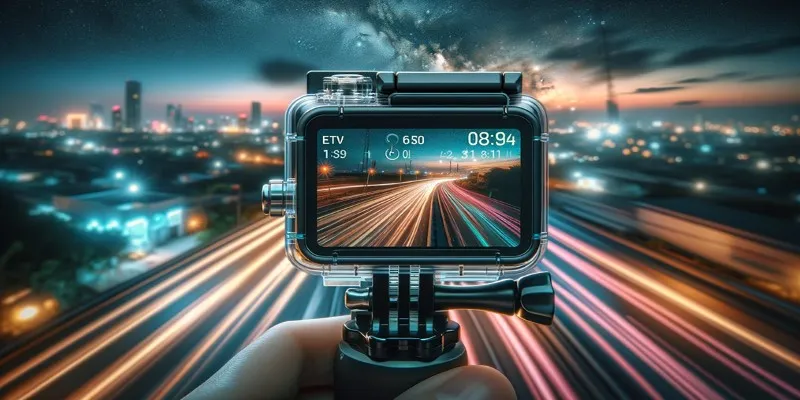
Everything You Need to Know to Create a GoPro Time Lapse
A time lapse video can transform hours into seconds, making ordinary scenes look strikingly different. With a GoPro, the process isn’t complicated, but there are a few things you’ll want to get right. Whether you’re shooting a sunrise, moving traffic, or cloud movement over a mountain, setting up your GoPro properly can make all the difference in the final result.
Let’s break it down so you can get started quickly and confidently.
How to Make a GoPro Time Lapse Video — Step by Step
Choose the Right GoPro Mode
GoPro offers several time lapse options, and knowing which one suits your goal is important.
Here are your main choices:
- Time Lapse Video: Captures images at intervals and automatically builds the video for you. It’s the easiest one to use.
- Time Lapse Photo: Takes individual pictures at your selected intervals, which you can later stitch together using editing software. Good if you want more control over the final product.

- Night Lapse: Designed for low-light scenes like star trails. It uses longer exposure times.
If you’re new or just want something quick and straightforward, go with Time Lapse Video mode.
Set Up the Frame and Mount Your GoPro
Your footage is only as good as your camera angle. Mount your GoPro on a stable surface — wobbly footage ruins the effect. Use a tripod, clamp, or sticky mount depending on your location. For scenes like a city skyline, a stationary setup gives the best results.
Double-check your frame through the preview screen. Make sure the main subject is centered and that the shot includes some background movement, like clouds or passing cars, to enhance the effect.
Pick the Right Interval
This step depends on how long you’re planning to shoot and how fast your subject moves. Here’s a basic guide:
- 1-second intervals: Good for fast movement like people walking or traffic.
- 5–10 seconds: Best for slower scenes like clouds or shadows.
- 30–60 seconds: Ideal for very slow changes like a sunset or building construction.
If you’re unsure, 2 or 5 seconds is a safe starting point.
Let’s say you record for an hour at a 5-second interval — you’ll end up with around 720 frames. At 30 frames per second, this gives you roughly 24 seconds of final video. Knowing this can help you plan how long to record based on how long you want the result to be.
Different scenes call for different pacing. For example, people gathering at a concert or a market setup might work better with a shorter interval, while plant movement or shifting shadows over a city skyline need more time between frames to be noticeable. Test a short clip first if you’re unsure — it’ll help you get the look you want without wasting a long shoot.
Set the Resolution and Field of View
For clean, sharp time lapses, use the highest resolution available on your GoPro (often 4K). This gives you more detail and editing flexibility later. As for the field of view:
- Wide: Gives a more dramatic, all-encompassing shot.
- Linear: Keeps lines straight, which works well in cityscapes or architecture.
- Narrow: Focuses on a particular subject.
Go with Wide if you’re shooting outdoors or want to capture more of the environment.
Adjust Settings Based on Light
If you’re shooting in daylight, you don’t need to worry much — auto settings usually handle it well. But for nighttime or dim conditions, switch to Night Lapse and choose longer shutter speeds. You’ll also want to manually lower the ISO to prevent too much brightness or grain.
Pro tip: Use a neutral density (ND) filter if you’re filming in strong sunlight. It helps smooth out fast-moving elements like cars or people.
Power Management: Keep It Running
Long time lapses can quickly drain your battery. Here’s how to keep your GoPro powered:
- Use a fully charged battery (or even better, a fresh one).
- Bring a power bank and connect it with a USB-C cable.
- Turn off Wi-Fi and voice control to conserve energy.
If you’re filming from home or somewhere with an outlet, just plug your GoPro into the wall.
Shoot — and Don’t Touch Anything
Once your GoPro is set and you’ve hit record, leave it alone. Even small movements can ruin the final clip. If your camera needs to stay out for a long period, make sure it’s weather-protected, especially in outdoor settings.
Let the GoPro do its job. Whether it’s 15 minutes or 4 hours, it’ll quietly capture the frames for you.
Review Your Clip
After it’s done, your GoPro will automatically stitch the images into a video if you used Time Lapse Video mode. You can watch it right on the screen or transfer it to your phone or computer.
Look out for:
- Shaky footage (likely due to wind or an unstable mount)
- Light flicker (if settings weren’t matched to lighting conditions)
- Overexposed or underexposed areas
If the result doesn’t look smooth, try adjusting your interval settings or using a tripod with better support.
Editing (Optional)
If you used Time Lapse Photo mode, you’ll need to combine the pictures yourself. Apps like GoPro Quik, Adobe Premiere Pro, or even iMovie can help. Most of these apps allow you to set the frame rate, add music, trim the start/end, and apply color correction.
You don’t have to go overboard here — just a few tweaks can take the video from okay to impressive.
Final Thoughts
Creating a time lapse with your GoPro isn’t difficult, but it does take a little setup. Once you’ve done it a couple of times, it becomes second nature. The results can be surprisingly satisfying, especially when you capture something subtle, like light shifting over a landscape or a tide rolling in and out. With the right settings and a steady hand (or mount), you’ll be able to make time lapse videos that feel both smooth and natural.
Related Articles

Turn iPhone Live Photos into Shareable Videos

The 8 Best To-Do List Apps for Android in 2025

8 Best To-Do List Apps for Mac in 2025

Effortless Steps to Convert and Upscale Video to 4K Resolution

5 Best Tools to Make Instagram Slideshow Videos Effortlessly
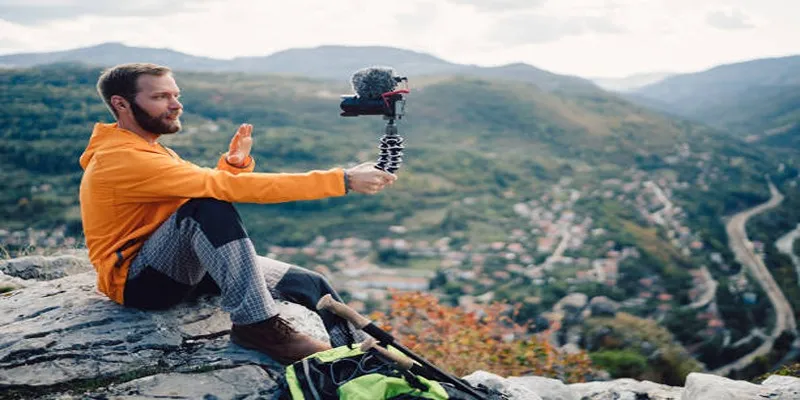
Step-by-Step Guide to Making a Stunning Travel Vlog
Simple Guide to Converting and Editing Videos for BlackBerry Phones
The Easiest Way to Convert Video to Apple TV: Free, Paid, and Online Options

How to Quickly Convert 4K UHD to 1080p HD Without Losing Quality
How to Convert FLV to MP4 for Free: Top Tools and Easy Methods

A Step-by-Step Guide to Quickly Combine Video Clips in iMovie

9 Free Tools to Speed Up a Video Online (No Downloads Needed)
Popular Articles
ShotCut Video Editor: A Simple and Reliable Free Tool for Video Editing

7 Top-Rated Affordable Graphic Design Software to Boost Your Creativity

Smart Ways to Record Vonage Calls Without Losing a Word

A Step-by-Step Guide to Adding a Portfolio to Your WordPress Site

Easy Ways to Change 4K MTS Footage into MPEG Formats

Best Tools and Methods to Open RMVB Files on Any Device

Best Clipboard Manager Apps for Android Devices in 2025

Which is Better for Your Business: ConvertKit vs. ActiveCampaign

DocuSign vs. HelloSign (Now Dropbox Sign): Which is Best for Your Business

The Ultra HD 4K TV from Sony at CES 2014 That Stole the Spotlight
Use PowerToys Run to Mimic Mac's Spotlight in Windows