mww2
mww2
How to Join WMV Videos Without Losing Quality: Easy Tools and Steps
Ever had a bunch of short WMV videos that you wished were stitched together into one smooth file? Maybe you recorded different parts of an event, a gameplay session, or a school project, and now you want them to feel like one big story. The good news is you can combine WMV videos without making them blurry or glitchy. In this guide, you’ll learn the easiest ways to join WMV files while keeping the original quality perfectly intact. No complicated tech skills are needed — just a few simple tools and easy steps.
Why WMV Files Need Special Care When Merging
WMV (Windows Media Video) files are optimized to be small and light without losing too much visual detail. They’re ideal for online sharing and fast playback. But when you attempt to merge several WMV files, a couple of issues can arise if you’re not careful. You could lose definition, the audio could become desynchronized, or the resulting video could be jerky.
The reason this happens is that most simple video editors re-encode the whole file when saving it, which can lower the quality. If you want to avoid this, you need tools that can join videos without forcing a full re-encode — or at least ones that allow you to control the output settings closely. That way, your final video looks just as sharp and clear as the original clips.
When you choose the right software and follow the right steps, joining WMV videos becomes quick and painless. You’ll get a file that plays smoothly, looks great, and sounds perfect.
Best Tools to Join WMV Files Without Losing Quality
Format Factory
Format Factory is a free tool that can merge WMV files without much fuss. It has a “Joiner” option that lets you combine clips with matching settings, reducing the need for full re-encoding.
Avidemux
Avidemux is a lightweight, free editor that’s great for quick video tasks. It has a “copy” mode that can merge videos without compressing them again, which keeps the original quality untouched. It’s a favorite for small editing jobs like cutting, joining, and trimming.
Bandicut
Bandicut is made for fast, lossless video joining. It works especially well with WMV and other common formats. You can choose “High-Speed Mode” to combine videos without changing the quality at all. However, the free version leaves a small watermark, so you may want the paid version if you’re doing professional work.
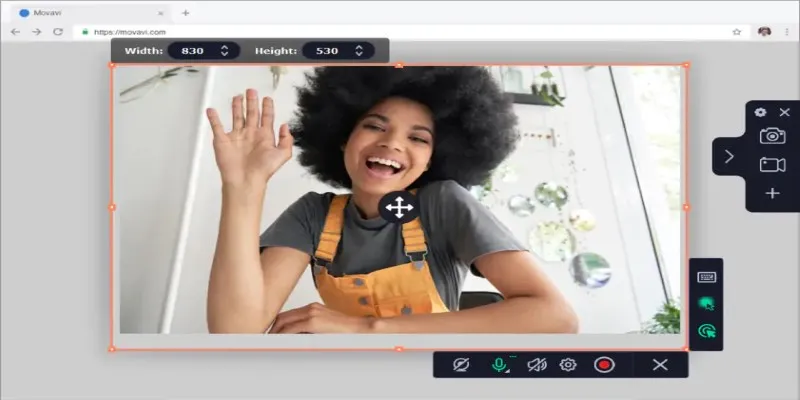
Movavi Video Editor
Movavi is a more full-featured editor, offering easy drag-and-drop joining. While it may re-encode if the settings between your files differ, it gives you full control over output quality settings to minimize any loss.
Windows Video Editor (Built-in)
If you’re using Windows 10 or later, you already have a basic video editor built in. While it’s not the most powerful, it can combine WMV files nicely for personal projects. Just keep an eye on the export settings to make sure the resolution and bitrate stay high.
When picking a tool, think about how many features you need, whether you’re okay with a watermark, and how comfortable you are with downloading new software.
Step-by-Step Guide to Merging WMV Videos
Step 1: Choose Your Software and Install It
Pick a tool like Format Factory, Avidemux, or Bandicut based on your comfort level. Download it from the official site and install it carefully (watch out for extra offers or ads during installation if it’s a free tool).
Step 2: Prepare Your WMV Files
Before opening your editor, check that your WMV files are similar. Ideally, they should have the same resolution (like 1080p or 720p), the same frame rate (like 30fps), and similar audio settings. If they don’t match, the software might force re-encoding, which could hurt quality.
If your files differ, you can use Format Factory or HandBrake (a free tool) to quickly convert them to matching settings first.
Step 3: Load the Videos into the Program
Open your chosen tool and find the “Join” or “Merge” feature. Add your WMV files in the order in which you want them to appear. Most tools allow you to drag and drop them into the timeline or list.
Step 4: Set Output Settings (If Needed)
If your tool has an option like “Copy Mode” (in Avidemux) or “High-Speed Mode” (in Bandicut), make sure to select it. This tells the software to skip re- encoding and just join the files together exactly as they are. If your program requires you to set output options manually, match the original resolution, bitrate, and codec as closely as possible.
Step 5: Preview the Merged Video

Before saving, preview your project if the program allows it. Make sure the transition between clips feels natural, the video quality stays sharp, and the audio stays synced. Fix anything that feels off before moving forward.
Step 6: Save or Export the Final Video
Hit “Start,” “Save,” or “Export,” depending on the tool. Save the merged video in WMV format to keep things simple. Choose a high bitrate if you have to set it manually — a higher bitrate means better quality but a bigger file size.
Step 7: Test the Final File
Once the process finishes, open the video with a player like VLC. Watch it from start to finish. Look for any glitches, sound skips, or resolution drops. If anything looks wrong, go back to check your settings — you might have accidentally triggered a re-encode.
Conclusion
Joining WMV videos without losing quality is easier than it sounds when you have the right tool and a little know-how. By choosing programs like Format Factory, Avidemux, or Bandicut and following a few smart steps, you can combine your videos into one smooth, sharp file without any nasty surprises. Pay attention to matching settings, pick the right mode, and double-check your final export. That way, you can enjoy your newly combined video looking just as good as the day you recorded it — or even better.
Related Articles
Top 5 Online Services to Convert WMV to MP4 Without Hassle
Free WMV Screen Recorders to Use on Your Computer

Step-by-Step Guide on How to Join and Merge Videos with the Best Video Joiners
How to Convert FLV to MP4 for Free: Top Tools and Easy Methods

Top 9 Apps to Effortlessly Add Text to Your Videos in No Time
How to Convert H.264 to WMV on Windows/Mac with Original Quality

MPEG to MP3 Conversion Made Easy: A Complete Guide

From Video to Audio: 10 Top MP4 to MP3 Converters in 2025

How to Easily Convert AVI to MOV Using 4 Reliable Tools
How to Convert WMV to MP4 Without the Internet: 7 Offline Tools

Converting WMV to MOV on Mac Made Simple: Top 5 Solutions
From Excel to JPG: Best Tools for Converting Charts into Images
Popular Articles

7 Best Online Tools to Create Picture and Video Collages
A Step-by-Step Guide to Creating a Split Screen Video with Movavi

How to Add Facebook Recommendation Bar in WordPress: A Step-by-Step Guide

Slack vs. Discord: Choosing the Right Tool for Your Workspace
Miro vs Mural: Which Visual Collaboration Tool is Right for You?
Using QuickTime to Play Videos in Slow Motion: A Comprehensive Guide

Top 3 Screen to GIF Recorders for Effortless GIF Creation
Apple to Launch End-to-End Encrypted RCS Messaging Later This Year
CyberLink ActionDirector: A No-Nonsense Video Editor That Keeps Things Moving
Building Flexible Online Tools: The Power of Responsive Design
How to Add, View, and Print Comments in Google Docs: A Step-by-Step Guide