How to Make an Amazing Slideshow with iPhoto in Minutes
Creating a captivating slideshow can be a fantastic way to showcase cherished memories, whether from family vacations or professional presentations. For Mac users, iPhoto simplifies this process, enabling you to produce professional-quality slideshows effortlessly. Let’s dive into the steps you’ll need to create your next masterpiece with iPhoto.
Why Create Slideshows in iPhoto?

Among the myriad of slideshow tools, iPhoto shines for several reasons:
- Ease of Use: Its intuitive interface means you don’t need to be a tech expert to create something beautiful.
- Integrated Media Library: Seamless integration with your Photos library makes image selection a breeze.
- Customizable Features: From transitions to background music, personalize your slideshow with ease.
- Built for Mac: Leverages the power of macOS for silky-smooth, high-quality results.
Step 1: Organize Your Photos
Before you start creating, ensure your photos are well-organized.
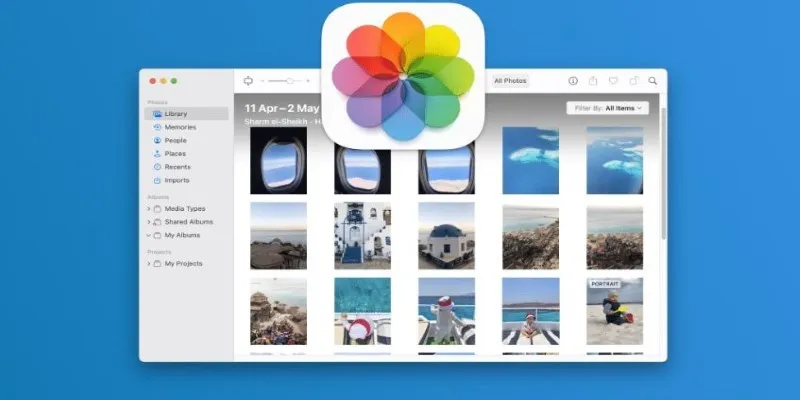
Import Photos to iPhoto
- Open iPhoto on your Mac. If your images aren’t loaded yet, navigate to File > Import to Library and select your desired images or folders.
- Once imported, these can be found under Photos or their designated album.
Create an Album
- For better organization, create a dedicated album for your slideshow photos.
- Go to File > New Album, then drag and drop your selected photos into this album. Give it a relevant name, such as “Summer Trip 2024” or “Corporate Presentation.”
Step 2: Create a New Slideshow
Now the fun begins—building your slideshow!
Start with the Slideshow Option
- Navigate to your newly created album in iPhoto.
- Click the + button at the bottom left and select Slideshow from the drop-down.
- Name your slideshow.
Choose a Theme
iPhoto offers a variety of themes, each with unique styles and transitions, like “Classic,” “Ken Burns,” or “Photo Mobile.” Preview them by selecting and clicking Preview. Choose a theme that complements your slideshow’s tone; “Ken Burns” adds drama, while “Classic” offers simplicity.
Step 3: Personalize Your Slideshow
Make your slideshow uniquely yours with these customization options.
Rearrange Your Photos
- Drag and drop photos in the timeline to reorder them, creating a logical flow.
- Add or remove photos by dragging them into or out of the timeline.
Adjust Slide Durations
- Click on a photo in the timeline to adjust its screen duration.
- Set a custom duration for individual photos or apply a uniform duration across all slides under Settings.
Add Transitions
While iPhoto automatically adds transitions, you can customize them:
- Go to Settings to tweak transitions, selecting from various options and adjusting timing.
Set Your Background Music
A slideshow isn’t complete without music. Here’s how to add it:
- Access the Music tab in iPhoto.
- Choose a song from your iTunes library or drag an audio file into the music selection box.
- Use Time Fitting to sync the slideshow with your song’s length.
Add Titles or Captions
Text adds informative value to your slideshow:
- Select a slide, click Edit, and type in your text.
- Customize the font, size, and color for added flair.
Step 4: Preview and Finalize
With everything set, preview your slideshow to ensure it meets your vision.
- Click Play to see it in action.
- Note any necessary tweaks to transitions, photo order, or music synchronization.
Make adjustments as needed and preview again until satisfied.
Step 5: Export or Share Your Slideshow
Once perfect, it’s time to share your creation!
Export Your Slideshow
- Go to File > Export > Slideshow.
- Choose your format and resolution. Lower resolutions work for online sharing, while higher ones are better for large screens.
- Select an export location and click Save.
Share Directly
Alternatively, share your slideshow directly:
- Use the Share button in iPhoto to upload to platforms like YouTube, Facebook, or Vimeo, or email it to friends and family.
Tips to Enhance Your Slideshow

- Music Matters: Choose tracks that complement the theme and mood of your photos.
- Transitions and Effects: Use sparingly to avoid overwhelming your audience.
- Timing is Key: Adjust slide durations to maintain a steady, engaging pace.
- High-Quality Images: Use high-resolution images for clarity, especially on large screens.
- Preview Before Sharing: Ensure a polished final product by previewing.
Final Thoughts
Crafting slideshows with iPhoto is a powerful method to share your memories or ideas. By following this guide, you’ll create polished, engaging presentations that resonate with viewers. Keep your content concise and visually appealing. With practice, you’ll be crafting impressive slideshows in no time!
Related Articles

Merging iPhoto Libraries on Mac: Easy Methods to Keep Your Photos Safe

The Simple Way to Get iMovie on Mac—and What to Use on Windows

8 Best To-Do List Apps for Mac in 2025

The 8 Best To-Do List Apps for Android in 2025

How to Use iMovie for Mac to Add Picture-in-Picture Effects Easily

5 Best Tools to Make Instagram Slideshow Videos Effortlessly

How to Play a DVD on Your Laptop: 2 Simple Ways to Watch Your Movies

How to Activate Subtitles on Plex for a Better Viewing Experience

Top 9 Apps to Effortlessly Add Text to Your Videos in No Time

How to Easily Convert AVI to MOV Using 4 Reliable Tools

MPEG to MP3 Conversion Made Easy: A Complete Guide

How to Change MOV to MP4 on Mac in 2025: 5 Reliable Methods
Popular Articles

How to Add YouTube Video as Fullscreen Background in WordPress: A Guide

Fixing Zoom Audio Problems: A Step-by-Step Troubleshooting Guide

10 Best Free Video Editing Tools to Make Social Media Videos Stand Out

The 7 Best Client Management Apps in 2025 for Smoother Workflows and Happier Clients

Smart Ways to Record Vonage Calls Without Losing a Word

A Simple Guide to Turning MXF Videos into MP4

Step-by-Step Guide to Converting MP4 Videos into PNG Images Online

A Guide to Putting Two Videos Side by Side in Adobe Premiere Pro

How to Make a DVD Photo Slideshow on Windows and Mac

Everything You Need to Know About CapCut Video Upscaler

New Vertical Tabs and Sidebar Enhancements in Firefox 136

 mww2
mww2