mww2
mww2
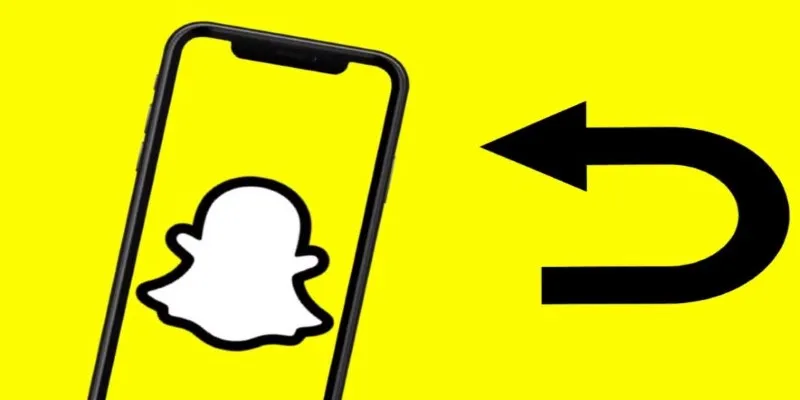
How to Reverse a Video on Snapchat: Step-by-Step Guide
Snapchat has become the go-to app for capturing quirky moments that need no filter—except when you want one. Among all the filters and features, the reverse video option stands out as a favorite. Whether you’re reversing a water pour or simply adding a fun twist to a clip, this effect can transform ordinary videos into something extraordinary. The best part? It’s simple to apply.
In this guide, we’ll show you how to reverse a video on Snapchat in straightforward steps, whether you’re using Android or iPhone.
Reversing a Snapchat Video: Easier Than You Think
Step 1: Capture or Upload the Video
To start, you need a video. You can either record one on the spot or select a clip from your Camera Roll. Note that the reverse filter automatically works on videos recorded directly in the app.
Recording a Video Within Snapchat
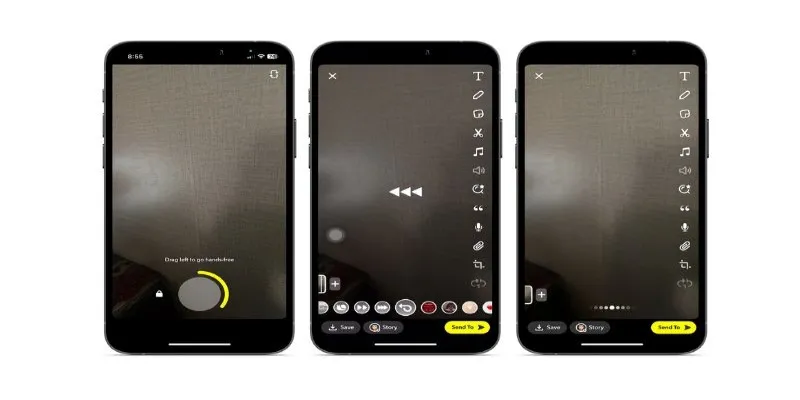
Open the Snapchat app. Press and hold the circular capture button to record your video. Release when you’re done. This creates a Snap ready for editing.
Uploading a Video From Your Gallery
To use a pre-recorded video, tap the gallery icon next to the capture button. Select your desired video and tap the three dots or “Edit Snap” to start editing. Remember, the reverse effect may not appear for uploaded videos, but we have a workaround for that.
Step 2: Apply the Reverse Filter
Here’s where the magic happens. After your video is recorded (or if your uploaded clip qualifies), swipe left on the preview screen until the video plays in reverse.
- The video will start playing backward.
- A rewind icon (two arrows pointing left) will appear.
That’s it. The reversed video will have its audio played backward too, adding a fun twist. If you can’t find the filter, ensure that filters are enabled in your settings: Profile > Gear Icon > “Additional Services” > “Manage” > check if “Filters” is toggled on.
Using a Pre-Recorded Video?
If you can’t apply the reverse filter to a pre-recorded video, Snapchat limits this feature to videos taken with its camera. Here’s an alternative:
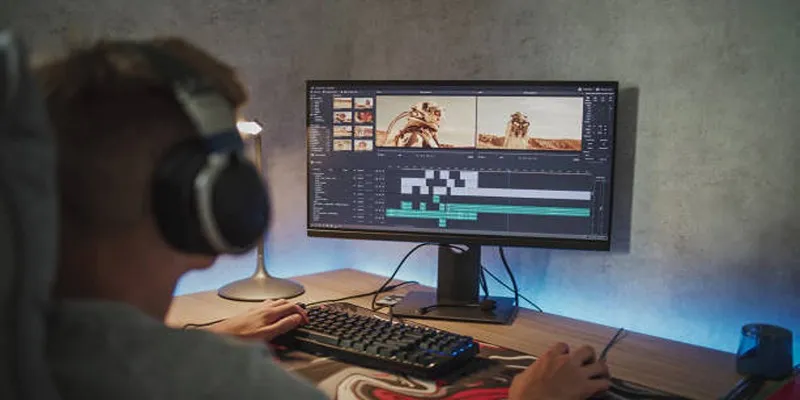
Use a Third-Party App: Try apps like CapCut, InShot, or Adobe Premiere Rush, which offer reverse features.
Import Your Clip: Open the app and import your video. This usually involves tapping an “Import” or “Add Video” button and selecting from your gallery.
Apply the Reverse Effect: Find and apply the reverse option, typically under “Effects” or basic editing tools.
Export the Reversed Video: After reversing, export the video. It’s now ready for sharing.
Upload to Snapchat: Open Snapchat and upload the reversed video. The reversed effect is already applied.
Can You Add Other Effects on Top of a Reversed Video?
Yes! Enhance your reversed video by adding text, stickers, drawing, or layering music. AR lenses are also an option, though compatibility may vary. The only limitation is not being able to stack the reverse filter with other video filters like speed-up or slow-motion.
Sharing and Saving: What to Expect
Once customized, you can send your reversed video to friends, post it to your Story, or save it to Memories. It will remain reversed.
- Tap the download icon before sharing.
- It will be saved to Memories or Camera Roll, based on your settings.
Note: If you edit a reversed video after saving and then send it again, ensure the changes don’t overwrite the effect. Snapchat can reset filters when re- editing older Snaps. Double-check before sharing.
Conclusion
Reversing videos adds a unique flair that makes even everyday moments interesting. Snapchat recognized this appeal when integrating the feature. From flipping water to capturing pets in motion, the reverse filter provides unexpected entertainment. Now you know how to use it like a pro.
If Snapchat updates this feature or introduces new functionalities, we’ll update the guide accordingly. Until then, enjoy creating fun, backward Snaps!
Related Articles

LightCut 2025 Review: The Best Video Editor for Android and iPhone

Best Tools: 4 Video Players for Frame-by-Frame Analysis

Step-by-Step Guide to Reversing Videos on Android Easily

Top 5 Free Video Enhancers to Instantly Boost Video Quality

What is HitFilm Express? A Beginner's Guide for Mac Users

Top 8 Free Video Editors Reviewed and Compared in Detail
Simple Tutorial: How to Convert H.265 to H.264 Easily

CapCut, WeVideo & More: Tools That Simplify Video Editing

How to Change Video Frame Rate: 5 Best FPS Converters

Effortless Steps to Convert and Upscale Video to 4K Resolution

5 Best 4K UHD Media Players for Windows PC and Mac in 2025

7 Best Tools to Reduce Video Noise and Enhance Clarity
Popular Articles

Top 5 Deployment Automation Tools Developers Rely On

Best Free Methods to Convert AVI to MP4 Format for Your Kindle Fire
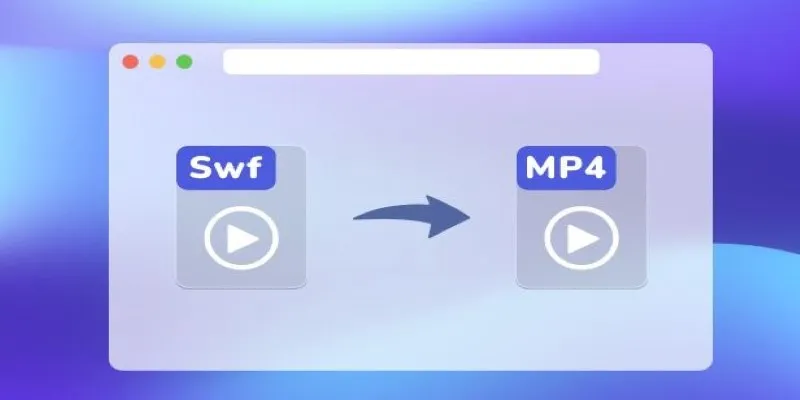
Convert SWF to MP4 on Mac: 5 Easy Solutions

10 Best Survey Apps You Need To Try in 2025
2 Quick and Easy Methods to Crop Your Screen Recordings

5 Insightful Tools for Big Data Project Management You Can’t Miss

5 Best Tools to Make Instagram Slideshow Videos Effortlessly

9 Leading Review and Approval Software to Boost Your Productivity
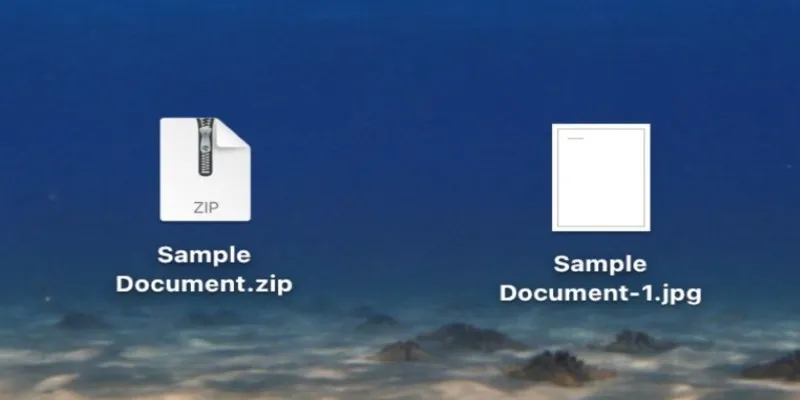
From ZIP to JPG – Your Go-To Guide for Quick Image Extraction

Desktop Publishing Software That Actually Gets the Job Done
Fix HEIC Issues: AirDrop JPG from Your iPhone Easily