mww2
mww2
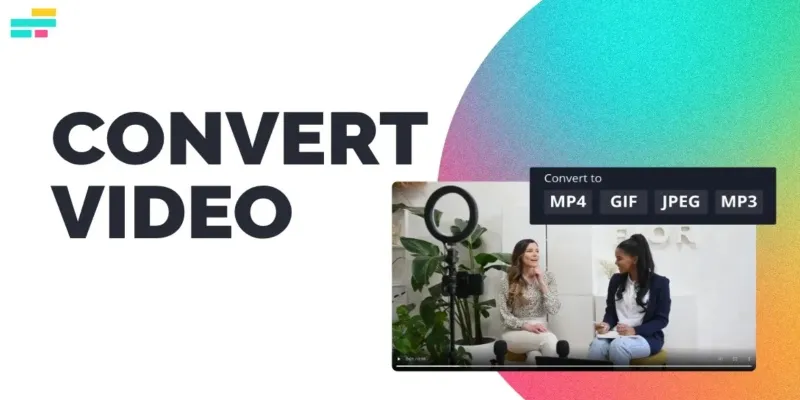
Simple Ways to Turn Your MPEG Videos into Animated GIFs
Creating animated GIFs from MPEG videos is easier than you might think! GIFs are a fun and popular way to share short, looping clips online, perfect for capturing memorable moments or expressing emotions. Whether you want to make GIFs for social media, a blog, or just to share with friends, this guide will show you simple steps to convert MPEG videos into high-quality GIFs with minimal effort.
Benefits of Converting MPEG Videos to GIF

Attention-Grabbing and Shareable
GIFs are highly effective at catching viewers’ attention. Studies show that social media posts with visual elements, such as GIFs, are significantly more engaging than text-based posts. Whether it’s a quick tutorial, an eye-catching product demo, or a funny moment, GIFs make it easier to share your ideas with a wide audience.
Smaller File Sizes
GIFs are smaller in size compared to video files, which makes them much easier to share across platforms like emails or on social media without worrying about lengthy upload times or system limitations. Many platforms even limit video uploads, making GIFs a simpler alternative.
Highlight Specific Moments
Sometimes you just need to capture one key part of a video, whether it’s for comedic timing, demonstrating step-by-step instructions, or quickly emphasizing an important message.
How to Turn MPEG into a GIF (Step-By-Step Guide)
The process of using popular tools for different levels of expertise.
Method 1: Using GIPHY (Beginner-Friendly)
- Sign Up or Log In to GIPHY : To start, visit the GIPHY website and either sign up for a free account or log in if you already have one. Having an account allows you to save and share your GIFs easily.
- Select the “Create” Option: Once logged in, click on the “Create” option at the top right of the webpage. This will open a tool where you can upload and edit your video to create a GIF.
- Upload Your Video: Choose the MPEG video file you want to convert into a GIF. Drag and drop it into the upload area or use the file selector to browse and upload your video.
- Adjust the Start Time and Duration: GIPHY lets you customize your GIF by adjusting the start time and duration. Use the sliders to select the exact portion of the video you want to turn into a GIF.
- Create and Upload : Once you’re happy with your adjustments, click on the “Create GIF” button. Your GIF will process and be uploaded to GIPHY’s platform, where you can share or download it as needed.
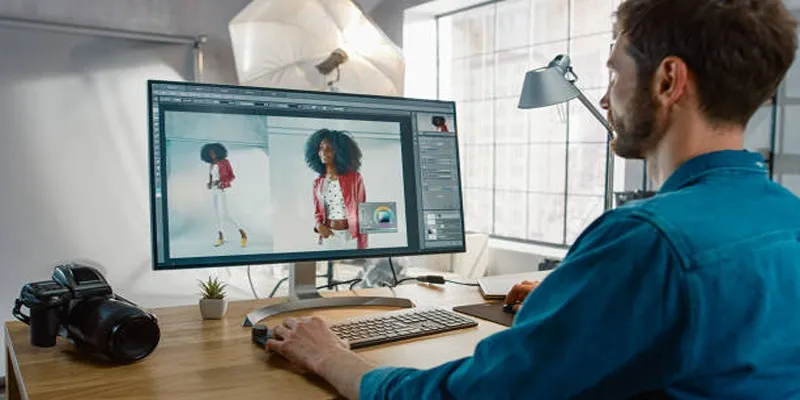
Method 2: Using Photoshop (Intermediate)
- Import Your Video into Photoshop: Open Photoshop and select File > Import > Video Frames to Layers. This will allow you to choose the video file and import it as a series of frames. Use the options to limit the number of frames if your video is lengthy to ensure optimal GIF file size.
- Adjust Frame Settings: Once the video frames load, use the Timeline Panel to arrange and preview each frame. You can modify the frame delay time at this stage to control the animation speed. Make sure each frame aligns with your desired pacing for the GIF.
- Optimize the Colors and Size: Go to File > Export > Save for Web (Legacy) and select GIF as the file format. Here, you can adjust the dimensions, reduce the color palette (256 colors is the max for GIFs), and tweak settings to balance quality and file size.
- Save Your GIF: After finalizing the adjustments, click Save and choose your destination folder. Your GIF is now ready for sharing or uploading online!
Method 3: Using FFmpeg (Advanced Users)
- Install and Set Up FFmpeg: To create a GIF with FFmpeg, first install it from the official website and follow the setup instructions for your OS. Verify the installation by running ffmpeg -version in your terminal or command prompt.
- Choose Your Source Video: Select the video you want to convert into a GIF. Keep in mind that shorter videos or clips work best for GIFs, as longer videos can result in large file sizes. If needed, trim the video beforehand using FFmpeg or another video editing tool.
- Convert Video to GIF: Use the FFmpeg command to create the GIF. For example, ffmpeg -i input.mp4 output.gif will convert the video to a GIF using default settings. For better quality, you can adjust parameters such as frame rate and pixel resolution by including flags like -vf “fps=10,scale=320:-1” to control the GIF’s playback speed and dimensions.
- Optimize the GIF: Since GIF files can get large, consider optimizing them by reducing colors or adjusting frame rates. You can add -filter_complex “[0:v] palettegen,[0:v][1:v] paletteuse” to generate a color palette and apply it during conversion, helping reduce the file size without significant loss in quality.
- Save and Share: Once you are satisfied with the result, save the GIF to your desired location. The GIF is now ready for sharing across platforms or embedding on websites.
Tips for Creating High-Quality GIFs
Here are some additional tips for creating high-quality GIFs:
- Use a short clip: Keep the length of your video clip short, ideally less than 5 seconds. This will help reduce the file size and make it easier to share.
- Choose the right subject: GIFs work best with simple, repetitive motions or actions. Make sure your subject is interesting and can be easily looped without looking choppy or unnatural.
- Pay attention to frame rate: A higher frame rate will result in smoother motion but also increase the file size. Experiment with different frame rates to find the right balance between quality and file size.
- Add captions or subtitles: Adding captions or subtitles to your GIF can make it more engaging and informative. You can use a program like Giphy to easily add text to your GIF.
Troubleshooting Your GIF
If you encounter any problems while creating your GIF, here are a few troubleshooting tips to help you out:
- File size too large: If your GIF is too large, try reducing the image dimensions or decreasing the frame rate. You can also try compressing the file using a program like EzGIF.
- Low quality: If your GIF appears pixelated or low quality, try increasing the image dimensions and frame rate. You can also experiment with different compression settings to find the best balance between quality and file size.
- Not playing smoothly: If your GIF isn’t playing smoothly, try decreasing the frame rate or reducing the number of frames in your animation. This will decrease the file size but may improve playback.
Conclusion
Converting MPEG videos into animated GIFs can be a simple and rewarding process when approached with the right tools and techniques. By carefully choosing a reliable conversion program, optimizing the video settings, and troubleshooting common issues, you can create high-quality animations with ease. Whether you’re using them for social media, presentations, or creative projects, animated GIFs offer a dynamic way to share visual content.
Related Articles

MPEG to MP3 Conversion Made Easy: A Complete Guide

How to Convert MPEG to WAV: A Step-By-Step Guide

Simple Ways to Convert GIF Files to MOV Format Online

How to Easily Convert AVI to MOV Using 4 Reliable Tools
Simple Methods to Convert ISO Files to MP4 for Beginners
From Excel to JPG: Best Tools for Converting Charts into Images
Seamless GIF to APNG Conversion: The Best Tools for Crisp Animations
Best Free PDF to Image Tools for Quick and Easy Conversion

Top 3 Simple Ways to Convert WMA to MP4 Easily
5 Simple Ways to Convert 3GP to MP4 Effortlessly
Best Practices for Converting AVI Files to JPG Format
How to Automatically Save Gmail Attachments to a Google Drive Folder: A Complete Guide
Popular Articles
The Best Project Management AI Apps for iPhone: Revolutionize Your Workflow
Convert MTS to FLV Easily with These 8 Desktop Tools
Comparing Airtable and Asana in 2025: Which Tool Should You Choose
Real Reasons to Convert Video Files and Make Them Work Better

How to Add Tables in WordPress Without HTML
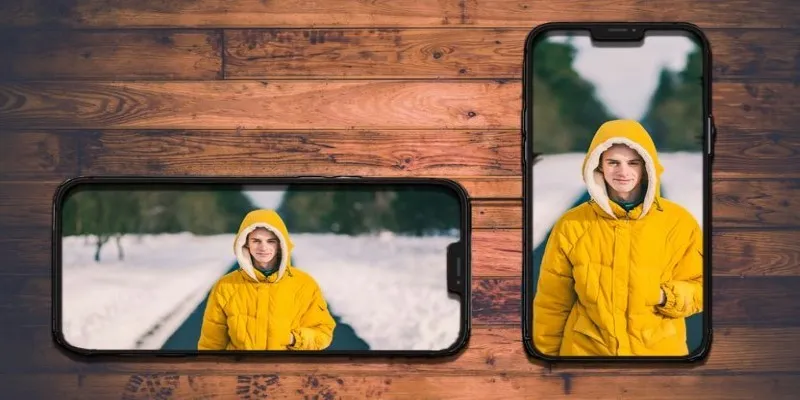
Portrait to Landscape: How to Rotate Your Screen on Any Device

The 10 Best Campaign Management Software Tools in 2025 for Effortless Marketing Success

Mozilla Updates Firefox Policies to Clarify Privacy and User Rights
The Future of Creativity: The 9 Best Brainstorming Tools in 2025

Best iPad Video Converter for Mac: Top 5 Tools for Smooth Playback

How to Access and Use the SiriusXM Player: A Complete Guide