mww2
mww2
How to Record Your Screen with VLC Media Player Easily
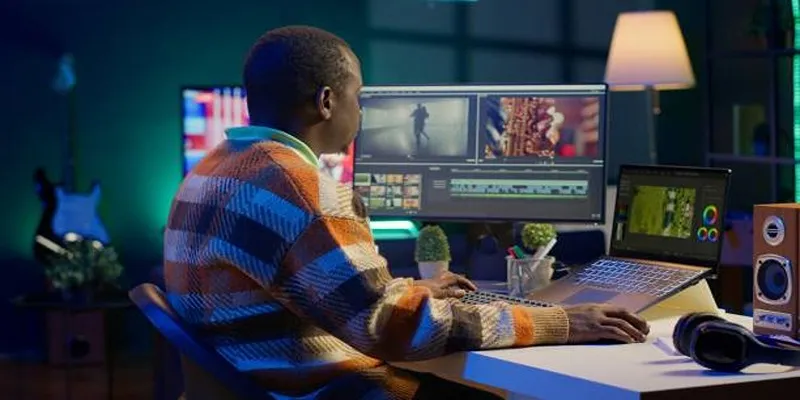
Most people know VLC as that trusty orange-cone video player that can open almost any file you throw at it. But hidden in its simple interface is a tool many overlook: screen recording. VLC can record your computer screen; no extra software or complex setup is needed. Whether showing someone how to fix a computer bug, capturing gameplay, recording a Zoom meeting, or just saving a quick tutorial for yourself, VLC gets the job done. It won’t offer fancy editing features, but it’s perfect for those who just want to hit record and go.
Let’s walk through how to use VLC Media Player to record your Windows and Mac screens.
How to Record Your Screen with VLC Media Player
On Windows
Step 1: Launch VLC and Open Capture Device
Open VLC. Click the Media menu at the top left, then select Open Capture Device.
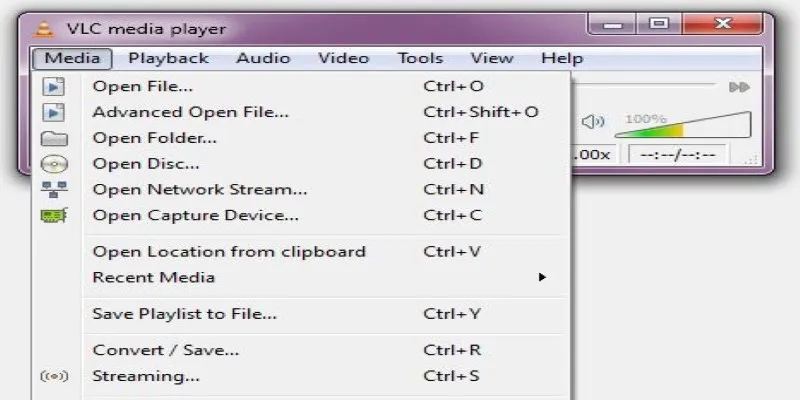
This opens a dialog box with several tabs. Choose the one labeled Capture Device.
Step 2: Select Desktop Mode
In the Capture mode dropdown, pick Desktop. This tells VLC you want to record your screen, not a webcam or video input.
Step 3: Set Frame Rate
Enter a number for the desired frame rate for the capture:
- 15 fps is good for basic tutorials and screen activity.
- 30 fps is recommended for smoother movement.
- A frame rate that is too high may cause lag if your system isn’t powerful enough.
Step 4: Choose Output Option
Click the little arrow beside the Play button and choose Convert. This opens a new screen that lets you define output settings.
Step 5: Set Format and Destination
In the Profile section, pick a format like Video - H.264 + MP3 (MP4). Then click Browse next to the Destination file and choose where to save the recording. Give it a name and save it with .mp4 at the end.
Step 6: Start Recording
Hit Start. VLC begins recording your desktop in the background. To check if it’s working, hover over the VLC taskbar icon, which should show a play symbol.
Step 7: Stop Recording
When you’re done, go back to VLC and click Stop. Your video will be saved to the location you chose.
On macOS
VLC’s interface on Mac is slightly different, but the process is similar.
Step 1: Open VLC and Access Capture
Go to File > Open Capture Device. In the new window, select the Screen option under the Input Devices.
Step 2: Frame Rate Settings
Just like on Windows, set the frame rate. For smooth recording, stick to around 30 fps.
Step 3: Start the Stream
You’ll see a Stream or Open button instead of Convert. Click that and choose the destination, format, and save location. Use MP4 for the most compatibility.
Step 4: Record and Stop
Once you hit Start/Stream, VLC will record your screen. To stop, go back to VLC and click the Stop button in the interface.
Optional Settings and Tips
Capture Audio (Windows Only)
By default, VLC doesn’t capture system or microphone audio during screen recording. But with a workaround, you can include it:
- Go back to Media > Open Capture Device.
- Choose DirectShow instead of Desktop.
- Pick your microphone as the audio device.
- Combine this with screen capture using external tools or by tweaking VLC’s advanced settings.
If you only want video, the basic method works fine for now.
Use VLC with Keyboard Shortcuts
Make your screen recording smoother with VLC hotkeys:
- Spacebar – Pause/Play
- S – Stop recording
- Ctrl + R – Start recording (if hotkey is enabled in Preferences)
You can set or customize these under Tools > Preferences > Hotkeys.
File Size Management
The file size can grow fast if you record at a high frame rate or resolution. To keep size down:
- Record at 720p or lower resolution.
- Use 15 fps instead of 30.
- Use MP4 with H.264 codec.
Can VLC Record a Specific Window Only?
Not directly. VLC records the whole desktop, not individual windows. If you want to crop or focus on a specific window, record the full screen and crop it later using free tools like Shotcut or HandBrake.
Troubleshooting

VLC Stops Recording Without Saving
Make sure you click Convert > Start and not just Play. If you click Play, it only opens a live view of your screen but doesn’t record.
Laggy Video?
- Lower your frame rate.
- Close background apps.
- Switch to a lower-resolution screen before recording.
No Sound?
VLC doesn’t record system audio by default. You’ll need to:
- Record audio separately and sync it later.
- Use a different screen recorder (like OBS) if audio is important.
Other Alternatives (If VLC Isn’t Enough)
If you feel VLC is too basic or you need more control, here are some free alternatives:
- OBS Studio – Free, open-source, records screen with audio, live streaming supported.
- ShareX – Lightweight tool for Windows with many recording and screenshot options.
- QuickTime Player (Mac) – Comes built-in, can record screen and mic.
But for quick jobs or when you just want to keep it light, VLC is a great first stop.
Conclusion
VLC isn’t just a media player—it’s a simple tool for screen recording that is already sitting on your computer. It won’t win any editing awards, but it works if you need to grab what’s on your screen fast without installing anything new or fiddling with complicated settings. Just open VLC, choose the capture mode, set your frame rate, hit record, and you’re set. No noise, no extras—just a clean recording when needed. If you’re looking to save a quick tutorial, show someone a bug, or create a basic screencast, VLC is one of the easiest ways to do it without jumping into heavy software. Try it once, and you might be surprised at how much it can do.
Related Articles

Best Tools to Record Streaming Content on Chrome Browser
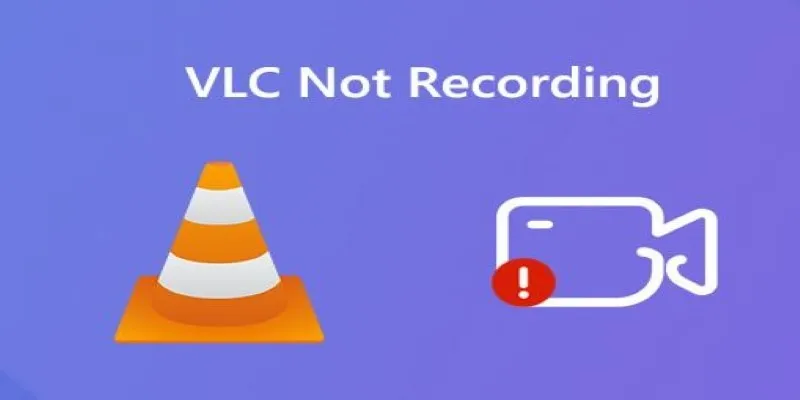
Fix VLC Media Player When It Won't Record or Save

5 Best Mac Screen Recording Tools to Elevate Your Recording Game
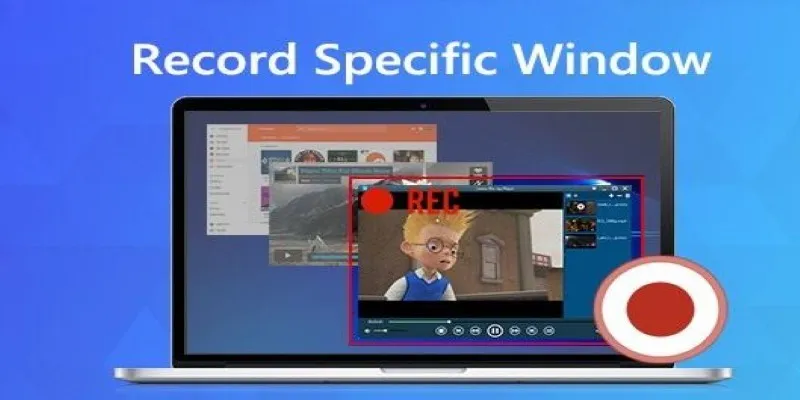
8 Tools to Record a Specific Window or Area on Your Screen
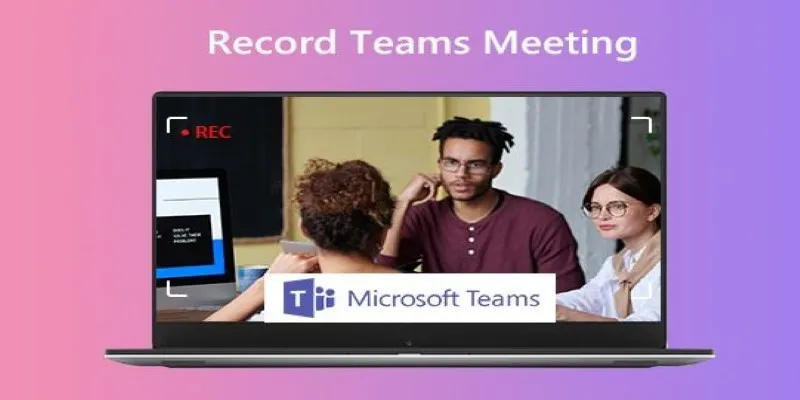
Simple Ways to Record a Teams Meeting: Built-in and Other Options

Top 8 Screen Recorder Apps for Effortless Video Recording
Automate Your Screen and Audio Recording with the Best Timer Tools

How to Fix Audio Delay in VLC Player

11 Best Free Screen Recorders Without Watermark
Mastering Green Screen Effects with Windows Movie Maker

Step-by-Step Guide to Recording TeamViewer Meetings
5 Best MP4 Screen Recording Tools for Capturing Videos on Your PC
Popular Articles

Reimagine Songs with Suno's New AI-Powered 'Covers' Feature

How to Create Google Calendar Events from Microsoft To Do Tasks: A Guide

Discover the 7 Best Gmail Alternatives in 2025 to Boost Your Email Game

Top Tips for Designing Eye-Catching Video Presentations on Any Device

Top Static Site Generators That Require No Coding Knowledge
Add Magic to Your Videos with These 10 Movie Maker Effects

Thunderbird 136 Launches with Smarter Threading and Dark Reader

What is the Hello Dolly WordPress Plugin: A Guide for Beginners

Git 2.49 Released: Faster Packing, Better Clones, and Rust Support
Best Image to PDF Converters for Desktop: 6 Top Picks

Learn to Remove Backgrounds from Any Image Without Photoshop